Home

Wednesday, July 29, 2015

Studio Construction: Finishing the Floor

While I was downstairs in the crawlspace vacuuming...

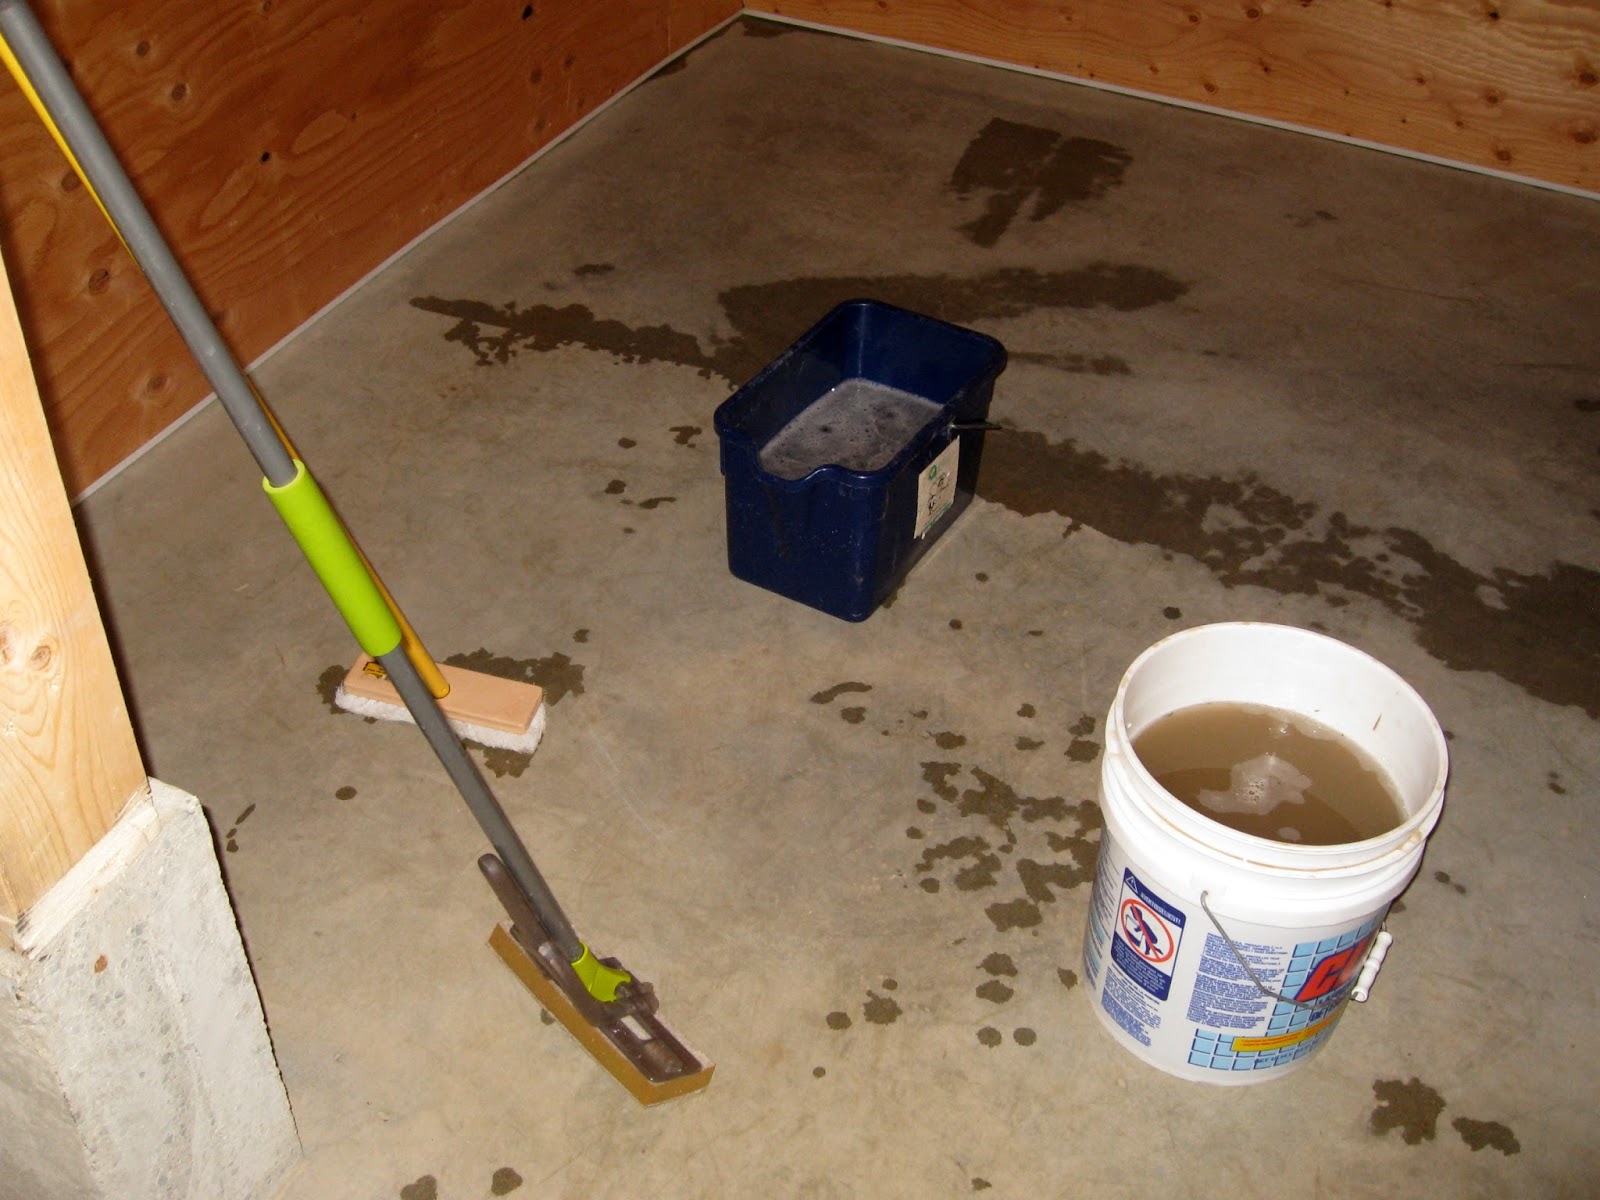
...and scrubbing the polished concrete,...

...Adrian was upstairs finishing the floor. The tiles have the first coat of sealer. The light bulbs help it to dry and cure.
To help decide on the type of flooring I did a Life Cycle Assessment (LCA) of a number of different materials looking at their durability, life expectancy and ease of maintenance. 
The winner was......cork!

I made these signs to ensure people didn't track in pebbles and grit with their shoes and scratch up the beautiful new floor. 

Four thin layers of water based varnish have been spread over the tiles with the final layer drying slowly in a closed up room. Now the floor needs to cure for 4 days and I can't put any rugs down for 10 days.
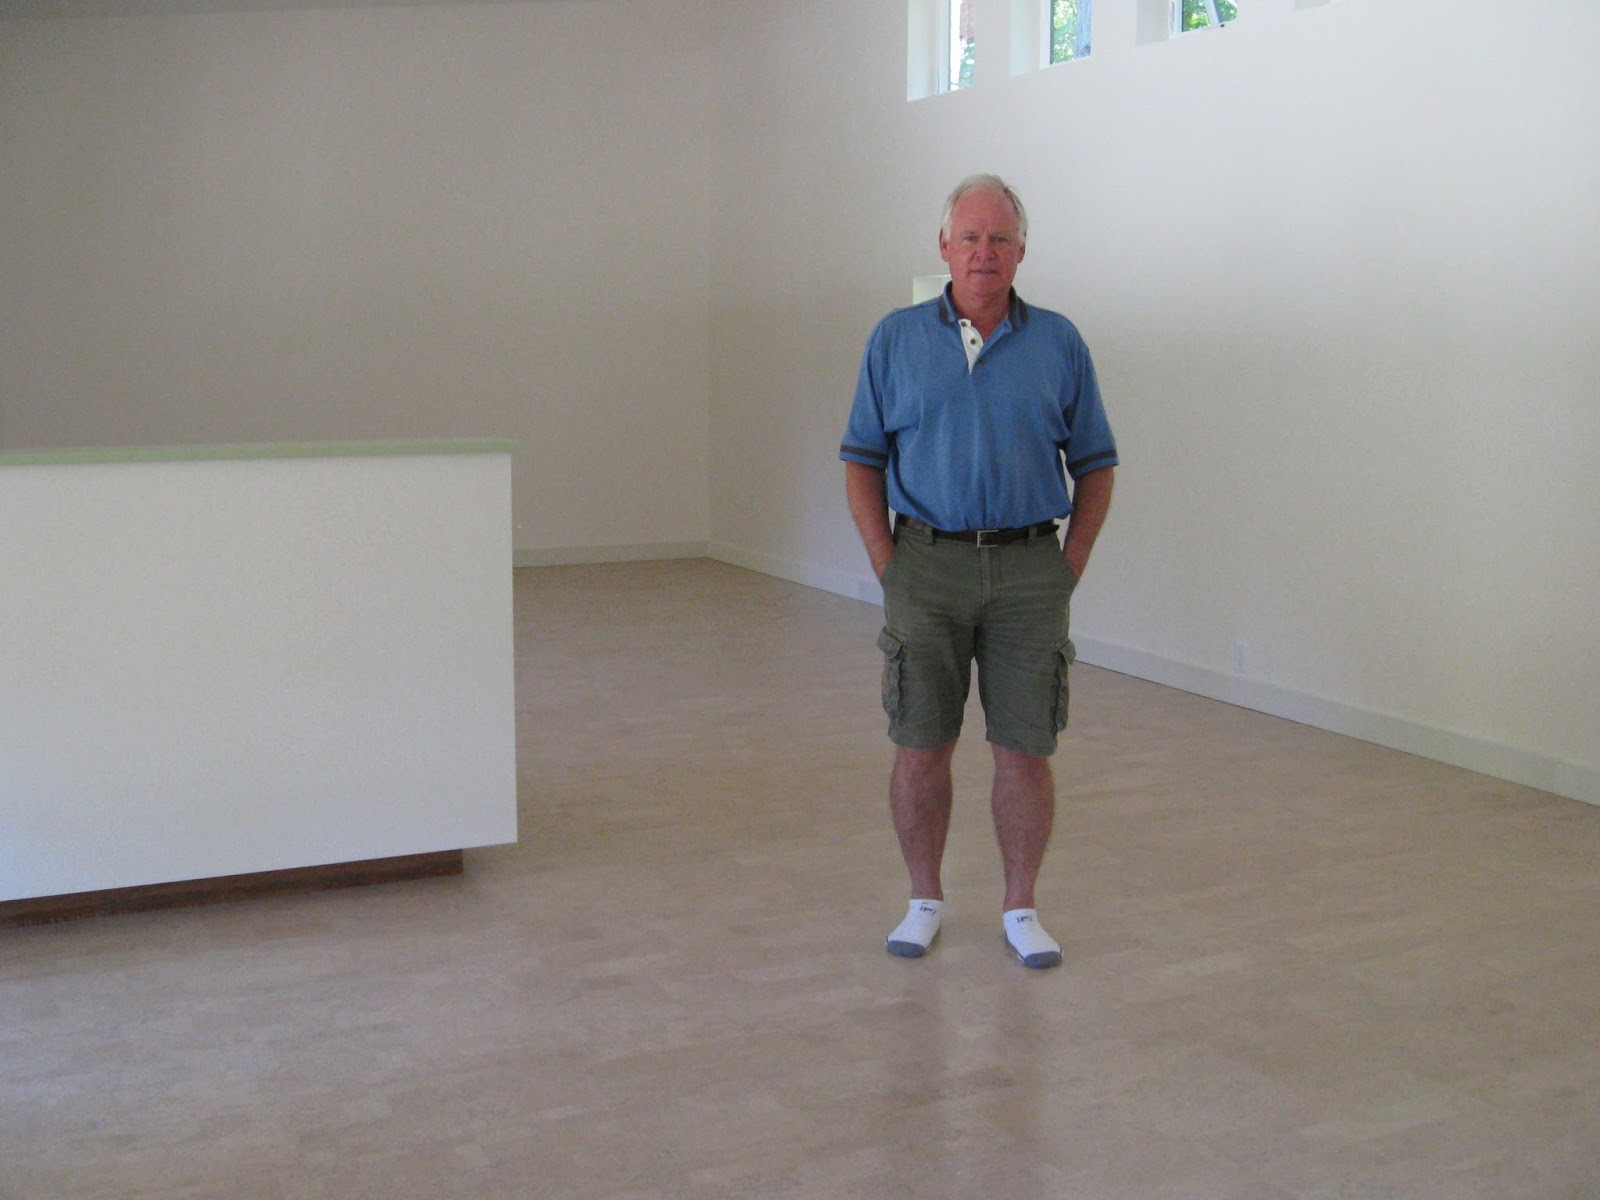
Looking good!
Duro Design, a Quebec company, imports sustainably sourced tiles from Portugal, adds the colour and coats the back with a marine grade, neoprene contact cement. They make the tiles only once they are ordered to minimise waste and having to store a large inventory of the 6 different designs and 52+ different colours. Their flooring gives a building a lot of LEED credits because it is recyclable, made from renewable materials and the adhesives and sealers are low-emitting.

Cork trees can be harvested every 7 to 12 years and a considered a rapidly renewable resource. The fast growing species doesn't require chemical fertilisers or pesticide treatments. The cork tiles are guaranteed to last 25 years and can be recycled to make new tiles. Cork  tiles have so many positive attributes. They are antimicrobial preventing the cultivation of mold and they resist dust mites and insects so require only a damp mop and water to clean (no chemical cleaners). Cork absorbs sound, bounces back when things are dropped on it, and dropped things are less likely to break. It is fire resistant, anti-static and unaffected by humidity. It is soft underfoot making it easy on the feet and back when standing for a long time. Composed of 50% air in closed cells it has excellent insulation properties and always feels warm underfoot. Any damaged tiles can be lifted and replaced without having to replace the whole floor.
You can see why I am sold on cork flooring.


Friday, July 24, 2015

Studio Construction: Flooring Preparation

I see Adrian's truck. That means he may be here to install the flooring. The other mean looking truck belongs to Chris, Adrian's assistant.

Adrian tested the humidity levels in the floor and they are acceptable - whipeee!
He removed all staples, lumps of glue and filler in the plywood before vacuuming it all thoroughly. Next he sanded all of the joints smooth.

Next step was to lay down the underlay and nail it every foot or so.The underlay is printed with a regular pattern of crosses (hard to see) to indicate where the nails are to go.


All of the underlay joints are filled with a Portland cement-based underlay patching material. Chris is sanding the dried cement to make the underlay perfectly smooth. Then the floor is vacuumed thoroughly again.

The underside of the tiles (left side) has a dry green coloured contact cement that was applied in the factory. The right side shows the tile.

Next step, a thin layer of the green adhesive is rolled onto the subfloor and left to dry. Then the tiles are laid down. Pressure applied to the tile activates the adhesive to make it stick.
A good day's work.

Monday, July 20, 2015

Studio Construction: Cabinet Installation

I came home from the Dorothy Caldwell workshop to find the new garden bed has flowers for the first time. This inlet to the pond had been completely covered by blackberry. Once it was cleared there was nothing else growing.  

Last July visiting family members planted Japanese water irises and ferns. Almost to the day, a year later, the irises came out in bloom. They contrast beautifully with the soft horsetail, a native that has appeared out of the soil. It was such a lovely sight to come home to.


Meanwhile. back in the studio the built-in furniture had been put back after the plumber visited.

Can't wait to fill all of those drawers.

The tub is proving a challenge. It needs to be blocked so the edges won't move and break the waterproof seal. Ron and I are now searching the internet for the right faucet.

Tuesday, July 14, 2015

Dorothy Caldwell: Book Making - Putting it all Together

Dorothy showed us many other methods for making our mark on fabric and paper. She also showed us many examples of what others had done in the past and what contemporary artists are currently working on. 

 We were left to continue exploring the methods we liked.

Then is was time to start thinking about how various elements and pages could go together.

Cleverly Dorothy got us to use the sheet of paper we had been working on top of to make a practice book with a woven spine binding. I was delighted I am a messy worker because I have lots of random marks in the pages of my book.

Another book involved folding and cutting up the large piece of paper we marked with ink while outside. This book was such fun to make. It now awaits embellishment, or not.

After the practice books, we worked in earnest on assembling our main book. Dorothy sat with each of us while we showed her our marked pages and she offered advice, suggestions and help that kept us going until the end of the week.
The last activity involved everyone sharing their books.
Such a wonderful workshop.
Thank you, Dorothy.

Friday, July 10, 2015

Dorothy Caldwell's Human Marks Workshop


"An individual stroke is an utterance of touch." Dorothy Caldwell

 Dorothy is demonstrating the next Stroke Painting exercise. 
We taped various types of brushes onto long sticks. We dipped them into pots of different dilutions of black ink. With a large sheet of paper on the ground in front of each of us, we were instructed to use our whole body to make the mark on the paper. After we had filled the paper we flipped it and continued making marks but this time very slowly and deliberately. An added bonus was soft rain started to fall adding texture to our marks.

We hung our marks in the breezeway of Gloria's studio. We studied the layers of marks when the papers were more transparent with the light showing through them.


We spent the rest of the day making marks by piercing with a large nail, burning holes with an incense stick, burning edges with a candle, and adding smoke and wax to paper.

Next morning we learned about the history of Kantha embroidery. We then began to make our own Kantha marks on fabric.

This is the result of a group exercise where we all stitched blindfolded, responding to words Dorothy gave us to meditate on.
All of these exercises have helped us to feel centred and focused on what we are doing.

Sunday, July 5, 2015

Dorothy Caldwell Workshop


Dorothy Caldwell taught her 'Human Marks' workshop in Gloria Daly's Duncan studio. Many of us had registered for the workshop over 18 months ago, as soon as we heard Dorothy was coming to the island.
Dorothy is a gifted teacher and a great artist. Everyone was so eager to be coached by her for the week.

The first exercise was to make a quick spontaneous mark on paper with black ink. We put our efforts up on the wall and looked at them while Dorothy explained the notion of the human mark.

The next exercise was to make  repeated marks with only our hands, ink and a small felt pad. We worked on both sides of a long piece of soft paper.  I used all of my finger tips on my right hand to make my repeating marks.

We lay our papers end on the full length of the room and marvelled at the variety and different effects and feelings in each one.


Next exercise. This time we used a fine pen to make a small single motion repeated mark over and over. This exercise required more arm movement and produced quite a different kind of mark. One that looked different close-up and from a distance. The mark itself makes the drawing.
Throughout these exercises, we were thinking of the word Dorothy gave us -
Allow

Thursday, July 2, 2015

Studio Construction: Floor Tiles

An exciting delivery - the floor tiles.

But, oh dear, many of the boxes are damaged and a lot of the tiles appear to be broken.

The pallet is broken as though it was dropped.
Adrian, the installer, came by to look at the damage and to assess if there were enough undamaged tiles to do the job. He decided if he used the damaged tiles in the areas where he had to cut he would just have enough. That was a relief because these tiles are made only when ordered. Another order of tiles would take weeks to arrive. It is part of the company's minimal waste policy.

Ron carried all of the boxes into the studio and opened them up. The tiles now have to acclimatise to the interior conditions before they can be laid.


I couldn't resist laying out a few to get an idea of how they will look.
I am pleased.

In the meantime, the underlay continues to adjust to the conditions.
The second big disappointment came later in the week when it was found the humidity levels in the studio are still too high to begin laying the tiles next week. The dehumidifier has been going day and night for months and we have been having hot dry days but things have not dried out enough yet. We have to wait another week!


Monday, June 29, 2015

Studio Construction: More Installations


Brian, the cabinet maker who works for South Shore Cabinetry, places the 'Lego' blocks, shims them until level and then makes the finishing details.

Wet station on the left. Electrical station on the right. Looking good.


Then the Lego blocks get moved out of the way so the plumber can do his thing.


The electrician visited and installed the heating - 2 tangential fan units either side of the design wall. They are connected to a thermostat so they can be set to come on automatically. I will also have a remote starter connected to my cell phone so I can turn on the heaters while I am in the house having my breakfast so the studio will be warm when I get out there.

The sunny room has a small wall-mounted radiant electric heater.
We had 2 different companies do heat modeling to find out how much heating capacity would need to be installed. We initially had thought the obvious heating method was going to be a heat pump, but the modeling said otherwise. 
The building has 8" thick walls and is well insulated. It is designed to capture solar heating and store it in the concrete foundations. The windows allow heat in  but release it very slowly. I will be using heating appliances such as my 2 irons and a hot plate and there are lots of overhead lights, which will all contribute to heating the air within the studio. We have mild winters on the island with very little snow. The modeling covered conditions to minus 10C, which we didn't reach last winter. 
Results of the modeling showed extra heating may be needed for a few days over winter and the 2 wall mounted electrical heaters with fans and the one radiant heater would be all that was needed. The cost of a heat pump purchase, installation, maintenance and replacement was a long way off from being justified economically or environmentally.

This is an exciting thing to be happening. Adrian Shewchuk, the owner of atelier design + build , dropped off the flooring underlay panels. They need to be kept inside the studio for at least a week to adjust to the moisture level inside. Ron has kept the dehumidifier going and it continues to extract buckets full of water. He does regular checks with his moisture reading tool hoping to see a drop in the plywood floor moisture levels. It looks as though water is now being drawn up from the crawlspace so the dehumidifier gets moved downstairs every few days, then back upstairs.

Thursday, June 25, 2015

Studio Construction:The Finishing Coming and Going Begins

I claimed my space by placing a table and 2 chairs on the porch.

Dave has been working on the outside staircase. It is made from big chunks of Western Red cedar that will resist rot without needing any finishing or sealing. The wood will fade to a soft mottled gray.

The metal treads allow litter from the tree canopy and rain to fall through to the ground below to keep the soil alive. It will also allow shoe grit to drop before I walk into the crawlspace - a good thing because I'm not looking to cleaning the floor more than is necessary. I have other work to do.

The finishing carpenter, Mike, has been working on the window sills. They now have to be filled and sanded then the painter moves in.

The cabinet makers, South Shore Cabinetry, dropped off the built-in cabinets.

They look like big Lego blocks waiting to be put together. 
Now the plumber needs to come in to install the sink pipes then the cabinet maker can install these cabinets.
The construction is at the stage where people come and do a specific task then leave. Then the next trade is able to come in and do their next task which then means the next trade can come in. It is taking a lot of coordination by a number of people to do it all in a timely fashion, namely Ron, the general contractor Aaron Yager and Dave the lead carpenter. They are doing a good job. There is progress most days keeping the whole project moving forward.