Home

Showing posts with label blocking. Show all posts

Friday, July 21, 2017

Photo Shoot in the Green Shed by Tony Bounsall

Tony Bounsall - Tony Bounsall Photo Design came to the Green Shed for a photo shoot.
Tony has been photographing my work for years because he really knows how to capture textiles.
Here he is setting up to photograph Barbara McCaffrey's large work.

I thought this work would be a challenge because it is solid buttons that turn shiny under lights but Tony was up to it and produced a lovely image.

I pushed back all of the furniture to make a large space in front of the design wall.
I invited 3 other artists to also have their work photographed in the same session.
We were all applying for the juried exhibition 'Eco-Threads' and wanted our work to look the best.

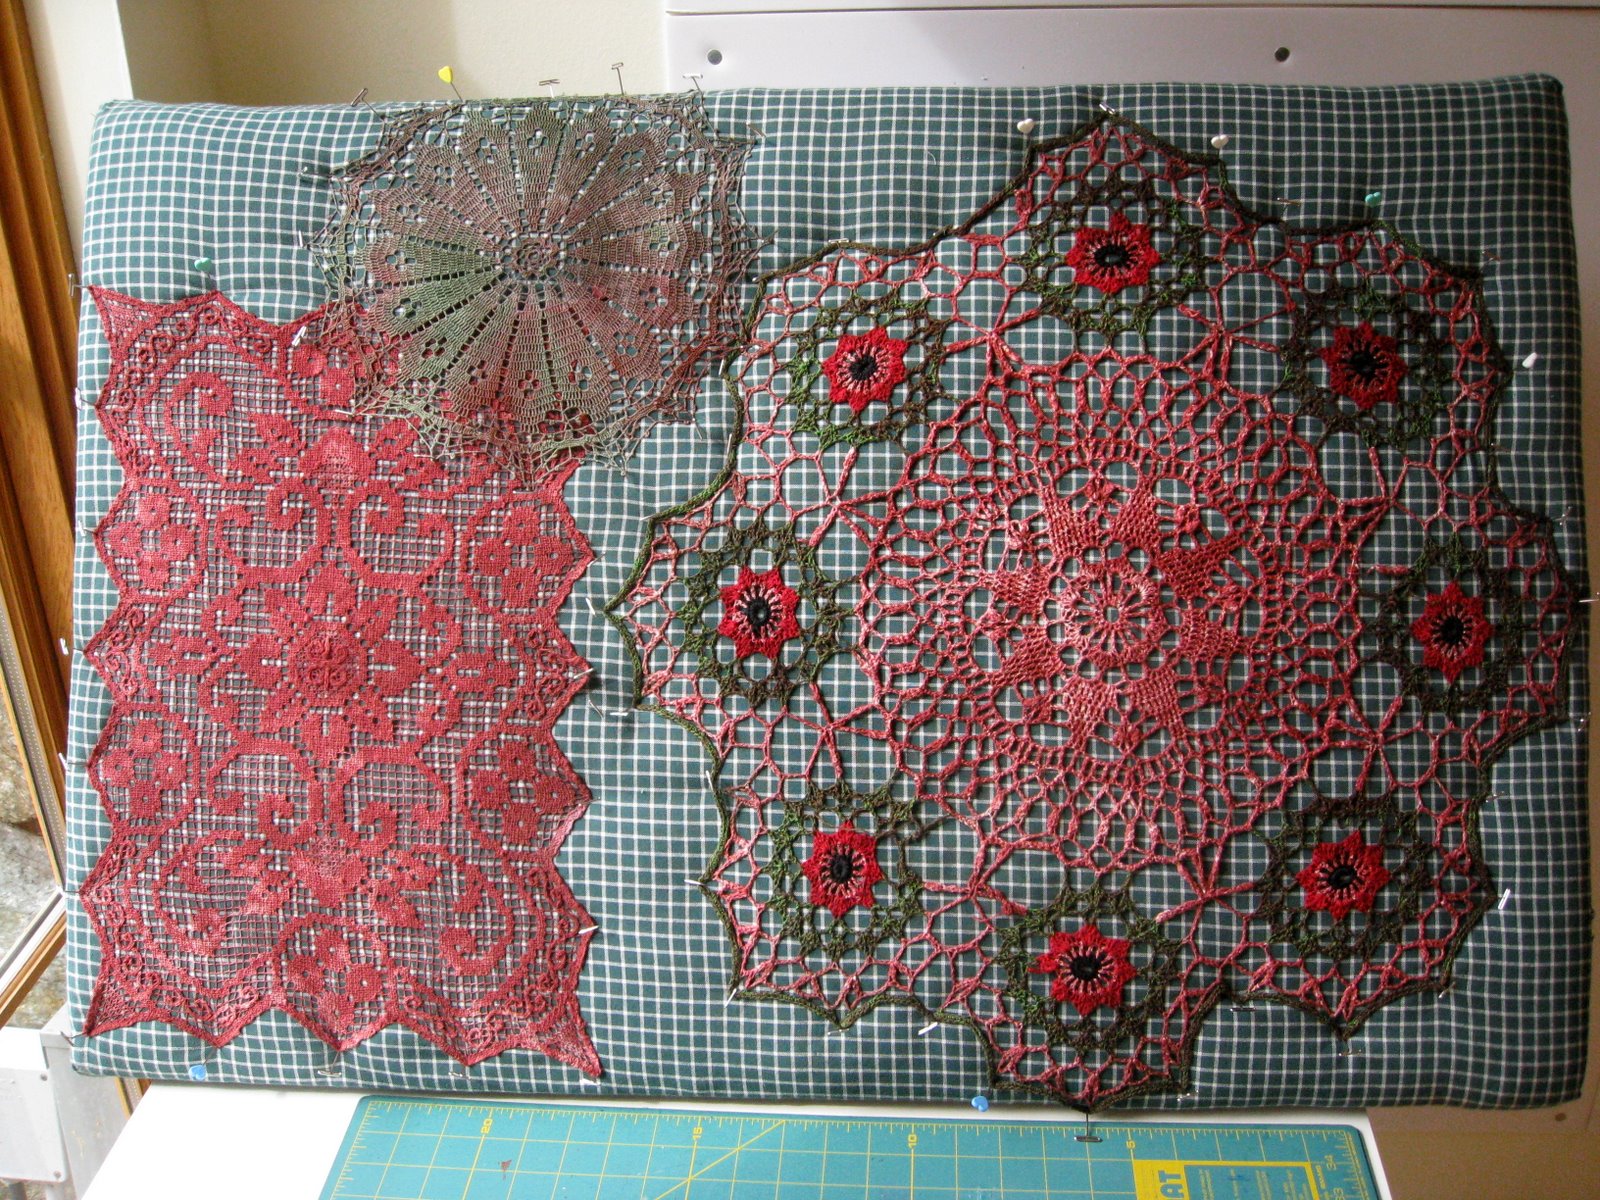
I moved the furniture around in the studio again to be able to block some loooong knitting. I had to build up the lower cutting table to extend the flat surface to block on.

To block knitting I use wires to hold the edges out straight while the fabric is drying. Wool has memory and will hold this shape once it is dry.

I use a t-pins to hold the wires at the corners and at a few places along the edges.

I had made 2 bias knit scarves in kid mohair and hand dyed merino for birthday gifts. The birthdays were happening soon so I needed to get these finished and in the post.

Then it was back to continue working on the Synesthesia series.
The flexible studio space was put to the test this week and proved to work well.

Saturday, September 24, 2016

While the garden grows I am at work in my studio...

While the garden grows I am at work in my studio.

A new work. 
The challenge - how to express what is the province of Alberta on one double-sided panel?
I decided to depict the diversity of landforms in the province - landforms shaped by glacial and tectonic processes.
The schematic with a beginning sample. 

Cutting out the shapes.
I decided to focus on the interlocking shapes of the different regions and I felt colour would be a distraction. I auditioned a variety of different unbleached cottons from my stash. I selected mainly handwoven cottons from India. I washed these fabrics and lightly tumbled them dry to allow their different weaves to naturally collapse into wrinkles unique to each cloth.

Problem - how to make a neat double-sided join?
Solution - couching hand-made jute braid from India that I just happen to have in my stash, patiently waiting until needed.

The different landform shapes have been joined.
Yes, the landform edges do need more definition.

Hmmm, not sure about the outline. Is it too dark? Too wide? Does the whole panel need a wider border?

I added a border of a wider jute braid.

Nope - I don't like the way the outline of each shape takes away from the feeling of the different landform regions being related to each other. So I unpicked all of the braid on both sides.
I sewed on a much thinner jute braid.


Much better. 
Now to block the whole panel just enough to make it hang straight while not flattening out the natural landform wrinkles.
I think this must be the first work I have made without the use of my trusty irons.

Friday, May 6, 2016

Backyard Project - Drainage

Drainage for the Gravel Bed garden
Sammy explains to Ron how the French drain will work.
Sammy Kent, owner of Pacific Ecoscapes is our general contractor for the landscaping.

The river channel in the Gravel Bed garden is dug out. No more swimming pool.

Laura and Mat put down a layer of sandy growing medium.

The river channel is lined with a porous cloth before being filled with rocks.

The porous cloth is pegged down on top of the growing medium.

Sammy cuts and places the first lot of log rounds for the paths between and around the hugelkultur beds.

A layer of compost rich soil is added to the rock garden beds.

In the meantime, I am in the studio blocking a shawl I knit for my cousin.
The back yard is a busy place.


Friday, December 19, 2014

Etsy Shop - Ravenmade Works: My Process


I go to thrift stores, garage sales and estate auctions in search of embroideries, hand made works that have essentially been discarded. Each one has a story about its maker, its owner and its history but for most of them this provenance has been lost.

Sometimes, when I take a work out of it's dusty framing, I'll find a name and maybe a year. Sometimes the stitching has been completed but the work is not framed or finished.
Sometimes the work is unfinished, then I wonder what stopped the stitcher working on it.

Each work is soaked then washed according to the materials it is made from. It is dried quickly in a drying room so the colours don't get a chance to run. Once it is damp-dry, it is pressed and blocked with a steam-generating iron, until it is dry.


Works made from wool are fulled lightly during the washing process so they won't unravel during the cutting up stage.


Individual elements are cut out and grouped according to a colour scheme. 
Crewel embroideries work particularly well.

I go into my stash of vintage textiles to find a background that will work with the collected elements.


Elements are selected, auditioned and composed before I hand and machine stitch them in place.

With needlepoint works, I find 2 that work together then cut them into strips. The 2 different lots of strips are woven together to make a new image but the physiology of the female eye enables her to still see the 2 different embroidered images.
These small works are then mounted in black, shadow-box frames so they can be hung together in groupings or singly.

Thursday, July 24, 2014

The Wedding Shawls

The bride wanted to give her bridesmaids and brother's girlfriend shawls to wear in case things got a bit chilly standing on top of the mountain.
She asked me to make them. I was delighted.
First the sampling with white mohair.

Blocking the sample.

I knit a sample shawl on the bias using a Church Mouse pattern.
It was decided the pattern worked but the yarn was too woolly. 
So I had to go to the yarn store - oh dear.

We settled on a kid mohair/silk mix in colours matching the dresses.
Seven shawls, plus the sample one, were completed in good time. But I had to watch lots of movies on TV to get in the necessary number of knitting hours each week, to meet the deadline.


Here is Amber wearing her shawl.  Each time I saw her over the evening she was wearing it a different way. She made her dress too. She's such a clever girl.


Sunday, September 15, 2013

Working in an Off-site Studio


While sitting the 'Articulated Materials: Bridging Waters' exhibition in Sidney's Tulista Gallery, I worked away in a basic studio set up. I was at the gallery everyday so it was an opportunity to see if I would like having a studio away from home.
After a couple of days of dyeing, I washed and blocked 'log cabin' style knit pieces depicting the colours of different crops grown on the prairies.

The main reason for setting up a mini studio in the gallery was to show people how fibre artists work: the materials, the techniques,  the processes.
There was a sign put up each day, outside the gallery, saying 'Artist Demonstrations'. It was effective in bringing people into the gallery.

Peas, right to left: Spring growth, in flower, pods forming.
Knowing I had to be at the gallery by certain time each day made me leave the house. I don't think I would give it the same priority if I was going to my own 'away from home' studio to work. I would find many excuses and reasons to delay going or to not go that day.  This revelation comes as a bit of a shock to me. Does it mean making art is not top priority in my life? Or do I lack self discipline? Or do I avoid hard work?

 I started machine sewing on the now dry knit farm blocks using my portable teaching sewing machine.
The Janome open-toe, free motion foot kept getting caught in the knit loops. I will continue this step at home using my Bernina with its large, circular free motion foot.
It was an interesting experiment to work away from home for 2 weeks. It has made me think about how I use the hours in each day.
Posted by Picasa

Thursday, May 5, 2011

Blocking

While at the retreat I continued blocking. I had a big pile of washed and dyed doilies that needed to be blocked and dried before going moldy.


Every time I was surprised after I pulled out a damp limp cloth from the bag.


Blocking transformed it
Posted by Picasa

Tuesday, May 3, 2011

Dolies

I have been washing, dyeing and blocking crocheted and tatted doilies.


I have been building up a collection of doilies for quite a while. Friends have kindly been helping, buying doilies when they see them in thrift stores and auction houses.


The range of crochet techniques and patterns is most interesting to study. The majority are made of cotton.


A few of them need mending and some are so rotten they didn't stand up to washing.
Posted by Picasa