The electricians arrived. They asked me lots of hard questions. They couldn't get to work until I had given them logical and sensible answers to all of their questions. Since this project started 3 years ago I have come to realise I am not very good with planning lighting on paper. I need to be in the space and imagine how I will be working in it and moving around. The electricians needed to know what sort of lights and where would the switches go? Take this light at the apex of the roof, will it have a motion sensor to turn it on or will there be a switch somewhere outside the area so I am not walking into the darkness?
How many power outlets do I need above the potting bench? I had to think about what sort of equipment I will be using before I could answer.
The power comes from the power box on the side of the garage along lines strung across the inside of the walls.
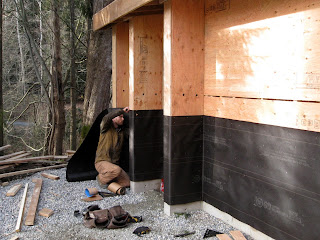
In the meantime, Josh is stapling the black paper barrier to the walls.
The fascia boards have been nailed in place.
Now the electricians have been all of the remaining plywood can be nailed in place.
Plywood is nailed to the walls inside the sheds.
These are the finished walls and ceiling in the shed. We had this finish installed in the studio crawlspace and have been very pleased with how functional it is. There is no maintenance except for a sweeping off of cobwebs once a year. It fits with the industrial look we are going for.


No comments:
Post a Comment