Home

Showing posts with label dyeing. Show all posts

Monday, March 21, 2016

Edge of the Forest Exhibition Arrives in Victoria, Canadian Surface Design Association

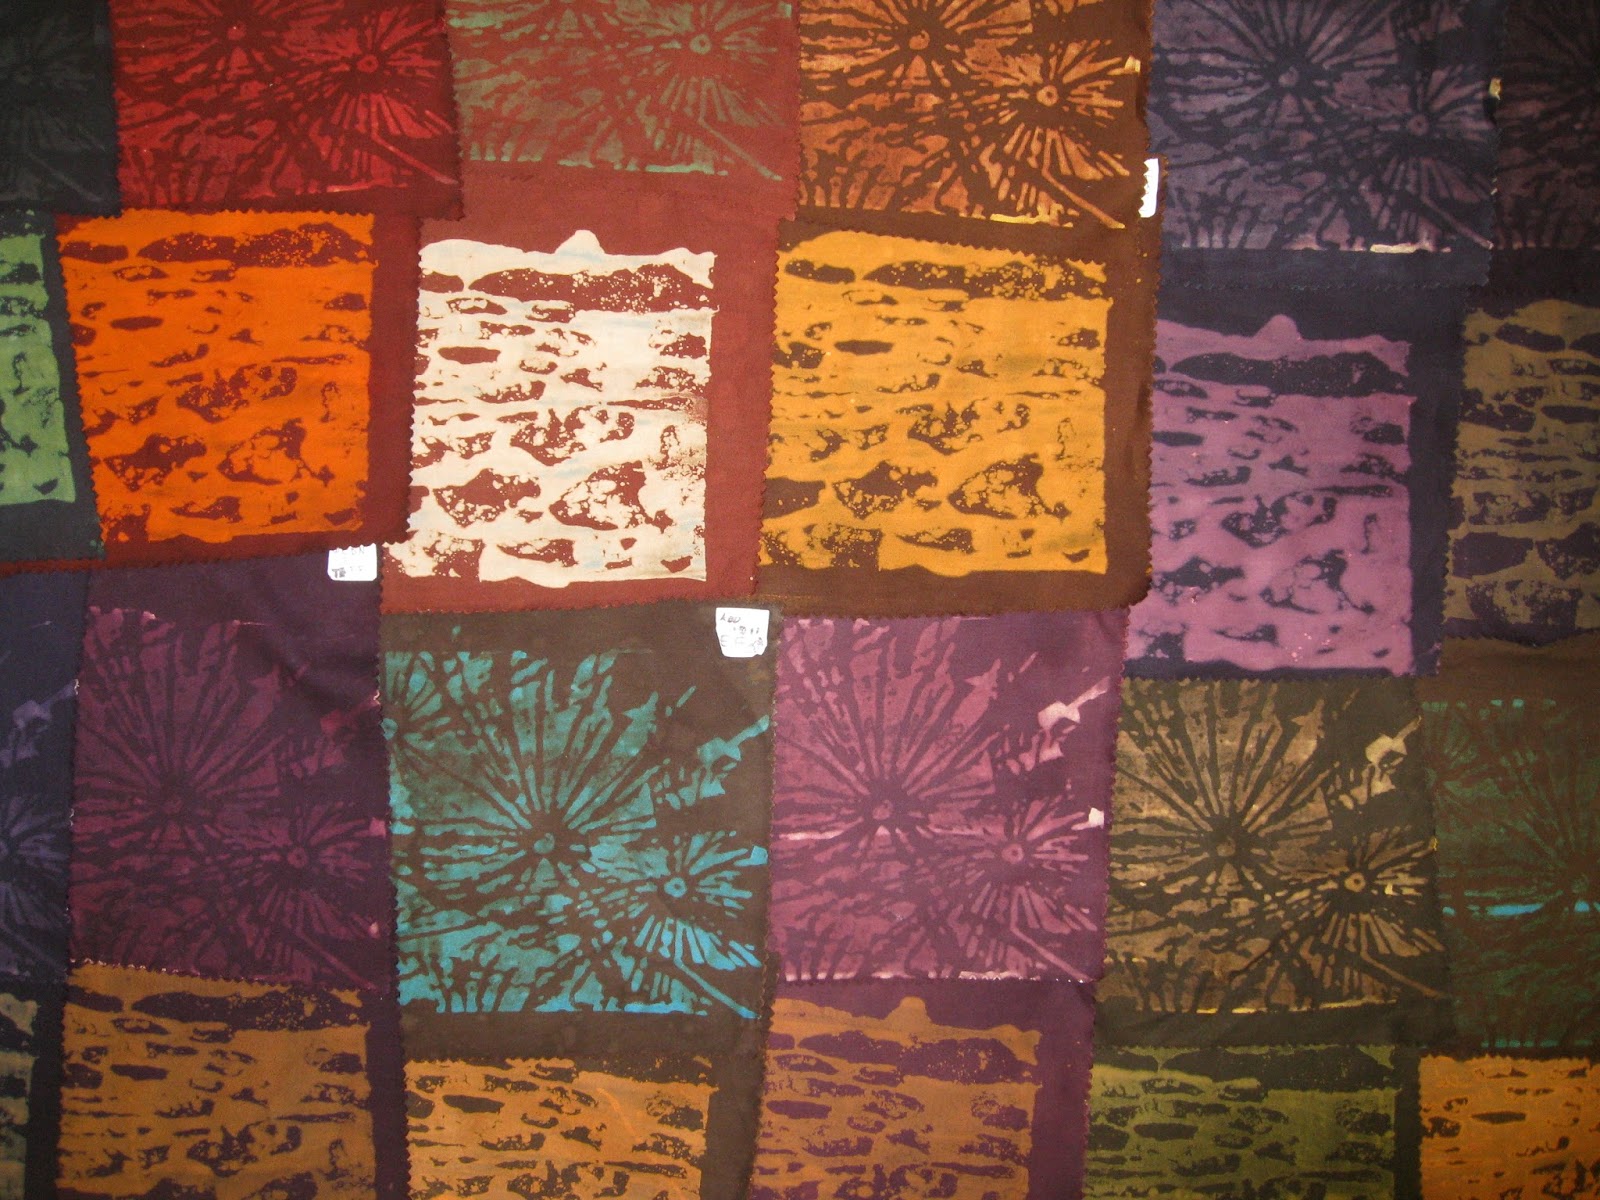
After working its way from Newfoundland and across Canada to places in between, the 'Edge of the Forest' exhibition has arrived on the west coast. 


Actually, the 54 works in 2 shipping crates arrived on the island a month or so ago and I have kept them in storage until today when they were loaded into the car to be taken to Coast Collective's new gallery in Colwood.

Barb McCaffrey - Hanging Team Member
The first task was to measure all of the hanging walls and do a bit of math to work out how to fit in all of the works without gaps, squishing or have work left over.
We laid white sheets on the floor then laid each work down as we unpacked the boxes.

Laura Feeleus - Hanging Team Member
Next, we moved works around to find the best arrangement for each wall.

We tried lots of different combinations until there was a consensus.

I think I am checking the lighting.

The view from one entrance door with labels up but lighting still to be adjusted.

The view from the internal entrance.

Anni Hunt's work beside the text panel.


This Surface Design Association exhibition by Canadian members is to open in the Coast Collective's new gallery in Colwood, just out of Victoria, on Vancouver Island.
It opens on March 23rd and there will be 2 receptions during the duration of the exhibition.
The first reception, on March 26th from 2 pm to 4 pm, celebrates the arrival and display of the current work by Canadian textile and fibre artists.
The second reception is private because it is part of the 3-day 'Gathering at the Edge' event where over 40 BC members of the Surface Design Association will come together to share and build their community. 18 of the 26 BC artists whose work is in the exhibition will be attending this reception.

I do hope if you live in this part of the world or are visiting at this time you can come and see the exhibition, attend one of the receptions and talk to the artists about their work.
For more info on the exhibition and details about every work visit the website Edge of the Forest


Monday, November 30, 2015

50 Shades of Grey - A Carol Soderlund Workshop at Pacific Northwest Art Centre, Washington

I was fortunate to be able to attend one of Carol Soderlund's workshops- Carol's website.
She taught us her dyeing techniques while guiding our explorations of the colour wheel's neutral territory. With Carol exploring neutrals is like going down a rabbit hole.

Carol applies the dye in her unique way to get an even distribution of colour on the sample.
We cut up all of our samples and shared them with everyone else in the class.
Carol has developed a system for filing samples with their recipes in a binder making it a valuable resource.

Carol is looking very pleased because this is an exciting day in the life of a die-hard dyer.
A package arrived from Rupert and Spider containing a pot of the very first neutral grey in a pure dye powder. Up until now all greys were a mix of other colours and they tended to separate when dyeing.

Carol gave us an exercise in gradation to test the new grey dye.
She gave each of us a pure colour and using her dyeing technique we made controlled samples from the pure colour through to grey.
The results were most pleasing.

Those who wanted to went outside to learn about different discharge methods and the effects on different colours.

We got some exciting results.

Carol is an excellent teacher and I learned so much from her over the 5 days.
I learnt a new dyeing technique and vastly expanded my understanding of where neutral colours come from. 
Every student came away with a binder full of samples and recipes for hundreds of neutral colours and the understanding of how to make even more.
I look forward to taking another class with Carol.

Saturday, October 24, 2015

VISDA Exhibition 'Garden Tapestry' at Portals, Duncan

Louise Slodoban, 'In An Artist's Garden' 
Photo transfer, procion dyed cloth, mono printing, screen printing, sun prints, machine & hand stitched.
Louise was inspired by a visit to Grant Leier and Nixie Barton's Studio Garden at Yellow Point.

The Vancouver Island Surface Design Association has an exhibition in the Portals gallery in the CVAC Centre of Arts, Culture and Heritage until November 10, 2015.

Georgina Dingwell, 'At Night in the Garden'
Printed surface with silk overlay and stitching.
"This piece is about the way we perceive darkness. The mind can take us to scary places even in the realm of beauty in a garden."

All artists worked within a 12" x 60" or 72" framework so there was uniformity in the size of the works. This serves to unify a wide range of styles, techniques, materials and ideas.

Elserine Sprenger, "karesansui" (dry landscape)
Handwoven, linen, silk, raffia, stones, madder, indigo.
"This piece is woven in a partial double weave structure and symbolises the strength and at the same time the fragility of Mother Nature; the stones that have survived millennia and the linen which so easily deteriorates when exposed to the weather."

 
karesansui (dry landscape), detail

Sarah McLaren, 'Joy'
"Own hand dyed linen/cotton blend fabric, hand appliqued with silk thread, machine quilted, wool batting, binding done by hand. 
Inspired by whimsical floral shapes, open weave linen, a love of colour subtleties and a passion for fabric and stitching, my intention was to design and create a joyful art-quilt garden tapestry."


'Joy,' detail. 
Sorry, the colours are way off in these images of the works. The gallery has the work well lit which makes for difficult photographic conditions.

Sarah beside her work. 
The colours here are closer to reality, but images of textiles never really do them justice. You will have to go to Duncan to see for yourself. 

The exhibition is on until November 10, 2015.
The gallery is open Monday through to Saturday, 10 am to 5 pm.

Tuesday, October 13, 2015

Studio Footwear and Laundry Centre

I received lots of comments and questions about my choice of Studio Footwear, as seen in this previous blog post.To answer you all, here are the details.
Outside: (Left) Suede, Danish-style clog. Brand - 'Simple'. The best feature is when I step in soft soil the heel print says 'past' while the toe part has a forward pointing arrow and says 'future.'
Inside, winter: (Middle) Shearling sheepskin suede, backless moccasin. Brand - Nuknuuk.
Inside, summer: (Right) Thong/jandle/flip flop with moulded sole and cloth straps. Brand: 'Axign'. (Thank you sister for putting me onto these. And for letting me wear yours until you took me shopping to get my own pair.)
All are easy to slip on and off as I move in and out of the studio.
So there you have it.
Now to the Laundry Centre.

Regular laundering of cloth I will continue to do in the house.
Wash-out of dyed cloth I will do in the studio, beginning with the cold rinse in the big, deep tubs.

Since learning about Carol Soderlund's wash-out method, the next step will be to simmer the cloth in a stock pot filled from the instant boiling water tank.

Out of the cupboard under the tubs I will lift out the spin dryer...


... and set the outlet spout over the tub. I put the cloth in the top, plug it in and away it goes, spinning out all excess water into the tub.
It is one of those appliances with lots of names all over it - The Laundry Alternative Inc., Nina Soft, Mueller Electrodomesticos (the best name). They also make/sell? a small, bullet shaped manually operated washing machine - appliances for those who live in small spaces.

After the spin, I will steam-iron cellulose fibres dry, a technique known as polishing. Protein fibres such as silk and wool I will dry on a rack in the shade before lightly steaming them.
This is the studio laundry process. 
I didn't want 2 big machines when there is a set in the house. I didn't want to make the studio plumbing more complicated than a single tub area. And I didn't want to take up valuable studio space with machines at the expense of the horizontal work surfaces.
I'll keep you posted on how this laundry system works out.


Thursday, October 8, 2015

Studio Design: Porch, Electrical Centre, Tea Centre

Continuing with a diary about how I use spaces in my new studio, as requested, I have used the crawl space.
During the Green Shed Open House, a friend offered me some of her Japanese indigo harvest. How wonderful. I visited her and came back with many large bundles of freshly cut indigo. I couldn't deal with it that day, but she had sent me a link to a site with a recipe for dried indigo. 
I borrowed the drill, found some hooks and hung the indigo bundles from the ceiling of the crawl space.

I moved the dehumidifier nearer the bundles to create air movement to stop any mold or mildew (probably the same thing) from forming. The dehumidifier took out of the air the extra moisture created by the drying plants. 
The leaves have dried perfectly to a deep blue.

Another lovely friend gave me a bucket of walnuts from her tree.

I got to use the porch for the first time when I went out there to take the husks off the shells.
I found it to be a pleasant space to work in. 


Inside I plugged in the first appliance in the electrical centre - a wide and deep counter/bench with lots of easy to reach power outlets. The hot plate works by induction heating only the bottom surface of the pot to an exact pre-dialed temperature. If the pot is taken off the element it stops heating. Other things can be programmed too, like a timer, a pre-set temperature and more. This reduces the risk of leaving a hot heating element unattended by mistake.
The window opens out towards the prevailing breeze. The breeze enters the room and moves the heated air up across the room and out the upper clerestory-like windows on the east side. It is designed to be a passive ventilation system.
I think I got so excited about simmering the walnut husks I forgot to take a picture of that stage.

It was time for tea. This is my tea centre with different teas and snacks in the little drawers.
Ron gave me the lovely teapot for this spot.

At the water centre, there is an instant boiling water tap. I drink herb teas that are made at temperatures below boiling point so the thermostat is set at below the boiling point.
This instant 'boiling' water was used to fill the pot to simmer the walnut husks in. It is more energy efficient to heat a small amount of already hot water a few degrees more than to take the same amount of water from cold to hot each time.


I had tea in the 'sunny room' for the first time. I will explain the Pattern Language 'sunny room' term in a later post.
My cousin, who does interiors for a living, helped me find the perfect chaise for this spot. Thank you, Karen. 
It is where I will read, rest, contemplate, and drink tea. 
The little wall heater, bottom right, has its own thermostat so I can set the room to be a little warmer than the main room while I sit still.
So that was the first day in my new studio.

Thursday, September 17, 2015

Kim Eichler-Messmer Dye Workshop

For a couple of years now I had been wanting to attend Kim Eichler-Messmer 's Percentage Dyeing Workshop so I signed up straight away when I saw she was coming to the Pacific Northwest Art School in Coupeville, Washington. (Check out  their just published 2016 calendar)

Kim practices and teaches a percentage system that makes it possible to reproduce colours exactly. 
Day one focused on mastering the basic system of weighing the fabric then adding precise amounts of dye from stock solutions. 

We each made 2 sets of our basic palettes, one in dark values and one in light values. We used these two sets as a starting point for all of the following exercises.

Homework was to find some favourite images and isolate 4 to 7 of the most important colours in each of them. Next day we sifted through a huge pile of Kim's paint chips and the ones we had brought with us to find colour matches with our chosen images.


Then we set about dyeing white fabric to match the colours in our chosen images. 
That was a fun exercise and a most valuable skill to learn.
We also learnt how to made many different types of colour gradations.


Each person cut up their samples and shared them with everyone else. We left the class with a big bundle of samples and instructions on how to reproduce each one.

I rewrote all of the recipes into a new dye notebook, numbering each one to match with the unique number on each sample. What a valuable resource that I can keep adding to. 
I used to dye lots of fabric in  a haphazard, non-repeatable way then pick from the fabric pile the colour I was looking for. Now I know how to dye to replicate any colour, make a value gradation, from the palest to the darkest, produce a 2-colour gradation going from bright to neutral with no change in value and how to scale up to any quantity of fabric with consistent results. No more random dyeing for me.
Thank you, Kim, for  teaching an invaluable technique with infectious enthusiasm, never-ending patience and a great depth of dye knowledge. 

Wednesday, August 19, 2015

Studio Construction: Furniture and Fittings

This is the project station, with its wheels attached. The open space is for long things, like bolts of fabric and long rulers.

Mick is asking us where we would like to have the drawer handles placed. It is hard to make an on the spot decision about something one hasn't considered before.

Ron is assembling the faucet. He spent a lot of time in front of the computer trying to find the faucet I had described to him after working with different types in different studios. He was successful with his search and I am pleased.
Now to put it together.

Looking good.

After everyone had left I had a play moving the furniture into its correct place. The nearest unit, on the left, is the print station. The smaller one, on the right, is the dye station.

View from the other end of the room. This unit is the project station.
It is getting so close now I barely sleep at night.

Monday, August 17, 2015

Studio Construction: Fixtures and Fittings

The hot water tank is installed in the crawlspace below the tub. This energy efficient placement means little heat is lost between the hot water tank and where I need the hot water.

South Shore Cabinetry made and installed the cabinets and some of the furniture.
Here are my drawing and design desk areas...

...backed by a bookcase.

The print table gets its wheels.

These drawers...

...go into both sides of the dye station.

A shelf is made to support the double tub.

The tub is braced while the sealer cures.
The room is finally coming together and beginning to look like a studio. I am enjoying visualising how I will work at each of the stations.