Home

Showing posts with label food forest. Show all posts

Monday, June 11, 2018

Garden Report: Spring Growth while I wasn't looking

While I have been away the garden has been at work doing what it does best - growing.
I have officially declared the Gravel Bed Garden test a success. Plants are growing and flowering profusely, much to the insects' delight. I will continue planting according to the plan.

I have left several parsley plants to go to seed.  I am hoping to transplant lots of parsley seedlings next spring.

The Globe Artichoke plant has come back again this year, evidence our winters aren't too cold for a lot of hardy plants. I have planted 2 more mainly because they provide a mulch cover for soil I haven't planted yet and supply a lot of biomass when they die back. I'll leave this top bud to flower because it will look magnificent standing tall in the bed and the insects will enjoy visiting it. We hope to catch the other buds before they open and enjoy eating them. Everyone will be happy. 

Jostaberry
Wikipedia says, 'The jostaberry is a complex-cross fruit bush in the Ribes genus, involving three original species, the black currant R. nigrum, the North American coastal black gooseberry R. divaricatum, and the European gooseberry R. uva-crispa.'
I have planted 2 shrubs and they are doing well. I am looking forward to tasting jostaberries for the 1st time.

The potato patch is telling us it is ready to harvest. This is a self-sown patch grown from potatoes I inadvertently left in the ground after the last harvest.

I bought a number of Borage (Borago Officinalis) plants as annuals. Here in our garden they are happy and acting more like perennials by growing back each year. The insects visit the flowers constantly. With the last of the flowers, I am now cutting these large plants back and placing them on the soil as a mulch layer. They will start to grow back again in a few weeks.

Swiss Chard/Silver Beet is another plant I am experimenting with leaving to go to seed. The plant is over 6 feet tall and I'm not sure it has stopped growing yet. I am waiting for its seeds to mature before harvesting them.
There was lots of action in the garden beds while I was away. It is time to give the plants some attention which I am very happy to do.


Sunday, October 29, 2017

Garden Report: Hugelkultur Bed - Bird Haven


This past summer was a bumper year for berries in the garden.
Mahonia bushes produced large bunches of berries. Individual berries weren't as large as other years but this year there were so many mid-sized ones the bushes were heavy with them 
The birds loved them.
The birds also started to enjoy the newly established Bird Haven Hugelkultur bed.

The original site for the Bird Haven bed was a tired grass lawn and a few natives under a Douglas-fir tree.

One of the first tasks Tom tackled with his big machine was to carefully bring the logs from a pile made when the lot was cleared to build the house, out into the backyard.

He picked up the native plants and placed them in a temporary bed outside the construction zone.


Construction of the Bird Haven began with Tom scooping out a trench inside the outline I had marked with yarn. Next, he laid logs in the trench to roughly fill the space.

He covered the first log layer with topsoil he had saved when he had cleared the Backyard site...

...then stacked on top another layer of logs....

...and covered it all with a layer of soil he packed down lightly.
Tom had made a hugelkultur bed (mound culture), a garden building technique long common in forests of central Europe. 

No scrap of wood is ever wasted. Piled up and buried the wood acts as a water reservoir accessible to plants during the dry season.
Here I am planting pieces of comfrey root around the base of the bed. The quick growing comfrey with its deep taproot will hold the base of the mound during the rainy season.
Ron and I began adding a variety of organic materials to the soil mound as a protective mulch - fallen leaves, grass clippings, coffee grounds, composted shredded garden clippings.
I cast a number of different types of seeds planning for them to grow as a green mulch cover. The birds thought I had laid out a smorgasbord and feasted before heading south. Oh well, I rationalised, they wouldn't have eaten every single seed. The remaining seeds will germinate in the spring and do their job.
The birds are enjoying the bed even before it is fully planted.


Saturday, October 14, 2017

Garden Report: Successful Completion of Gravel Bed Garden Trials

The 'before' shot of the Gravel Bed Garden, before the Backyard Project got underway. A huge expanse of lawn that required care, so much water and it still looked a wreck.

October 2015
Tom at work painstakingly interlocking every rock to edge the boundary of the Gravel Bed Garden.

Sammy, Mat and Laura put in a french drain, laid drain cloth, added a layer of growing medium, and lastly placed the gravel.

April 2016
This garden is not going to be irrigated so I didn't have to wait for the irrigation installation before I could start planting. Early in the spring last year I started by transplanting rosemary bushes from other beds.

I started a trial path with different ground cover herbs to see which ones would be happy in the hot dry conditions.

Over the spring and summer, I planted samples of lots of different plants that fit my spec.
I marked the path out with empty pots which confused a lot of people - is that art?

August 2016
Plants have grown with only the occasional hand watering.

July 2017
The plants are thriving, having survived one hot dry summer and one cold wet winter.

Small Russian sage was planted early spring and by mid-summer had put down enough roots to support lots of flowers that the insects loved to visit.

Over this past spring and summer, I continued to buy and plant ground-cover herbs until the path was completed. Some plants aren't doing as well as others so next spring I may replant with hardier types.


Over the summer I often took my studio tea break sitting out in the Gravel Bed Garden so I kept an eye on how different plants were doing and when they needed help with a hand water.

October 2017
There was a lot of growth over the past summer. 

The 2016 plantings have grown to make the path covered over in some areas. Other plants were pruned after flowering then continued to fill out.

The Corsican mint path plants in the foreground did not cope very well with the very dry summer and may be replaced next spring. The other plants have done so well I will be cut them back a lot next spring.

I have researched plants that fit a spec and made a long list of suitable candidates. After successfully trialling some of these plants over 2 springs and summers, I can now go ahead and complete the plantings as planned. Come spring I will be out visiting my favourite nurseries with plant list in hand.


Friday, August 4, 2017

Backyard Project: Sorting, Recycling, Reusing - the Waste Materials


It is time to sort through the construction waste materials.
Josh took all larger pieces of plywood to use on his next job site. It is useful for making the form work. He didn't have to buy much more plywood for the form work because he reused a lot from the construction of the Green Shed.
All of the smaller pieces of plywood and all painted wood was piled up to be taken away in the garbage trailer. It is all the wood with glues and chemicals that are not safe to burn.

The garbage trailer also took away plastics used to wrap supplies, hold glue and cover curing cement.
I presume it will go to the local landfill where the trailer will be weighted and we will be charged according to that weight.

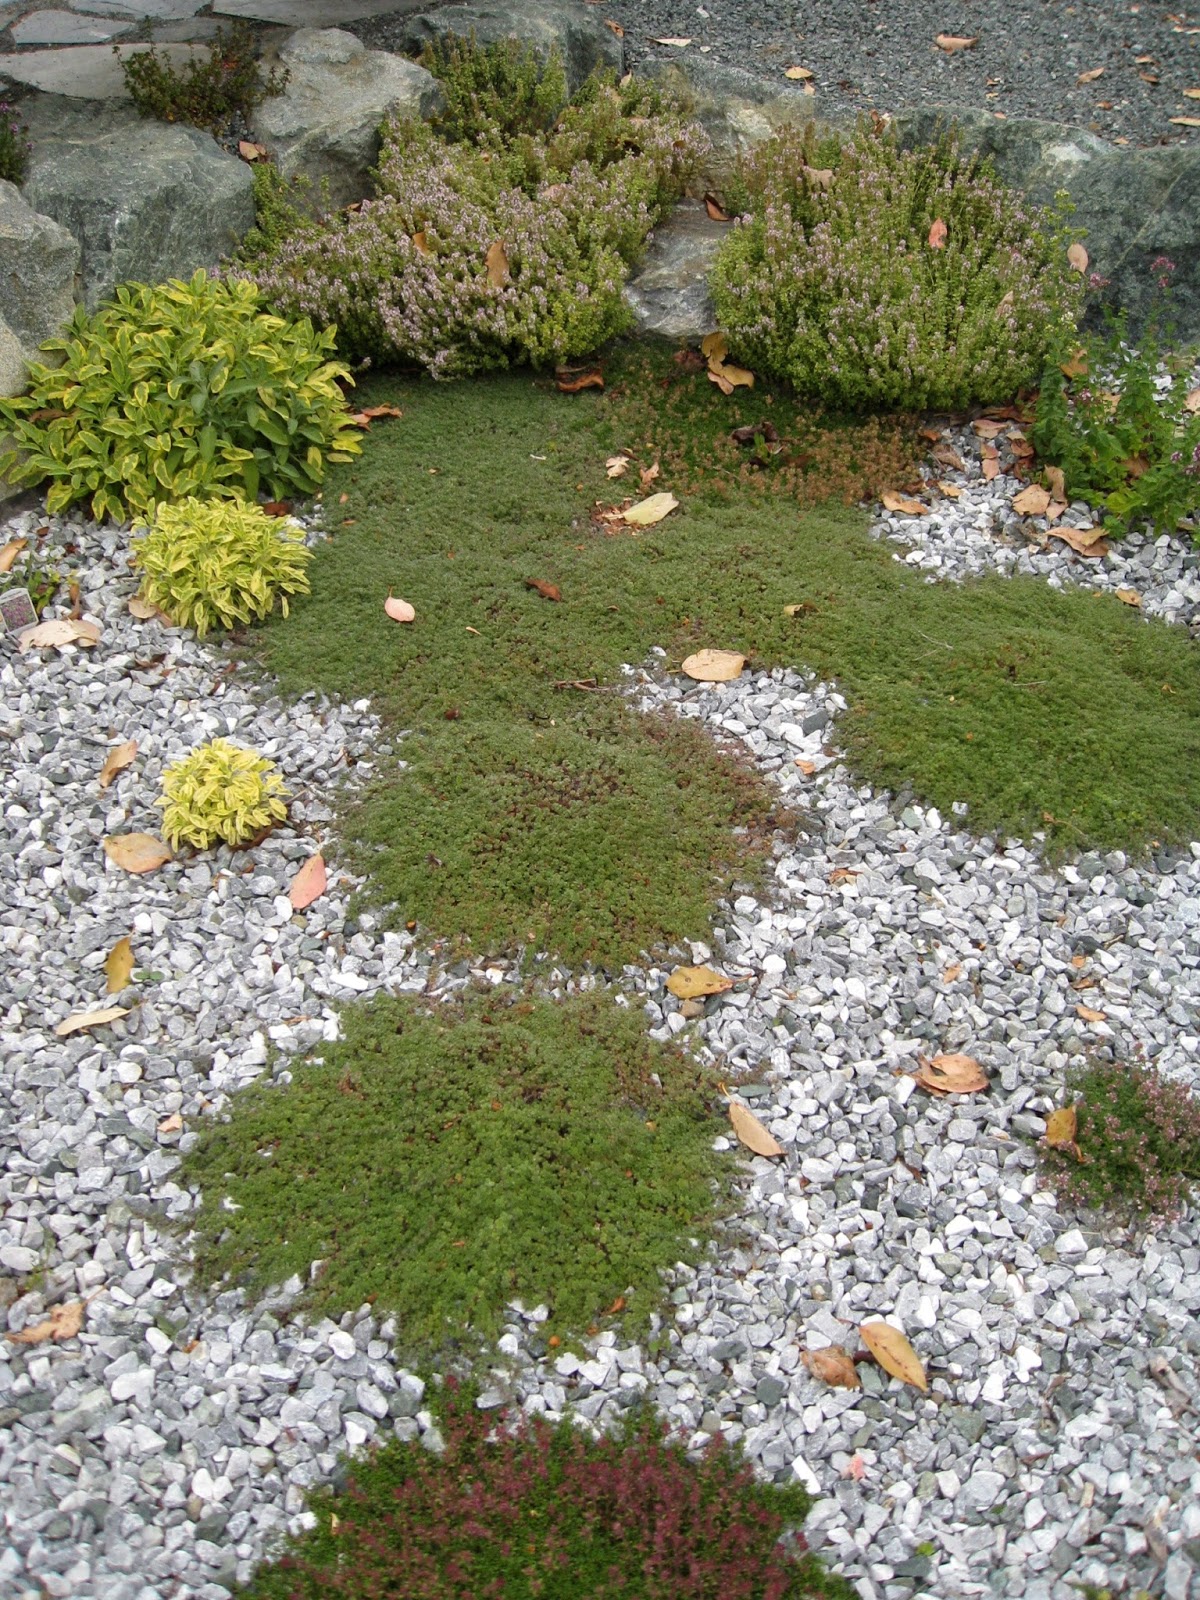
The left over blasted rock in the background will be used to edge paths.
I used some of the broken pavers as stepping stones in some of the garden beds but most of them, along with the waste concrete, was stacked under the Green Shed's Contemplation Room, there if we ever need it. Because of its weight, it would have cost a lot of money to dispose of in the landfill and there wasn't enough to warrant a dump truck taking it all the way to the quarry for recycling.

Taylor tackled the remaining waste wood pile. He and Josh had reused it so many times on the job the remaining pieces were just smallish off cuts.

I measured the sizes of our 2 fireplaces to find out the maximum length of wood each to take. Taylor then used these 2 numbers to make the best cuts in the remaining wood. Here he is making 2 stacks with longer pieces on the right and shorter pieces on the left.

It was pointed out to me we would be paying for Taylor's time to cut this wood. I pointed out how much it costs to have a pickup truck load of firewood delivered. Also, I was not comfortable with paying for this wood to go into a landfill when we could use it.

Josh used the forks attachment on the Bobcat to move the bundle of long pieces up to the patio area and put it as close as he could to where it was needed.

Ron then moved each piece and re stacked it beside the chimney. Notice the air holes he has left to help keep the wood dry.

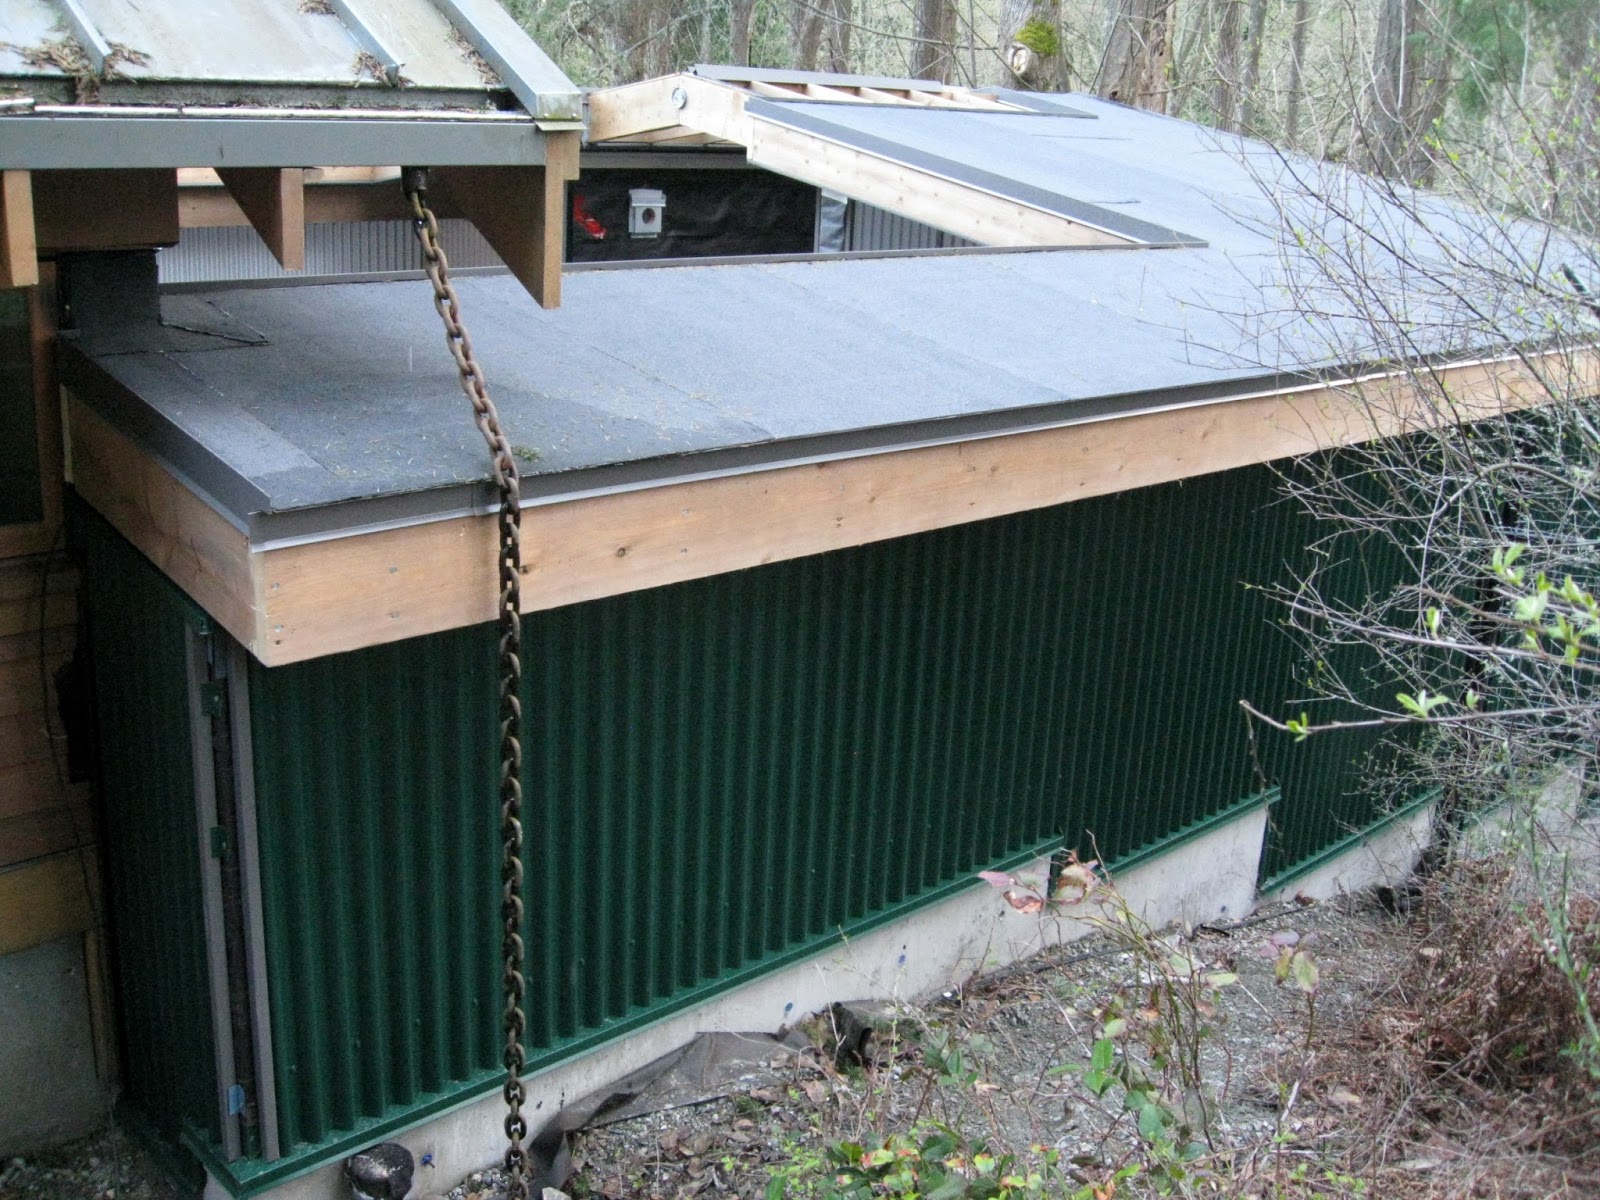
The last couple of trees that fell during the winter storms have been cut up, some of it in suitable lengths for firewood. This called 'hucking' the log. These lengths are left to dry out for a bit or not (there are different schools of thought on this) then Ron splits them. He dumps them behind the propagation table and it is my job to crawl under and stack the wood. It will be protected behind the glass and the bottom part will allow air to circulate.
Locating the firewood stack here is another function of the Propagation Room and it solves the previous problem of there being nowhere to stack firewood near where it was needed. The fireplace is inside the house to the left. 
Plus I love the look of stacked firewood as a design feature and for other reasons.

When a tree falls or needs to be cut down for safety reasons we now have a standard order for cutting it up. If it is still standing we ask to leave about 15 to 20 feet standing and hope it will become a wildlife tree. The tree above fell over and its root area will be left as is because the disturbed soil stimulates all sorts of soil organism and plant activity. 
Next the widest part of the trunk is hucked into lengths to later be split for firewood. The next section of about 15 feet is left lying on the ground as a nurse log to support new growth in the forest. The next part is cut into 5 inch rounds and I use these for making 'gardener's paths' to give access into the middle of the wider garden beds. Depending on the length of the tree there may be another section for firewood. The last part of the trunk I use the small sections as edges for garden beds. The branches are cut off and left insitu to protect young plants in the undergrowth eventually rotting down to feed the soil. 
When I explain what I want to the most obliging forester it reminds me of giving the butcher the order when cutting up a whole animal.

Ron is stacking the shorter lengths of construction waste firewood under the inside of the propagation table. I didn't want to be able to see it from the outside thinking it would not look very attractive but he has done such a neat job I think it looks lovely.
So that is the story about managing the waste materials from the Backyard Project construction site.


Monday, July 24, 2017

Backyard Project: Garden Sheds, Garden Beds and Rock Edges

The cladding on the 2 sheds is coming along. This is the south wall.

Interior north wall

Interior south wall where my potting counter will be built.

West wall with its 2 windows. Glimpses of this wall can be seen from the road.

Outside north wall. The drainage chain will be replaced with a downspout.

I am in my studio cutting up lengths of garden cloth...

...while Taylor is carrying buckets of drainage gravel up from the back driveway to the new Lower Patio bed area  (used to be the hot tub).

Taylor is placing the gravel on top of the drainage filter cloth...

...then wrapping the cloth around the gravel making a drainage sock. The filter fabric keeps soil out of the gravel so it will continue to drain water away.

As soon as Taylor had finished I added a thick layer of recycled paper then a layer of wood as the beginning of the soil making process. I am looking forward to planting these beds but I will have to hold back until the soil organisms have done their job.

Taylor then moved on to continue making the rock edge of the new garden bed. Didn't he make a nice curve using the blasted rock? I think he has discovered another talent - stone masonry.

I gave him my shortest path stick to use as a guide when placing the rocks.
Taylor was able to work with me for the morning and we got so much done.
I like it when several areas of the Backyard Project are being worked on at the same time. It feels productive.