Home

Showing posts with label forest. Show all posts

Friday, February 12, 2016

Backyard Project: Gravelbed Garden

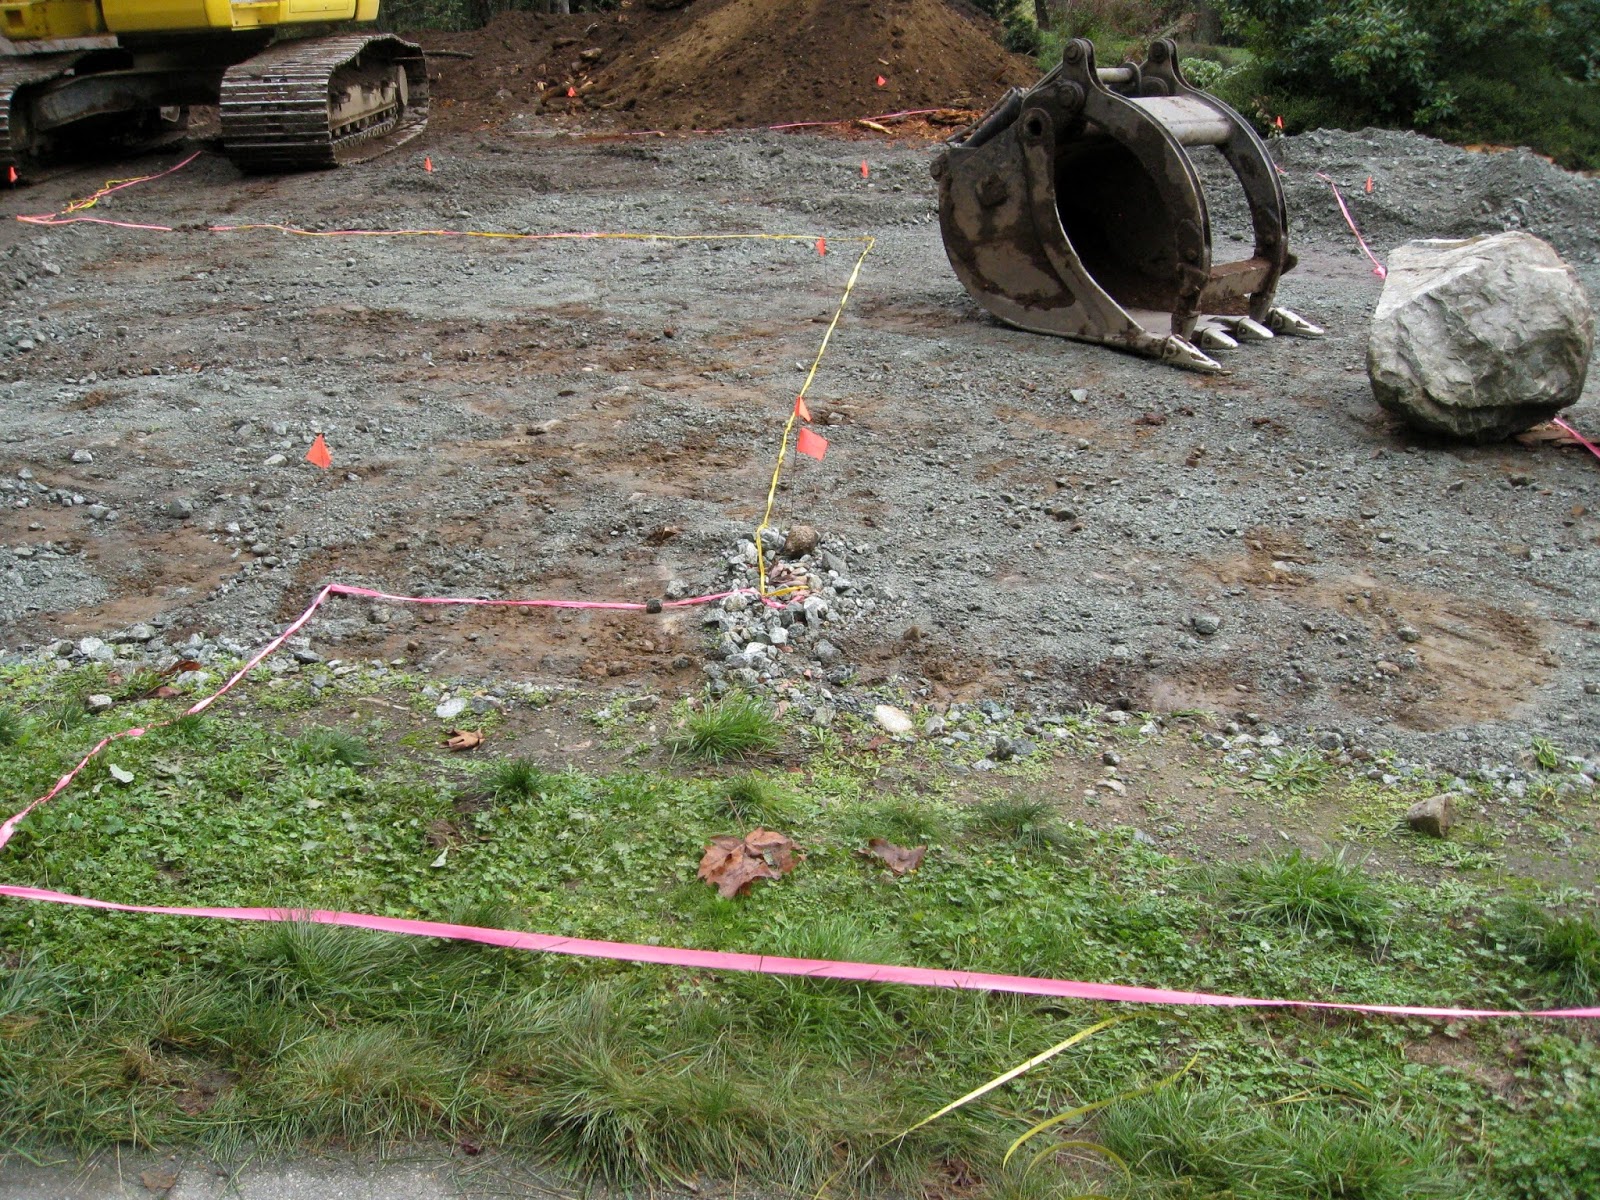
Here I have laid out with tape the boundary of the next area Tom will work on, the Gravelbed Garden.
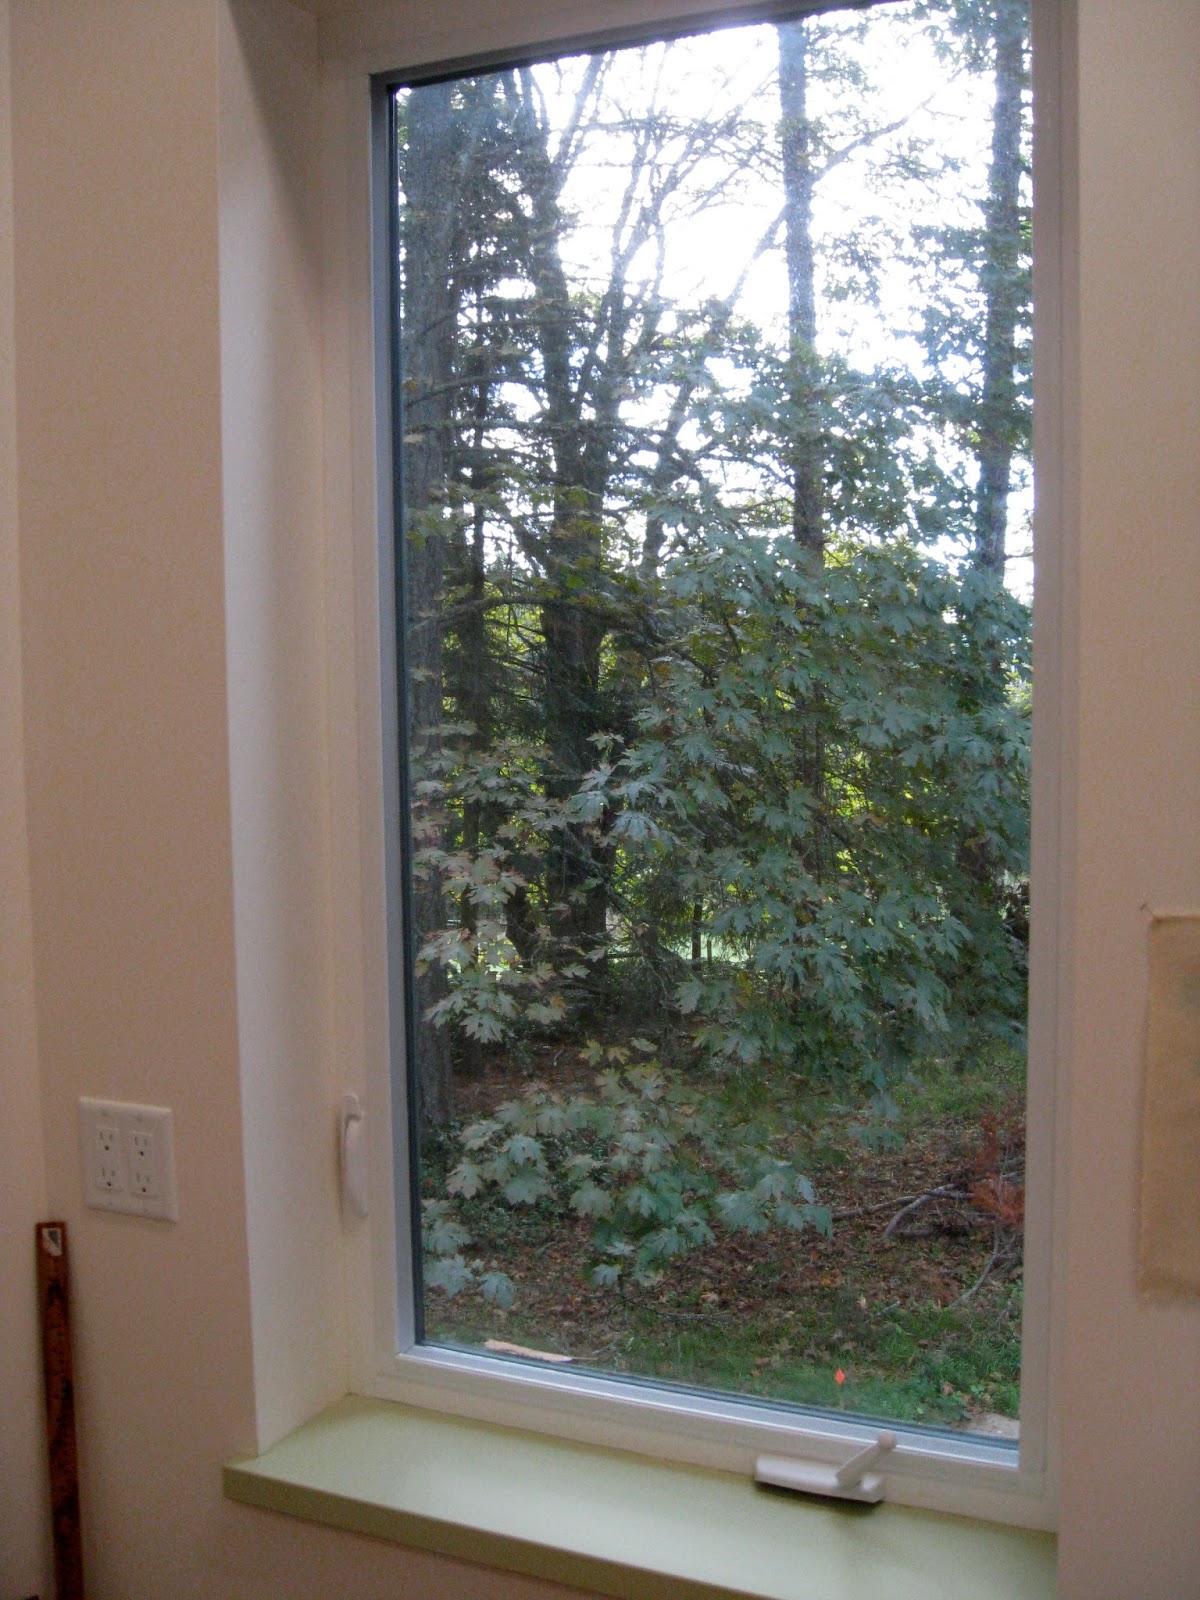
The Backyard Project is made up of a series of interconnecting rooms. This is a concept from Christopher Alexander's Pattern Language research where each room is considered a centre.
It is the use of centers, and the knowledge of the fundamental role that emerging centers play in the evolution of a design, which gives the design process an orderly character, that can succeed, and allows you to keep a clear head while you are doing it, and a clear mind about the long term target, and the immediate action you must take, at each step, step by step, that will guide the design towards a successful end-state.
He explains and expands on this important design principle of centres in his books 'The Nature of Order, volumes 1 to 4.


First Tom works on the pathway which is one of  the boundaies defining the Gravelbed Garden room.

Tom lays down and compacts a mixed-size gravel base for the path.
Next he turns to his pile of smaller rocks and starts sorting them by shape. He mentally names the piles according to their function.

Then he begins the slow task of selecting the right rock and putting it in its place. The task demands a lot of focused attention.

Tom was wiped by the end of the day. It took him another half day to finish placing the rocks.
I can see in my mind how it will look when it is planted and surrounded by the other interconnecting rooms. It looks fabulous. Once again Tom did an amazing job.

Tuesday, January 19, 2016

Backyard Project: Rocks - Big Rocks and Little Rocks and Other Materials - Check


Tom ordered rocks - big rocks.

Tom checking to see what he has to work with.

Others materials needed to build a garden.
*Topsoil - Tom scraped off and piled up all of the top soil when clearing the site before studio construction began.

I planted the pile with green manure plants to protect the soil from rain erosion and to add biomass, nitrogen and other minerals to the soil.

The deer thought I had laid out a smorgasbord for them. Luckily they didn't like all 10 of the different seeds and some remained to grow.

*Rocks -Tom piled up the bigger rocks as he came across them while clearing the site but these weren't enough in amount or size which is why he ordered truckloads of huge rocks.


*Logs - to make a special kind of raised bed.
*Decayed Logs (shredded) - to add to the soil mix for the garden beds.
Tom has all the materials placed where they won't get in the way and where he can reach them when he needs them.
Now the Backyard Project construction can continue.


Friday, January 15, 2016

Backyard Project: Transplanting, Building, Shovelling, Back-filling, Capturing

Some of the transplanted plants we wanted moved to other garden beds around the house to fill in gaps.

Tom scooped them up one at a time and put them in our little tractor trailer.
Ron and I planted each plant in a pre-planned flagged spot. 
We had to work fast to keep up with Tom.

While waiting for us, Tom built a small rock edge between Gunilla's garden and the track.


Tom had dropped a pile of soil as far back beside the studio as he could reach.
It made Ron's job a lot easier.

Ron is back-filling over the studio's gravel-covered perimeter drain. 
It took many wheelbarrows of soil but I see he is still smiling.

At the same time, I was supposed to be in my studio working. With all of that activity going on outside the window I didn't work very well. I constantly went outside with camera in hand to see what was going on. It was all so exciting and I couldn't believe how quickly tasks were being done.


Thursday, January 7, 2016

Backyard Project: Continuing with Scheduled Tasks

Task 4: Ron secured a line to the pontoon in the middle of the pond. Tom attached the end  of the line to his machine and pulled the pontoon to the edge of the pond. Ron is now cutting up the pontoon. I'll tell you more about this project later.

Sorting and Staging Materials
Tom has to always think ahead so as not to box his machine in behind his work, to not have materials in the way of where he needs to work next and to have easy access to the materials he needs.
Here he has sorted into piles transferred plants, decayed wood, a collection of found rocks and logs.


Tom scoops up a plant that has spent the summer in the temporary garden bed after being moved out of the studio footprint.

The large bucket is able to carry so much soil with the plant that I think some of the plants hardly notice the move.

The native plants are transplanted to Gunilla's Garden.

This is the last remnant of the garden bed that made way for the studio. Miraculously these plants survived the construction. Tom scooped them up and put them in Gunilla's Garden too.
While all of this activity is going on I am supposed to be in my studio working but I am fascinated by all that is going on and spend most of the day out on the porch watching and taking photographs.

Sunday, January 3, 2016

Backyard Project: Tom arrives with his excavator

Next on the Backyard Project schedule is the earthworks and garden bed building.
Tom Mann, Pioneer Excavating, arrived with his huge excavator.

Ron and I made up a flow chart to synchronise the order the jobs needed to be done. It was a useful exercise for us because we had to make lots of decisions and it clarified what needed to be done. We took Tom around the site to explain each of the tasks and that was all he needed. He knew the task order because he understands the capability and size of his machine so well and he has had a lot of experience with this type of project.

Task 1: Move the piles of wood.
I was amazed when Tom moved the 2 piles in 4 scoops after it had taken Ron and me many hours to collect up and stack the wood.

Task 2: Remove 2 Cryptomeria trees.
These trees would continue to grow much larger causing long shadows across the sunniest areas where we want to grow food. They are a Japanese mountain tree and don't fit within our ecosystem. According to permaculture philosophy, they are not multifunctional enough in this location.
Tom's machine made short work pulling them out and crunching them up (see the above image).

T
Task 3: Getting the logs out of the pile.
Tom's excavator has a hand-like attachment he manoeuvres with great skill and delicacy.
We didn't want compaction around the sensitive root areas of the trees. Tom's huge excavator has a very long reach so he didn't have to go far before he was able to reach in between the tree trunks and carefully pick up a number of logs.


Ron and Tom inspect what is left after the solid logs have been removed. The rotten pieces will be invaluable when added to topsoil to make the new garden beds. Tom went back in and cleared out most of this material as well, leaving some as food for the standing trees.

Wednesday, December 9, 2015

Studio Design - Pattern Language #159 Light on Two Sides of Every Room


Pattern Language #159 Light on Two Sides of Every Room
Problem - ' When they have a choice, people will always gravitate to those rooms which have light on two sides, and leave the rooms which are lit from only one side unused and empty' p. 747. 'In rooms lit on one side the glare which surrounds people's faces prevents people from understanding one another' p. 748-9.
Solution - 'Locate each room so that it has outdoor space outside it on at least two sides, and then place windows in these outdoor walls so that natural light falls into every room from more than one direction.' p.750.
There is a step down into the sunny room where I go to read, stitch, have tea and contemplate. 

It has windows on 3 sides that look out into the forest.

Stitching Corner
'This pattern, perhaps more than any other single pattern, determines the success or failure of a room.' p. 747

My friend comes and joins me in the room for tea every day or so. Notice how well lit his face is.
'The importance of this pattern lies partly in the social atmosphere it creates in the room. Rooms lit on two sides with natural light, create less glare around people and objects; this lets us see things more intricately; and most important, it allows us to read in detail the minute expressions that flash across people's faces. the motion of their hands.... and thereby understand, more clearly, the meaning they are after. The light on two sides allows people to understand each other.' p.748

The light had been perfect for stitching until the longer winter days. I have now brought in a floor lamp and Ron has put a higher wattage bulb into the overhead ceiling fixture.
Apart from that, the room is working very well and is such a lovely place to be in.


Monday, November 23, 2015

Studio Sewing Centre

While making pillow covers from molas, I also used the Sewing Centre.

View from the front door looking at the Project Table and Design Wall.
The Sewing Centre is to the right.


The Sewing Centre is basically the same setup I had in my old studio. It worked and I couldn't come up with a better solution until I had worked in this new space for a while.

The sewing table was a daughter's desk I seconded when she left home. It is large and works well.
For my birthday, I have asked for a new sewing chair. It was a used chair when I got it and I have recovered it twice, but now the foam is disintegrating. I need a chair in a desk area I am setting up in the house so this one can go there.
In an otherwise dead corner under the table is a tiered basket on wheels with all of the tools and equipment for sewing.


I like old 50s to 70s government issue furniture. It is usually well worn and very functional. This old map cabinet is where I sort and store stabilisers only a chair swivel away from the sewing table

A 2nd table holds the serger/overlocker. It can easily be moved to the top of the stabiliser/map cabinet when I need to work on the embellisher. They are both light machine and easy to lift into place. I don't use them as often so it wasn't worth the real-estate to give them each a table.
The one chair works with both tables.

Over the cabinet is a window with a view of the forest. It lets in soft south easterly light and keeps me in touch with what is happening outside.
One thing I have been disappointed with is 2 birds have flown into the front windows of the studio. I had thought the lower porch roof would stop them from thinking it was a place to fly through. Hopefully, once the plantings in front of the studio are in this will happen a lot less.

From the Sewing Centre, I walk along the design wall to the back of the Project Table to shelves with boxes of machine threads. No natural light can reach them so they are protected from fading and premature ageing. 

Mola - detail
The old Sewing Centre still works in its new location so I guess I won't be changing anything in the near future. But I will continue to look out for design ideas to improve the space.

Sunday, October 18, 2015

Studio Design: Pattern Language #134 Zen View & Keystone Species

Pattern Language #134 'If there is a beautiful view, don't spoil it by building huge windows that gape incessantly at it. Instead, put the windows which look onto the view at places of transition - along paths, in hallways, in entryways, on stairs, between rooms.
If the view window is correctly placed, people will see a glimpse of the distant view as they come up to the window or pass it: but the view is never visible from the places where people stay.'

The Green Shed has two Zen windows, one either side of the design wall. Jonathan Aitken, our architect, did a great job in locating them. The project table and print table are mostly kept (they are on wheels) in front of the design wall. As I work and walk around the tables I catch glimpses of forest views. A glimpse is enough to keep me connected to the outside without being a distraction from the work in hand. 
Not long after I moved in I was distracted by a familiar knocking sound. Curiosity made me go up to the nearest Zen window.

A Pileated woodpecker was at work on a tree we hoped would become a wildlife tree. 
The tree had shown signs of decline after the nearby 12-year-old septic field was keeping its roots too wet. Douglas-fir like to spend most of the year with dry feet. Several of its neighbours had blown over during winter storms. We didn't want this one to fall on the studio so it got cut down before it fell down. 
The knowledgeable lumberjack left a 20-foot high stump and roughened up the top with his chain sawn. We hoped the tree was large enough for the fauna to think it was an ideal wildlife tree. 
I was so delighted when I heard that knocking sound. I knew what it meant.

This bird had decided the tree was suitable to work on. Above right you can see their characteristic rectangular shaped hole which opens up the tree to other birds and insects as a food source and nesting sites. The hole gives access to fungus colonies that soften and rot the wood. Then the next succession of smaller birds can work on making nest sites and foraging for food.
It is for these and many other reasons the Piliated woodpecker is a Douglas-fir forest keystone species.

Click the above link to read a scientific examination of the importance of this bird for the wellbeing of the Coastal Douglas-fir ecosystem.


Thursday, October 8, 2015

Studio Design: Porch, Electrical Centre, Tea Centre

Continuing with a diary about how I use spaces in my new studio, as requested, I have used the crawl space.
During the Green Shed Open House, a friend offered me some of her Japanese indigo harvest. How wonderful. I visited her and came back with many large bundles of freshly cut indigo. I couldn't deal with it that day, but she had sent me a link to a site with a recipe for dried indigo. 
I borrowed the drill, found some hooks and hung the indigo bundles from the ceiling of the crawl space.

I moved the dehumidifier nearer the bundles to create air movement to stop any mold or mildew (probably the same thing) from forming. The dehumidifier took out of the air the extra moisture created by the drying plants. 
The leaves have dried perfectly to a deep blue.

Another lovely friend gave me a bucket of walnuts from her tree.

I got to use the porch for the first time when I went out there to take the husks off the shells.
I found it to be a pleasant space to work in. 


Inside I plugged in the first appliance in the electrical centre - a wide and deep counter/bench with lots of easy to reach power outlets. The hot plate works by induction heating only the bottom surface of the pot to an exact pre-dialed temperature. If the pot is taken off the element it stops heating. Other things can be programmed too, like a timer, a pre-set temperature and more. This reduces the risk of leaving a hot heating element unattended by mistake.
The window opens out towards the prevailing breeze. The breeze enters the room and moves the heated air up across the room and out the upper clerestory-like windows on the east side. It is designed to be a passive ventilation system.
I think I got so excited about simmering the walnut husks I forgot to take a picture of that stage.

It was time for tea. This is my tea centre with different teas and snacks in the little drawers.
Ron gave me the lovely teapot for this spot.

At the water centre, there is an instant boiling water tap. I drink herb teas that are made at temperatures below boiling point so the thermostat is set at below the boiling point.
This instant 'boiling' water was used to fill the pot to simmer the walnut husks in. It is more energy efficient to heat a small amount of already hot water a few degrees more than to take the same amount of water from cold to hot each time.


I had tea in the 'sunny room' for the first time. I will explain the Pattern Language 'sunny room' term in a later post.
My cousin, who does interiors for a living, helped me find the perfect chaise for this spot. Thank you, Karen. 
It is where I will read, rest, contemplate, and drink tea. 
The little wall heater, bottom right, has its own thermostat so I can set the room to be a little warmer than the main room while I sit still.
So that was the first day in my new studio.