Home

Showing posts with label trees. Show all posts

Sunday, October 18, 2015

Studio Design: Pattern Language #134 Zen View & Keystone Species

Pattern Language #134 'If there is a beautiful view, don't spoil it by building huge windows that gape incessantly at it. Instead, put the windows which look onto the view at places of transition - along paths, in hallways, in entryways, on stairs, between rooms.
If the view window is correctly placed, people will see a glimpse of the distant view as they come up to the window or pass it: but the view is never visible from the places where people stay.'

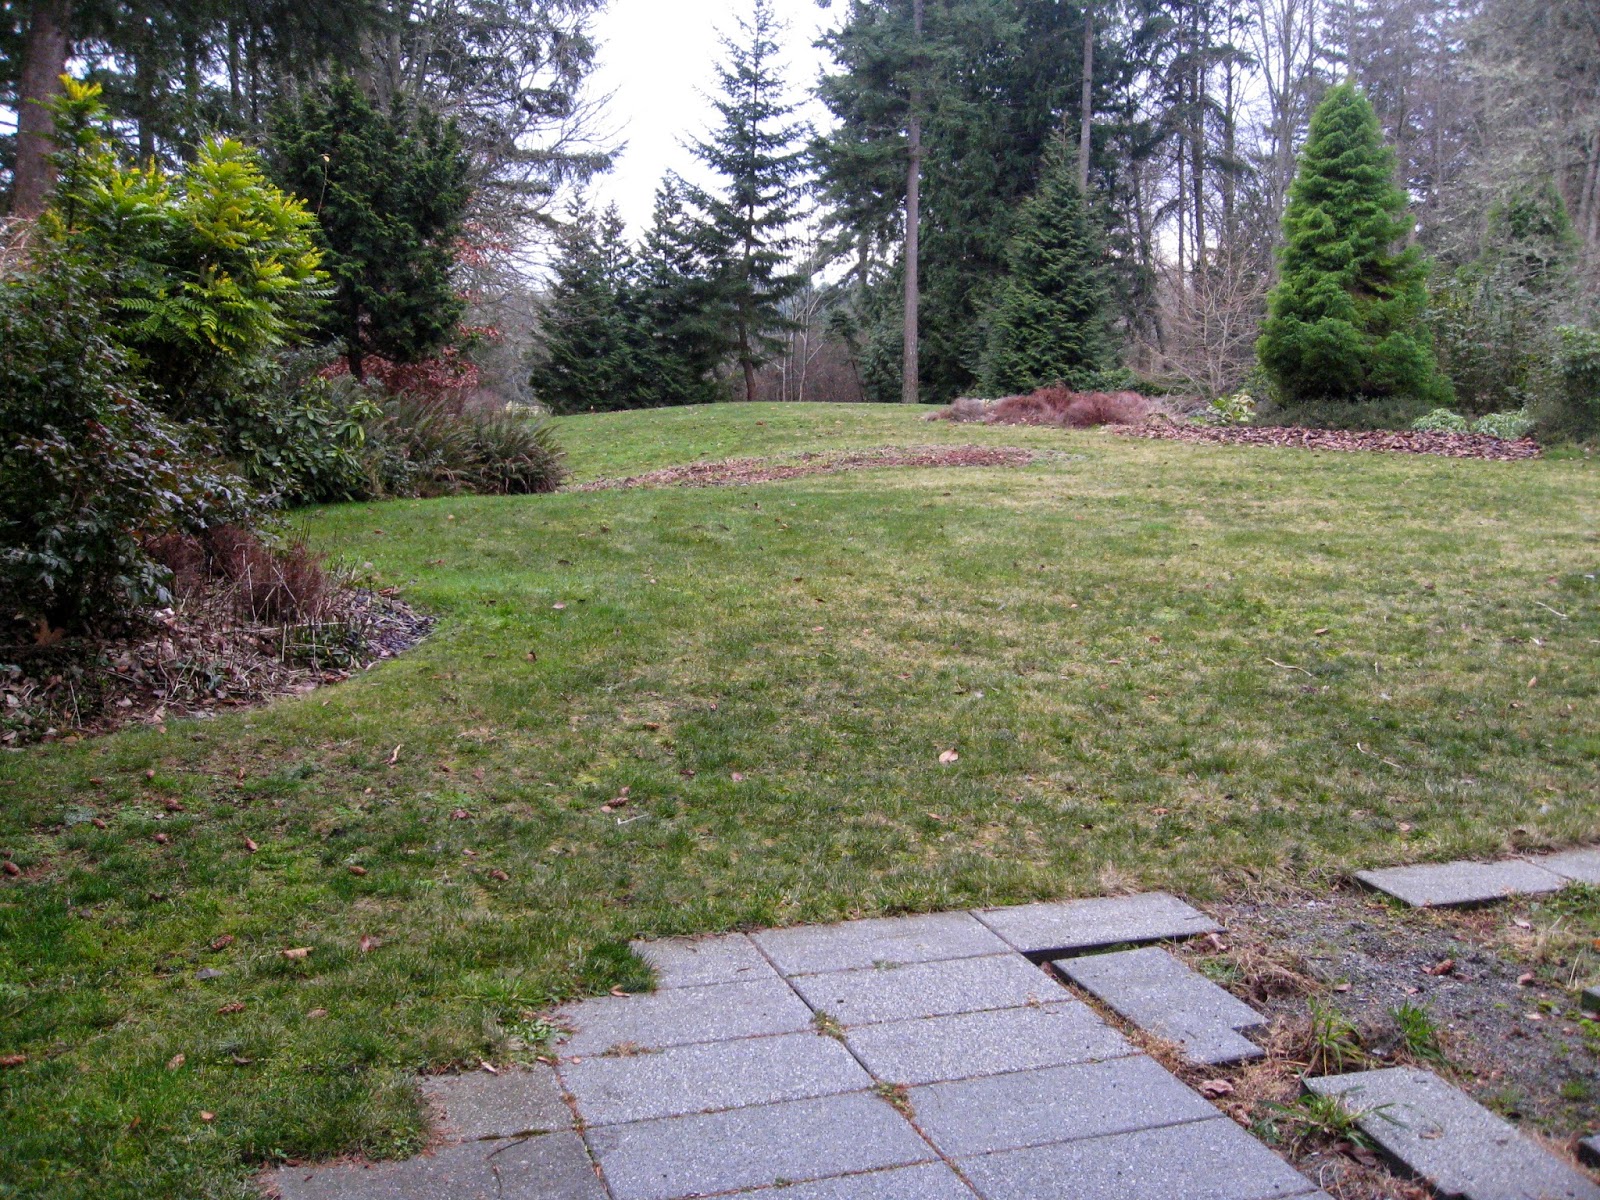
The Green Shed has two Zen windows, one either side of the design wall. Jonathan Aitken, our architect, did a great job in locating them. The project table and print table are mostly kept (they are on wheels) in front of the design wall. As I work and walk around the tables I catch glimpses of forest views. A glimpse is enough to keep me connected to the outside without being a distraction from the work in hand. 
Not long after I moved in I was distracted by a familiar knocking sound. Curiosity made me go up to the nearest Zen window.

A Pileated woodpecker was at work on a tree we hoped would become a wildlife tree. 
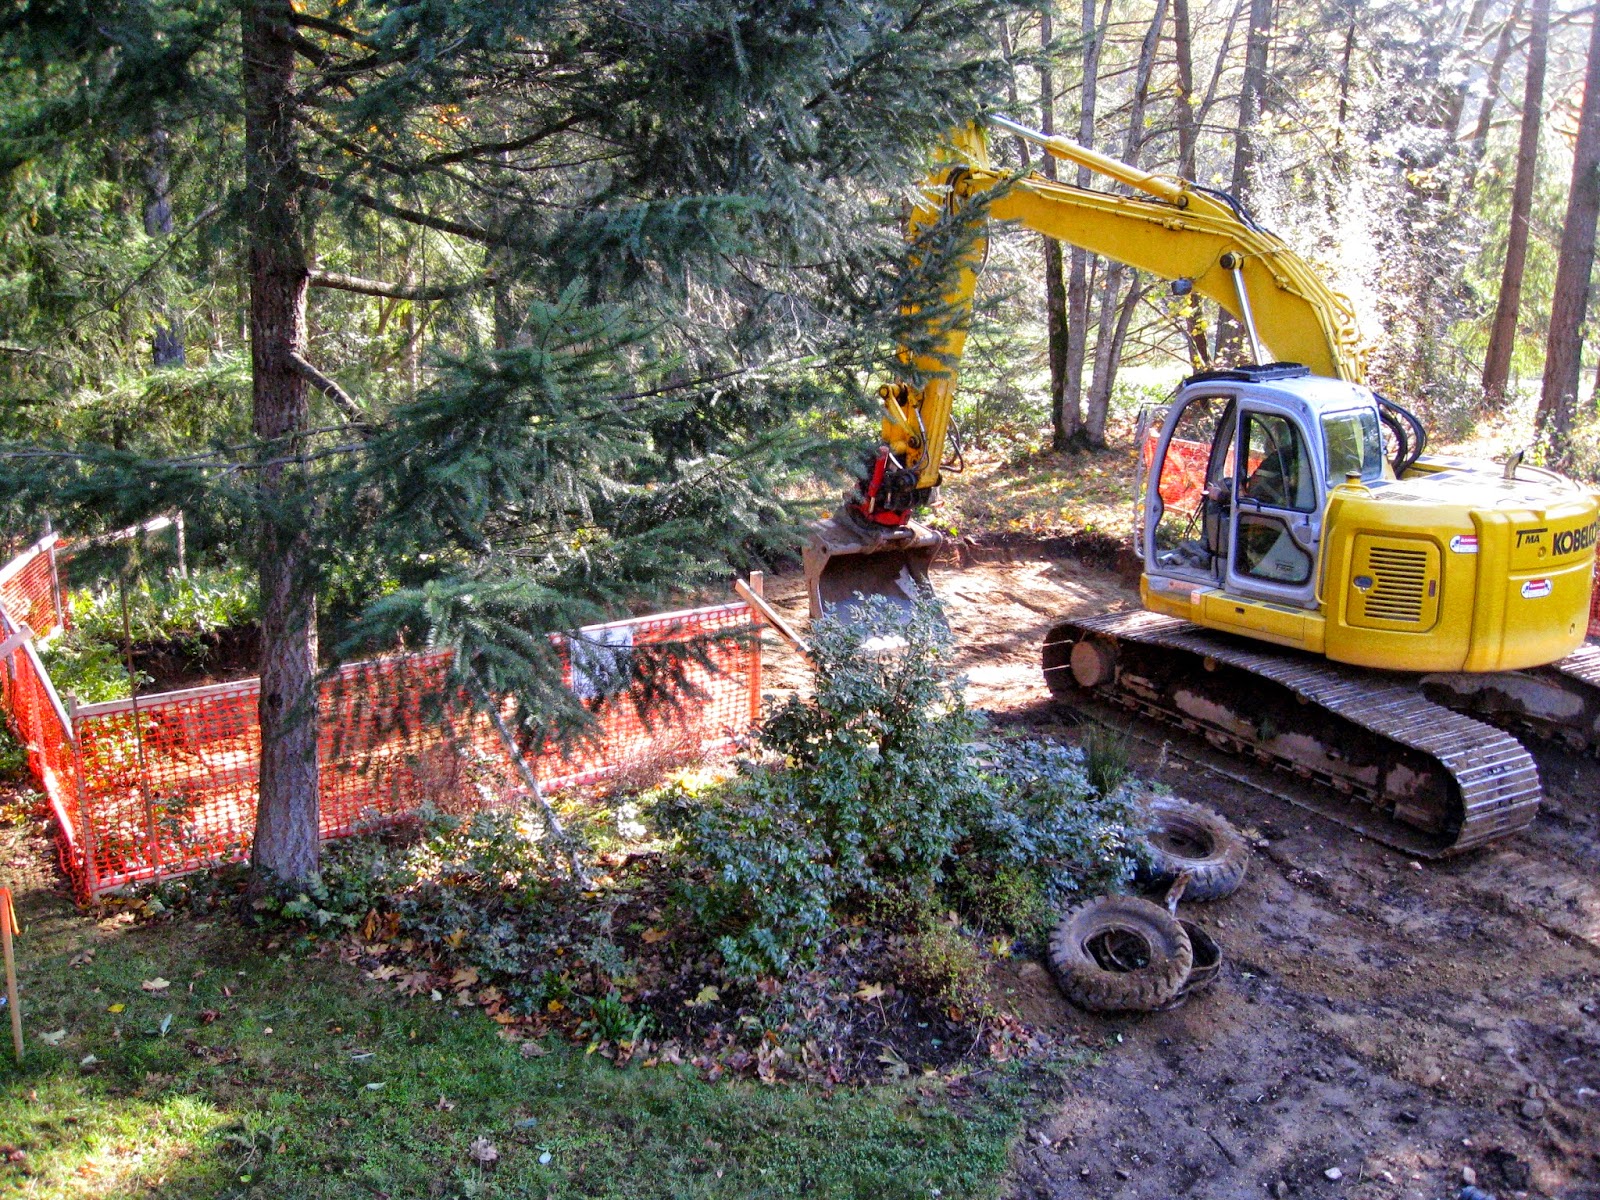
The tree had shown signs of decline after the nearby 12-year-old septic field was keeping its roots too wet. Douglas-fir like to spend most of the year with dry feet. Several of its neighbours had blown over during winter storms. We didn't want this one to fall on the studio so it got cut down before it fell down. 
The knowledgeable lumberjack left a 20-foot high stump and roughened up the top with his chain sawn. We hoped the tree was large enough for the fauna to think it was an ideal wildlife tree. 
I was so delighted when I heard that knocking sound. I knew what it meant.

This bird had decided the tree was suitable to work on. Above right you can see their characteristic rectangular shaped hole which opens up the tree to other birds and insects as a food source and nesting sites. The hole gives access to fungus colonies that soften and rot the wood. Then the next succession of smaller birds can work on making nest sites and foraging for food.
It is for these and many other reasons the Piliated woodpecker is a Douglas-fir forest keystone species.

Click the above link to read a scientific examination of the importance of this bird for the wellbeing of the Coastal Douglas-fir ecosystem.


Wednesday, June 3, 2015

Studio Construction: Filling the Trench

I worked carefully around the tree roots while digging the trench. I covered the exposed roots with strips of wet, wool blanket to keep the roots moist. Luckily we had a number of drizzly days which also helped keep the roots from drying out too much.
The white pipes are part of  the irrigation system for the current garden beds. Most of this system has been broken during construction so we will have to get it redone. We would have had to anyway because the new back yard garden beds will be in different places.

Jason lines the bottom fo the trench with several inches of sand as required by code.

He then lays the conduit in the trench. Here he is gluing sections together.

The 2 conduits have to be kept 12" apart. This pic shows the 2 irrigation pipes on top of the 2 conduit pipes with the white water pipe below all of them. One conduit pipe is to carry the electricity the other is to carry cable, wi-fi or any future communications technology. I plan to not have any wi-fi in the studio, but it is there in case I change my mind.

I worked as Jason's assistant to weave the pipes around the tree roots. Jason said I earned some hours towards my journeyman electrician training if I wanted to pursue the trade.

Now the conduit was ready to have pipes and cables pulled through them. I wasn't present when this event took place and apart from using long strings I am not sure how it was done. To me, it is still another mystery of the electrical trade.

Meanwhile in the boiler/mechanical room connections were made with the power and communications cables. These went through the new holes drilled through the foundation walls.

I was very pleased when the back-filling started because it meant I could get going on establishing the new garden bed.
It is a big step to finally have power in the studio. We no longer need to drag extension cords from the house to the studio. There is still no light inside the building. Lighting is a whole other issue we are still investigating.

Thursday, April 16, 2015

Studio Design - Pattern Language: #107 Wings of Light and #109 Long thin House


Pattern Language #107 Wings of Light
Modern buildings are often shaped with no concern for natural light - they depend almost entirely on artificial light. But buildings which displace natural light as the major source of illumination are not fit places to spend the days.
The studio is designed to have light entering the building on three sides.


The solution to this problem is: Arrange each building so that it breaks down into wings which correspond, approximately, to the most important natural social groups within the building. make each wing long and as narrow as you can - never more than 25 feet wide.
Our house is long and only 2 rooms wide with windows on all sides. By placing the studio only a few steps away from the house, it is like a private wing of the house. 

Pattern Language #109 Long Thin House
The problem is: The shape of the building has a great effect on the relative degrees of privacy and overcrowding in it, and this in turn has a critical effect on people's comfort and well-being.
Another influence on designing a separate building for the studio is to make 'a room of one's own', a private space to work for long periods of uninterrupted time. I want a private space. A shed.
My parents gave me a book about women's sheds for my birthday. It is about women and their sheds what they are like and what they do in them. This Pinterest board has lots of images from the book. 

The Pattern Language solution is: In small buildings, don't cluster all the rooms together around each other; instead string out the rooms one after another, so that distance between each room is as great as it can be. You can do this horizontally - so that the plan becomes a thin, long rectangle; or you can do it vertically - so that the building becomes a tall narrow tower. In either case, the building can be surprisingly narrow and still work - 8, 10, and 12 feet are all quite possible.
 The studio's outside dimensions are 20 feet  wide and 40 feet long as limited by the space between the trees. The walls are 8 inches thick making the inside space smaller.


Tuesday, April 14, 2015

Studio Design - Pattern Language: #105 South Facing Outdoors, #106 Positive Outdoor Space


In an earlier post, I explained how I have used The Pattern Language design method for the studio and the Back Yard Project. The first pattern I used was #104 Site Repair. Next I used #105 South Facing Outdoors. The back of the house faces south/south-east. I needed to place the studio so it too faced south. 
The book describes the problem as: People use open space if it is sunny, and do not use it if it isn't, in all but desert climates. It goes on to say This is perhaps the most important single fact about a building. If the building is placed right, the building and its gardens will be happy places full of activity and laughter, p. 514.
The above image, looking south, shows the first layout of the building as guided by pattern # 104 Site Repair. The area in shade fits with the need for a place inside the building to store textiles and threads away from any sunlight. The rest of the building needs to reach out into the sunny area.


The sunny area looking to the shady north.
 This pattern's solution is: Always place buildings to the north of the outdoor spaces that go with them, and keep the outdoor spaces to the south. Never leave a deep band of shade between the building and the sunny part of the outdoors.
The front of the building needs to face where the lawn is sunny to satisfy pattern #105 South Facing Outdoors. 

The next pattern I worked with was #106 Positive Outdoor Space. The problem is stated as: Outdoor spaces which are merely "left over" between buildings will, in general, not be used. It explains, "There are two fundamentally different kinds of outdoor space: negative space and positive space. Outdoor space is negative when it is shapeless, the residue left behind when buildings - which are generally viewed as positive - are placed on the land. An outdoor space is positive when it has a distinct and definite shape, as definite as the shape of a room, and when its shape is as important as the shape of the buildings which surround it," p.518.
The image above shows the view from the SE corner of the house looking out towards the proposed studio site. We need to make sure the studio building relates to the house and forms a distinctively shaped positive space between the two buildings. I used this pattern when incorporating that space in the Back Yard Project. 


This is the view looking south from the house. It is a vast shapeless lawn confined by the forest edge. There is no comforting defined shape to the back yard. There are no other buildings, but it is still felt as a negative space without a function. The property has no other outside buildings which is one of the reasons for the BackYard Project.
The solution to this problem is: Make all outdoor spaces which surround and lie between your buildings positive. Give each one some degree of enclosure; surround each space with wings of buildings, trees, hedges, fences, arcades, and trellised walks, until it becomes an entity with a positive quality and does not spill out indefinitely around corners.

The architect used a computer model of the building to move it around in the area we had chosen, tweaking it to satisfy the selected patterns. He finally found the right location. It is roughly perpendicular to the house making a courtyard between it and the house which feels like a positive space. It faces a sunny outdoor space and it fits in between the trees. I wanted a place in amongst the trees, but I also want the sun. They sound like contradictory requirements, but with the Pattern Language guidance, Jonathan's knowledge and and his computer modeling he found the perfect location for the building.

Wednesday, April 8, 2015

Studio Construction: Digging Trenches

A digger was used to dig a trench in front of the building. Dave and James are in the trench framing up foundations and footings for the porch and arcade.

Concrete was poured into sono-tubes with re-bar sticking out.


Meanwhile, Ron and I are digging trenches for the services to be taken from the house to the studio.

When I say 'we' I mean Ron is doing the hard physical labour of swinging a pick to dig out rocks and shovelling metres of soil.

I am using hand tools to excavate around tree roots and existing irrigation pipes.
We are doing the unskilled manual labour.


Monday, April 6, 2015

Studio Construction: Windows and Doors

I was working away in my current studio when things went dark.
A big delivery truck had arrived outside my window.

The outside doors had arrived.

One for the main level and 2 for the crawl space.


Ooh, another big delivery truck.
Milgard. That means the windows have arrived.
Out of all the different fittings and fixtures we have researched for The Shed, the windows have taken the most hours of research and most showroom visits. Our priorities for the building was no maintenance for 25 to 30 years, high energy efficiency and lots of natural light. These priorities meant we were looking for high-quality windows. The windows are an important part of the design of the building.

The front door has lots of glass to allow lots of light into the centre of the building.
Other window design issues we considered were that smaller, fewer windows are best for improved over-all building thermal performance, comfort, durability and efficient operations. On the other hand, I also require enough windows that are large enough to let in a lot of natural light. 

Some of the decisions that needed to be made about the type and design of the windows: 
  • U. factor/ U. value - Thermal  conductivity i.e. how much warm air leaks out through them - we want to minimise this feature,
  • SHGC - Solar Heat Gain Coefficient - how well the glass blocks the sun's radiant heat - we want to maximise this feature, 
  • VT - Visible Light Transmittance - how much light comes through the glass - we want to maximise this feature,
  • Material - Wood and fibreglass are the best for thermal efficiency but are the most expensive. Fibreglass is long lasting and strong enough for large windows. Vinyl is the most cost effective and has high thermal properties.
  • Type: Casement, hung, double hung, awning, sliding, opening/non-opening, opening which direction.
  • Colour: What colour? The architect and artist had to agree on this one.


The small windows are stacked inside, in my studio.
Our decisions on the windows:
  • Material: Milgard's vinyl windows are thermally very efficient. We don't have any large windows so the frame doesn't need to be extra strong. The frame is painted in the factory so won't need painting on site or for the life of the window. Vinyl costs less than wood and fibreglass.
  • Technical Specs: We went with double glazed. It doesn't get cold enough on Vancouver Island to justify triple-glazing. Argon gas filling the space between the panes of glass to stop the flow of warm air is pretty standard for windows now. We went with upgraded thermal spacers between the panes of glass, generally a weak area for thermal efficiency.
  • Design; We chose different types of windows for different parts of the building. Some of the small windows on the east side open as part of the heating and cooling system, which I will go into more in a later post. These windows also have only 1 low E plastic film coating to maximise the amount of light coming through. The windows on the sunny side of the building have 2 coatings of low E film to stop some of the interior heating by the summer sun, but at the same time sacrificing some of the natural light - a compromise. These sunny-side windows can also be opened to catch the prevailing summer breezes as part of the building's cooling system. We chose the more expensive insect screen option in Gortex because it lets in twice as much light as the regular screens. The building is tucked in under shady tall trees, as I wanted it, but  we have been careful to design for as much natural light reaching the interior as possible.
  • Colour: Black frames on the outside will help the building visually blend in with the forest. White frames on the inside help with the reflection of light around the room.
Phew! See what I mean about the windows being such a big decision and why it was so exciting to see them arrive on site.


Friday, April 3, 2015

Studio Construction: Another Roof Layer

Jeff  is getting up on the roof after a pellet of plywood was placed up there by a delivery truck with a large arm. 

A sunny day and the race to get the plywood layer on before the next lot of rain.


Next operation - digging trenches and holes for more foundations - this time for the porch and arcade that runs along the side of the building.
The resident 'retired, always-an-engineer' consulting with the digger operator, Aaron Yager, the owner of the construction company.
James is the 'look out' person or maybe 'spotter' is the correct term.

Dave, the lead carpenter, keeps an eye on operations as well.
There is a lot of cell phone consulting of different weather forecast apps to see when the next lot of rain is coming. These forecasts influence what can be done next.
The next lot of rain came. Now the building is covered with the ubiquitous 'blue tarp.' This distinctive blue colour is a common sight on the island. It indicates an issue with water whether it is keeping a pile of winter wood dry enough to burn or trying to keep an unfinished roof dry during construction or covering a roof damaged during a storm. 
Keeping water out of the materials and outside the building envelope is a major influence on building design in this rain forest environment. 
The Pacific North West rain forest ecosystem with its high rainfall and relatively mild climate produces the largest biomass in the world. The combination of conditions is perfect for growing huge trees then rotting and breaking them down in a self-supporting cycle of growth and decay. We are building a wooden structure within this ecosystem where the same processes will be active. All of the building's wood will naturally breakdown unless the water can be kept outside the building envelope.

Sunday, March 1, 2015

'Edge of the Forest' Opens

The first exhibition of the Canadian Surface Design Association's 'Edge of the Forest' opens in the 

 Richmond Hill Centre for the Performing Arts. Richmond Hill

 It is up for all of March. There is an opening reception on March 11th.

Here is the rest of the schedule, to date: 

April 20-May 4th, 2015 –  Art Square Gallery Toronto

June 4-July 9, 2015 – Exhibition at Parrot Gallery Belleville, ON

August 15  – October 18, 2015 prior to & during Fibre Arts 2015 Conference, Woody Point, NL


The aim of this juried fibre exhibition is to present a survey of work currently being done by Canadian members of the Surface Design Association

Here is my entry.

'Forest Reliquary' 2014 

Materials: Vintage cotton table cloth, earth pigments, cotton thread, leaf skeletons, deer bones, maple tree samaras, fern spores

Techniques: Earth dyeing, spore printing, hand stitching (furrowing, whipped double running stitch, attachment).


Currently, I am using domestic linens and earth pigments as I explore the biological processes in the Pacific North West rainforest. 

I will be teaching a 2-day, weekend workshop on using earth pigments at the Metchosin International Summer School of the Arts 2015 MISSA June 27 - 28 this summer. Do come and join us if you are interested in learning about working with eco-friendly earth pigments and need a little MISSA Magic in your life MISSA


Tuesday, December 2, 2014

Studio: Site Excavation


Two workers from Edibella Organic Landscapes constructed fences to protect the trees next to the construction site.

Michael Cowan, owner of Edibella, was on site during the site excavation as the certified arborist, a requirement of the building permit. 

Tom at work putting the topsoil in one pile and the lower horizons in another until he reached a firm bed to build on.

He found these old farm vehicle wheels probably dumped in the forest when the property was a farm.
I saved one of the hubs to do rust staining.

The site is ready. 
Now to go through the bidding process to find a general contractor.

Thursday, May 15, 2014

Fungi and Mushroom Dyeing

For a while I have been thinking about dyeing with fungi and lichens.
 When the fairy rings appeared in the lawn I took it as a sign.

Fairy Ring Mushroom (Marasmius oreacles)
My mushroom book says they are edible but doesn't mention anything about their dye potential.

I scraped a variety of lichens off the old alder trees.

Dead branches from the Big Leaf Maple host colonies of lichens that I added to my collection.

I also have a bag of windfall lichens, mosses and fungi collected on my morning walks.
Now, how do I go about dyeing with them?
Next step is to do some Internet research.

Monday, March 24, 2014

Back to Spring Cleaning

The last bit of machine sewing resulted in a satisfying number of empty spools.
I do enjoy using my stash of resources.

I sent a swatch sample to the SDA Swatch Collection.
It is a piece of bed-sheet that was wrapped around a maple tree for over a year. I stitched it with the colours I observed on the tree during the February new moon.

Then I  went back to getting my studio in order.
 It was only while following this urge to clean up that it hit me  - I have spring-fever.

Amber, our son's girlfriend, gave me this delicious yarn last Christmas. She bought it in a Melbourne market cause it looked like me, she said.
Hand spun, hand dyed, chunky Australian merino wool by Hawthorne Cottage - hawthornecottage.com.au


I wound it into a ball and put it out to wait for it to tell me what it wants to be.
While cleaning up I came across this piece of light-weight silk. 
It said it wanted to be with Amber's yarn.
Now they sit there together - waiting.