Home

Wednesday, May 27, 2015

Studio Design - Pattern Language #116 Cascade of Roofs & #117 Sheltering Roof

Pattern Language # 116 Cascade of Roofs
Few buildings will be structurally and socially intact, unless the floors step down towards the ends of the wings, and unless the roof, accordingly forms a cascade (p. 566).
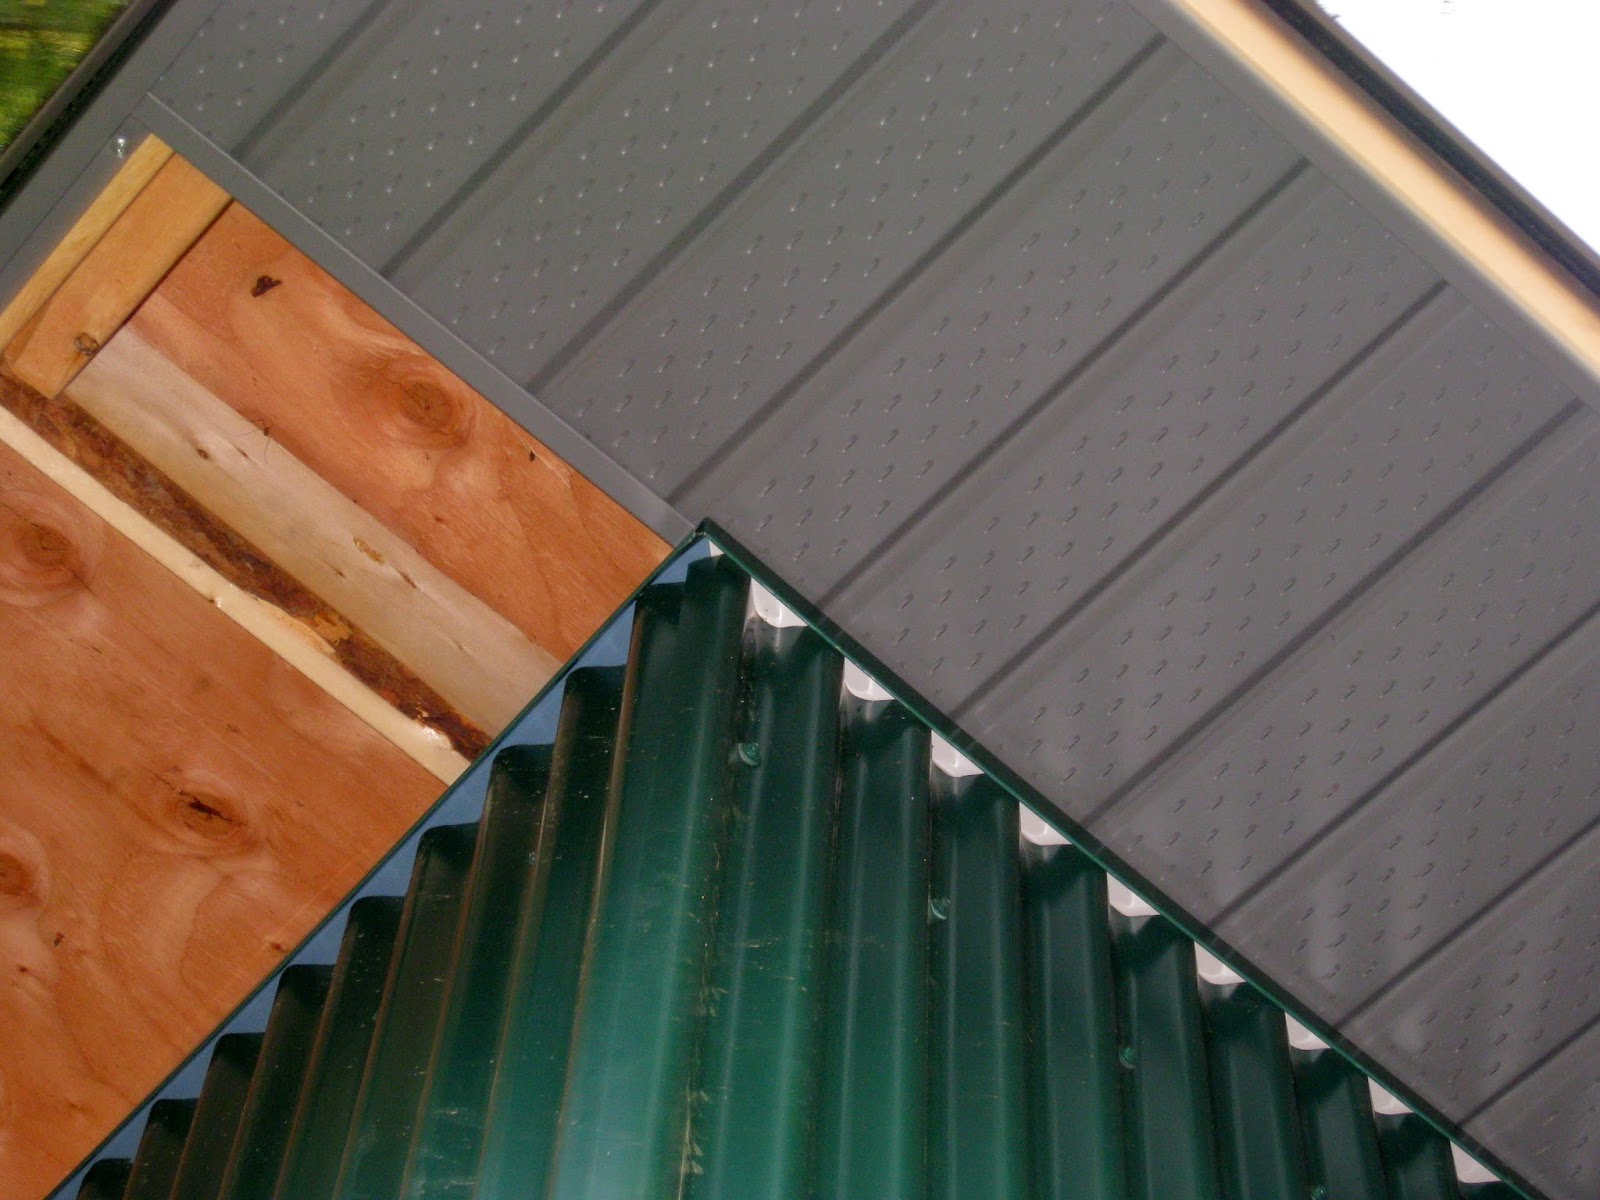
The studio, relative to the house, is a small and simple building yet the architect, Jonathan Aitken, managed to work in three different roof levels at three different angles.

Inside the floor steps down towards the south end of the building reinforcing this pattern.

[Borgund+Stave+Church.jpg]
Here is a classic example of the Cascade of Roofs, a stave church in Norway. The roof shape also emphasises the entrance as in Pattern # 110 Main Entrance which I discussed in the previous post. 
This building also illustrates Pattern #117 Sheltering Roof where the eaves are low enough to the ground they can be touched. 
The solution to the Cascade of Roofs pattern is to visualise the whole building, or building complex, as a system of roofs. Place the largest, highest, and widest roofs over those parts of the building which are most significant (p. 568). Jonathan most successfully satisfied this pattern for the studio.

Pattern #117 Sheltering Roof
The roof plays a primal role in our lives. The most primitive buildings are nothing but a roof. If the roof is hidden, if its presence cannot be felt around the building, or if it cannot be used, then people will lack a fundamental sense of shelter (p. 570).
The Pattern Language research team have concluded this is one of those patterns (along with #110 Main Entrance and others) that describes a deep and inescapable property of a well-formed environment (p. xiv). This pattern has a profound effect on the building.
The sheltering function cannot be created by a pitched roof, or a large roof, which is merely added to the top of an existing structure. The roof itself only shelters if it contains, embraces, covers, surrounds the process if living. This means very simply, that the roof must not only be large and visible, but also include living quarters within its volume, not only beneath it.
How does the studio measure up to this pattern?


The studio building is most visible from the main rooms of the house which are on the upper level. From this viewpoint, the studio roofs form a massive part of the building. Check.


Another requirement of the pattern is the space under the roof must be useful. A space used every day. In the studio building the slope of the main roof and the height of the corresponding east wall was decided by the size of the design wall I wanted and the need to have a set of high, opening windows as part of the passive solar ventilation system. I will be working daily under the roof - check.
 The height and width of the porch roof was dictated by the angle of the sun shining into the building. Jonathan did a lot of computer modelling to work out the optimum angle of the main roof and the height of the different walls. He looked at the different times of the day and different times of the year before settling on the dimensions of the walls, windows and roofs.

The view from the main room down into the sunny room gives the feeling the of being surrounded by the lower roof. The top of the opening into this room can be touched which is the third requirement of the pattern. On the outside of the building, this part of the pattern is not present. Though the porch roof is lower than the main roof I can't touch it. It was a compromise because I needed the natural light to go far into the main room where I will be working and this sunlight is needed to heat the solid mass of the 8" thick walls and heat the interior space as part of the passive solar heating system.
The solution to this pattern is to slope the roof or make a vault of it, make its entire surface visible, and bring the eves of the roof down low, as low as 6'0" or 6'6" at places like the entrance, where people pause. Build the top story of each wing right into the roof, so that the roof does not only cover it, but actually surrounds it (p. 573).

Monday, May 25, 2015

Studio Design - Pattern Language #110 Main Entrance

Pattern Language #110 Main Entrance
Placing the main entrance (or main entrances) is perhaps the single most important step you can take during the evolution of the building plan.
The position of the main entrances controls the layout of the building. It controls the movement to and from the building, and all other decisions about layout flow from this decision....The entrance must be placed in such a way that people who approach the building see the entrance or some hint of where the entrance is, as soon as they see the building itself (p. 541).
The entrance to the studio is placed in the centre of the wall. This pleasing symmetry is reinforced by the matching sets of windows on either side. Garden beds built up in front of the building will create a winding path ending at the front door.

The porch sticks out beyond the building line (p. 543) emphasising where the main entrance is. Raised garden beds along the porch and arcade, either side of the steps up to the entrance, will also emphasise where the main entrance is along the wall of the building.
The Pattern Language also mentions the relative color of the entrance, the light and shade immediately around it, the presence of mouldings and ornaments, may all play a part too (p. 544). The black door with its plain door handle and minimal mouldings make the main entrance blend with the wall. This works with the general aim to have the building blend in with the surrounding forest. However with the full length of glass in the door there is a lot of play with reflected light and shade created by the sun shining through the trees over the day. It is like a changing picture on the wall as one walks along the winding path towards the door. Sometimes I see myself reflected as I walk towards the building. I hope this isn't a bit disconcerting to others as they approach the door.
The Pattern Language solution to the placement and and shape of the main entrance is to place the main entrance of the building at the point where it can be seen immediately from the main avenues of approach and give it a bold, visible shape which stands out in front of the building (p. 544)
The studio's main entrance does not fit this pattern as strongly as it could have because of wanting to make the building blend in with its surroundings but I am hoping the landscaping will work to strengthen this pattern.


Thursday, May 21, 2015

Studio Construction: Taping and Moisture

The tapers, Cameron and Jordon, have arrived. They finish the rough edges of the drywall with plastic strips...


...tape and wet plaster.

The first stage is to tape and mud all of the drywall edges and rough spots. 


Ron uses a moisture probe to test the moisture content of the materials. The building's floor, concrete and wood frame were open to the winter rains during construction and absorbed a lot of moisture. The wet plaster has added to the interior moisture level because it gives off a lot of moisture as it cures and dries. The overall moisture level of the building interior needs to be reduced before the next stages can begin. Ron has installed a dehumidifier that runs day and night until he gets acceptable moisture readings.

Dave continues to make progress lining the crawlspace with plywood.

Ron checks the dehumidifying progress in the crawl space after running the dehumidifier down there for several days.

Tuesday, May 19, 2015

Studio Construction: Many Trades Make a Building

Drywallers clad the inside of the building with fireproof sheets of  plaster.

All of the east wall windows have drywall right to the window frame to give a simple clean look. I am going for an industrial/farm style for the building.

All of the west and south facing windows will have painted wood sills which are now waiting for the finishing carpenter.

Drywall mud and tape waiting for the drywall taper team.

The metal soffit is being installed by the roofers who also make and install the gutters and downspouts.

The electrician comes and goes doing his job in synch with the work of the other trades.

The sheet metal team continue to work around the building cladding it in corrugated steel.
All of these different teams of skilled workers are co-ordinated by the general contractor and the lead carpenter.

Sunday, May 17, 2015

New Work - 'Forest Flowers'

I am working on a new work for a Surface Design Association exhibition. It involves a number of different steps and techniques.
Random dyeing the ground cloth.

All of the fabric is worn bed sheets.
Dyeing for an all-over mottled colour.

Another sheet dyed to get a more randomly patterned effect.

Sampling different fabric paints to screen print motifs onto the dyed ground.

Resist dyeing. I tied different sized seeds in the centre of torn squares of cloth. 

The tied thread acted as a resist when dyed.

Hand stitching the resist dyed squares.
I keep track of time spent making the work.

Thursday, May 14, 2015

Studio Construction: Porch Floor

I was quietly working away at my desk when I heard a large truck arrive.

It delivered a load of concrete onto the porch area.

Citywide Concrete Company got the job to make the porch floor.

Lines were cut in the smooth, wet concrete to absorb the stress that otherwise would cause cracks.

The Finish: After waiting until the applied retardant had set to just the right amount the surface of the concrete was gently washed...


...to expose the top layer of aggregate.


Once the concrete has dried and cured over a few days Ron will brush off the white residue then apply a sealer to stop it absorbing whatever I might spill on it.
And there it is - the porch floor. It won't require any maintenance other than sweeping and a spring wash. It won't rot or decay as a wooden deck would. It is sloped a few degrees away from the wall so spilt water and driving winter rains will drain away to the garden bed that will be built in front of it. 

Sunday, May 10, 2015

Studio Construction: Porch Floor Preparation

Remember I posted about finding these bent rebar rods Dave had made. 
Now I know what they are for.

He drilled holes in the foundation wall then inserted the rods where the porch floor will be.

 
A rental delivery dropped of a gas powered hand operated compactor.

Dave compacted the backfill where the porch floor will be constructed.

Next a small, rubber-tracked digger was dropped off.

It built up the soil for the porch floor and did a bit of landscape earth shaping on the south side of the studio area.

Friday, May 8, 2015

Studio Construction: Services and Backfilling

Oohh! A new van. The plumber.

The house water main now has a new line going off it - to the studio.

The white line takes water to the studio.
The electrician has laid the first of the power and services conduit coming out of the studio crawl space. He puts zip lock bags over the ends to keep the soil out.

This is the water pipe coming out of the building from the wash tubs and feeds into the nearby septic tank.

Once all of the crews had gone for the day, Ron and I backfilled the trenches near the studio building. We wanted to cover the exposed tree roots as soon as possible before they dried out.

Thursday, May 7, 2015

Studio Construction: Work Continues Inside and Outside

After the first day of securing the drywall panels in place. The ceiling is done.

Ron and Dave check the work.

Dave has been lining the crawlspace with plywood. His assistant, Paul, sweeps up after a day's work.

We are really pleased with the way this area is looking.

Dave has also put in place the formwork for the porch floor.

A small load of gravel was dropped off and leveled out. Dave attached rebar rods to the wall and extended them out into the floor area. He added a wire mesh and a rebar grid - all so the concrete would be well supported.
The taped brown paper is to protect the wall from splashes when the concrete is poured.