Home

Saturday, February 20, 2016

Backyard Project: Prep for Next Room Construction


Preparation for the construction of the next room included Tom doing a few tasks while he could still get the excavator into the areas.
One task was to lift the 2 Garden Towers off the balcony. Ron had removed all the railing in preparation for the conservatory construction which made lifting the Garden Towers easier.

For Tom, it was just a matter of lifting them off the balcony then rolling them off the bucket. Without the excavator, it would have been a major task requiring lots of preplanning and manpower (not girl power. I don't like doing those sorts of tasks).
The deer will be delighted when they discover these 2 picnic baskets set out for them. I am resigned to the plants all being eaten to nubs. We will replant the towers once the deer fence has been built.

In the meantime, the girl power is scraping up the last of the compost from the compost area and spreading it on existing garden beds. I didn't want to lose the compost we had made.


The critical task in preparation for the construction of the next garden room is the placement of needed materials where they are both accessible and out of the way of the construction.
Tom piled the decomposing logs on one side of the track downhill from the next lot of beds.

He piled up his specially mixed soil on the other side of the track.

More truckloads of rocks were delivered. Tom spoke to the driver each time. I think he asked for bigger rocks with every load. One truckload had only 8 rocks because they were so big. The rocks come from a construction site not far away where they are blasting out a mound to level the ground. With the rocks being local in origin they match perfectly the  rocks used in the original construction of the house.
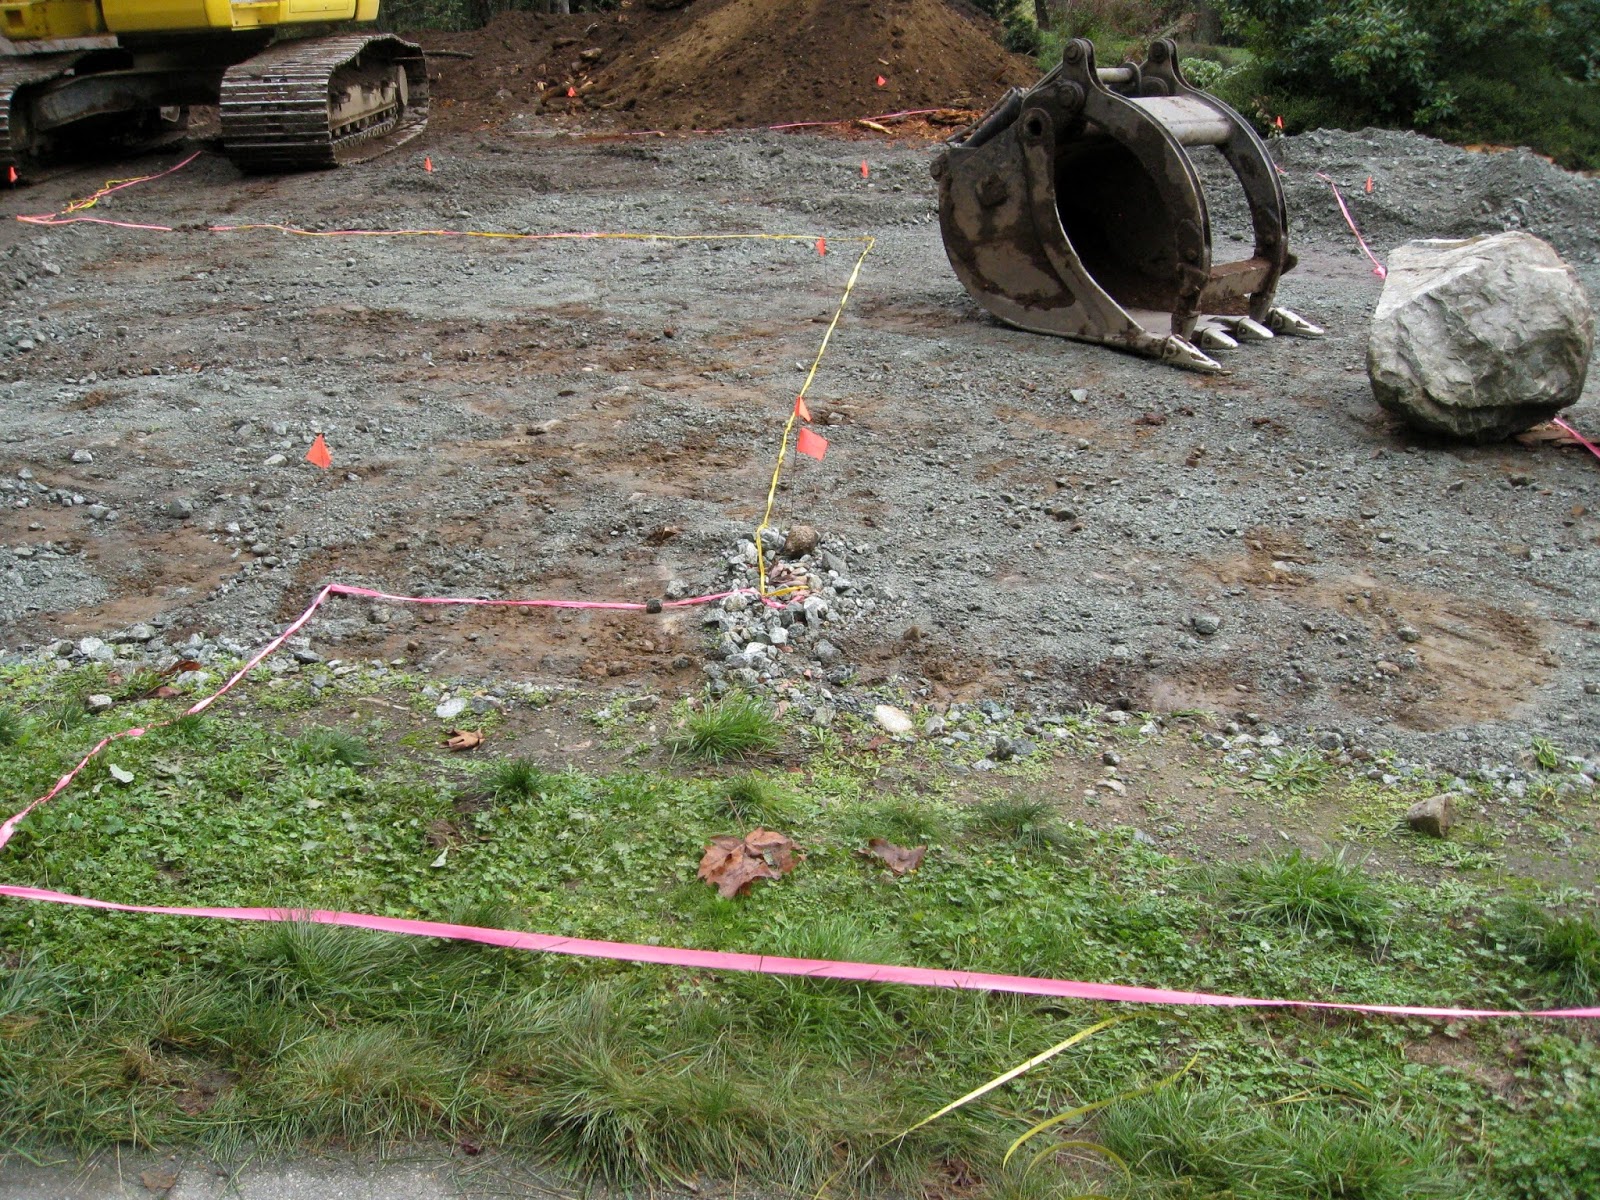
Tom's next task was to remove all of the existing plants I had tagged with tape because I wanted to  keep them for the new beds. He put them out of the way of the construction area.
Let the construction of the Raised Rockbeds begin.


Monday, February 15, 2016

Real-time Update: February 2016

Most of my blog posts are about events that happened some time ago. I focus on telling a chronological story because my blog is a journal.
However, I have decided to make the occasional post in real-time to document what I am up to in the present. So here goes - my first Real-time Update.
In my studio, I am working with buttons, lots of buttons. After sorting washing and placing them, I am sewing them onto a ground with the machine. 

Outside the studio, in the studio beds, the first of those spring bulbs I planted as soon as the garden beds were constructed, have popped out of the ground. They are the hyacinths.

About the same time as planting the bulbs, I planted a green manure mix of seeds and compost over the hugelkultur beds. The seeds the birds didn't take have germinated and the remnants the deer have left after their nightly grazing have turned into a green fuzz now the days are warmer.

We have had 40% more rain this winter than in any other we have experienced since we moved here. The damp conditions are ideal for rotting away the leaves while leaving their skeletons. I am collecting some of them for a work called  'Earth Repair.'
So that is what has been happening inside and outside the studio, today.

Friday, February 12, 2016

Backyard Project: Gravelbed Garden

Here I have laid out with tape the boundary of the next area Tom will work on, the Gravelbed Garden.
The Backyard Project is made up of a series of interconnecting rooms. This is a concept from Christopher Alexander's Pattern Language research where each room is considered a centre.
It is the use of centers, and the knowledge of the fundamental role that emerging centers play in the evolution of a design, which gives the design process an orderly character, that can succeed, and allows you to keep a clear head while you are doing it, and a clear mind about the long term target, and the immediate action you must take, at each step, step by step, that will guide the design towards a successful end-state.
He explains and expands on this important design principle of centres in his books 'The Nature of Order, volumes 1 to 4.


First Tom works on the pathway which is one of  the boundaies defining the Gravelbed Garden room.

Tom lays down and compacts a mixed-size gravel base for the path.
Next he turns to his pile of smaller rocks and starts sorting them by shape. He mentally names the piles according to their function.

Then he begins the slow task of selecting the right rock and putting it in its place. The task demands a lot of focused attention.

Tom was wiped by the end of the day. It took him another half day to finish placing the rocks.
I can see in my mind how it will look when it is planted and surrounded by the other interconnecting rooms. It looks fabulous. Once again Tom did an amazing job.

Monday, February 8, 2016

Backyard Project: Advantages of Hugelkultur Beds

The three finished Hugelkutur beds
The nearest one is in the shape of a water drop. The one beside it a feather and the far one a leaf. But more about their shapes later.

I have placed a temperature probe in one of the beds to monitor the soil activity. The logs in the centre of the bed will slowly break down and provide food for the plants. The logs will also act like a sponge and soak up a huge amount of water that will be accessible to the larger plant roots.


Tom gently packs the sides to make the beds stable. The slope reduces compaction of the soil, a major problem in garden beds. The slope also acts to greatly increase the surface area available to plant. Another plus is raised beds are so easier on the back when working on them than conventional garden beds.

The beds are orientated in a north-south direction to get the warming sun on the plants all day. The curved shapes with drier top areas and wetter lower areas make for micro-niche growing areas to suit a wide range of plants. 
During the first year while the green manure crop is growing, I will spend time observing the movement of the sun and identifying these niches while planning what to plant where in the second year. I think I have the patience to wait.


Tom laid down the base for the path to the studio then placed a layer of top soil either side for the studio lawn. The place in front of my studio doesn't look like a construction zone anymore.


Thursday, February 4, 2016

Backyard Project: Hugelkultur Bed Construction

Here is Tom making soil to place in the garden beds. With the bucket, he scoops and fluffs up a mix of top soil planted with a green manure crop, compost, crushed rotten logs and shredded prunings.

Making Hugelkultur Beds
The Huglekultur Bed gardening concept was developed in the Austrian mountains by Sepp Holtzer.
This is how Tom makes them.
First he scrapes out a trough within the shape I have marked out with wool (see the centre bottom in above image). Then he fills the trough with logs (see the top in image above).

He covers the log pile with the growing medium he has mixed up.

Then he adds more logs on top.

He covers the logs with the soil mix and shapes it to the outline I laid out. 
Finally, he gently pats the soil in place with the excavator bucket so the raised bed holds its shape.
Tom made 3 Huglekultur beds this afternoon and in so doing transformed this area of the back yard.


Saturday, January 30, 2016

Food Forest:Life in Syntropy


An inspirational video as we work on Phase 1 of the restoration of our property.

Thursday, January 28, 2016

Backyard Project: Studio Garden Beds

Ron cuts a log to size with the chainsaw.

Tom places it to make the first side of the raised beds beside the studio porch.
He has also begun the foundation of the path leading to the studio.

He uses the hand-like attachment to nudge the log in place.

Tom selects another log from his sorted piles.

Ron cuts it to size.

Tom mixes up different materials to make a rich soil.

Two bucket scoops of soil and the bed is full.

In less than an hour, the 2 studio raised beds have been made.
Another hour later I had them all planted in pink, white and purple spring bulbs. I want to see some colour come spring. I will probably move the bulbs elsewhere later because spring bulbs alone don't make a self-supporting ecology of plants.
Ron is spreading foundation gravel for the path under the arcade.
It was an excellent morning's work on the Backyard Project.


Saturday, January 23, 2016

Backyard Project:Studio Retaining Wall Pops up Like a Mushroom

A retaining wall is needed to stabilise this slope.

First Tom steepens the slope by digging out the extra soil which will go elsewhere.

The first rock is placed.

The second rock is manoeuvred into the right position.

Before long I can see from my studio window the first layer of rocks is place.

Previously Tom had sorted all of the rocks according to the shapes of their surfaces, putting them into his building block categories.

By early evening, there is a new retaining wall in place.

Tom has placed the rocks together as though they were an interlocking puzzle. It looks as though the surfaces have been cut to fit together.

Tuesday, January 19, 2016

Backyard Project: Rocks - Big Rocks and Little Rocks and Other Materials - Check


Tom ordered rocks - big rocks.

Tom checking to see what he has to work with.

Others materials needed to build a garden.
*Topsoil - Tom scraped off and piled up all of the top soil when clearing the site before studio construction began.

I planted the pile with green manure plants to protect the soil from rain erosion and to add biomass, nitrogen and other minerals to the soil.

The deer thought I had laid out a smorgasbord for them. Luckily they didn't like all 10 of the different seeds and some remained to grow.

*Rocks -Tom piled up the bigger rocks as he came across them while clearing the site but these weren't enough in amount or size which is why he ordered truckloads of huge rocks.


*Logs - to make a special kind of raised bed.
*Decayed Logs (shredded) - to add to the soil mix for the garden beds.
Tom has all the materials placed where they won't get in the way and where he can reach them when he needs them.
Now the Backyard Project construction can continue.


Friday, January 15, 2016

Backyard Project: Transplanting, Building, Shovelling, Back-filling, Capturing

Some of the transplanted plants we wanted moved to other garden beds around the house to fill in gaps.

Tom scooped them up one at a time and put them in our little tractor trailer.
Ron and I planted each plant in a pre-planned flagged spot. 
We had to work fast to keep up with Tom.

While waiting for us, Tom built a small rock edge between Gunilla's garden and the track.


Tom had dropped a pile of soil as far back beside the studio as he could reach.
It made Ron's job a lot easier.

Ron is back-filling over the studio's gravel-covered perimeter drain. 
It took many wheelbarrows of soil but I see he is still smiling.

At the same time, I was supposed to be in my studio working. With all of that activity going on outside the window I didn't work very well. I constantly went outside with camera in hand to see what was going on. It was all so exciting and I couldn't believe how quickly tasks were being done.