Home

Thursday, October 8, 2015

Studio Design: Porch, Electrical Centre, Tea Centre

Continuing with a diary about how I use spaces in my new studio, as requested, I have used the crawl space.
During the Green Shed Open House, a friend offered me some of her Japanese indigo harvest. How wonderful. I visited her and came back with many large bundles of freshly cut indigo. I couldn't deal with it that day, but she had sent me a link to a site with a recipe for dried indigo. 
I borrowed the drill, found some hooks and hung the indigo bundles from the ceiling of the crawl space.

I moved the dehumidifier nearer the bundles to create air movement to stop any mold or mildew (probably the same thing) from forming. The dehumidifier took out of the air the extra moisture created by the drying plants. 
The leaves have dried perfectly to a deep blue.

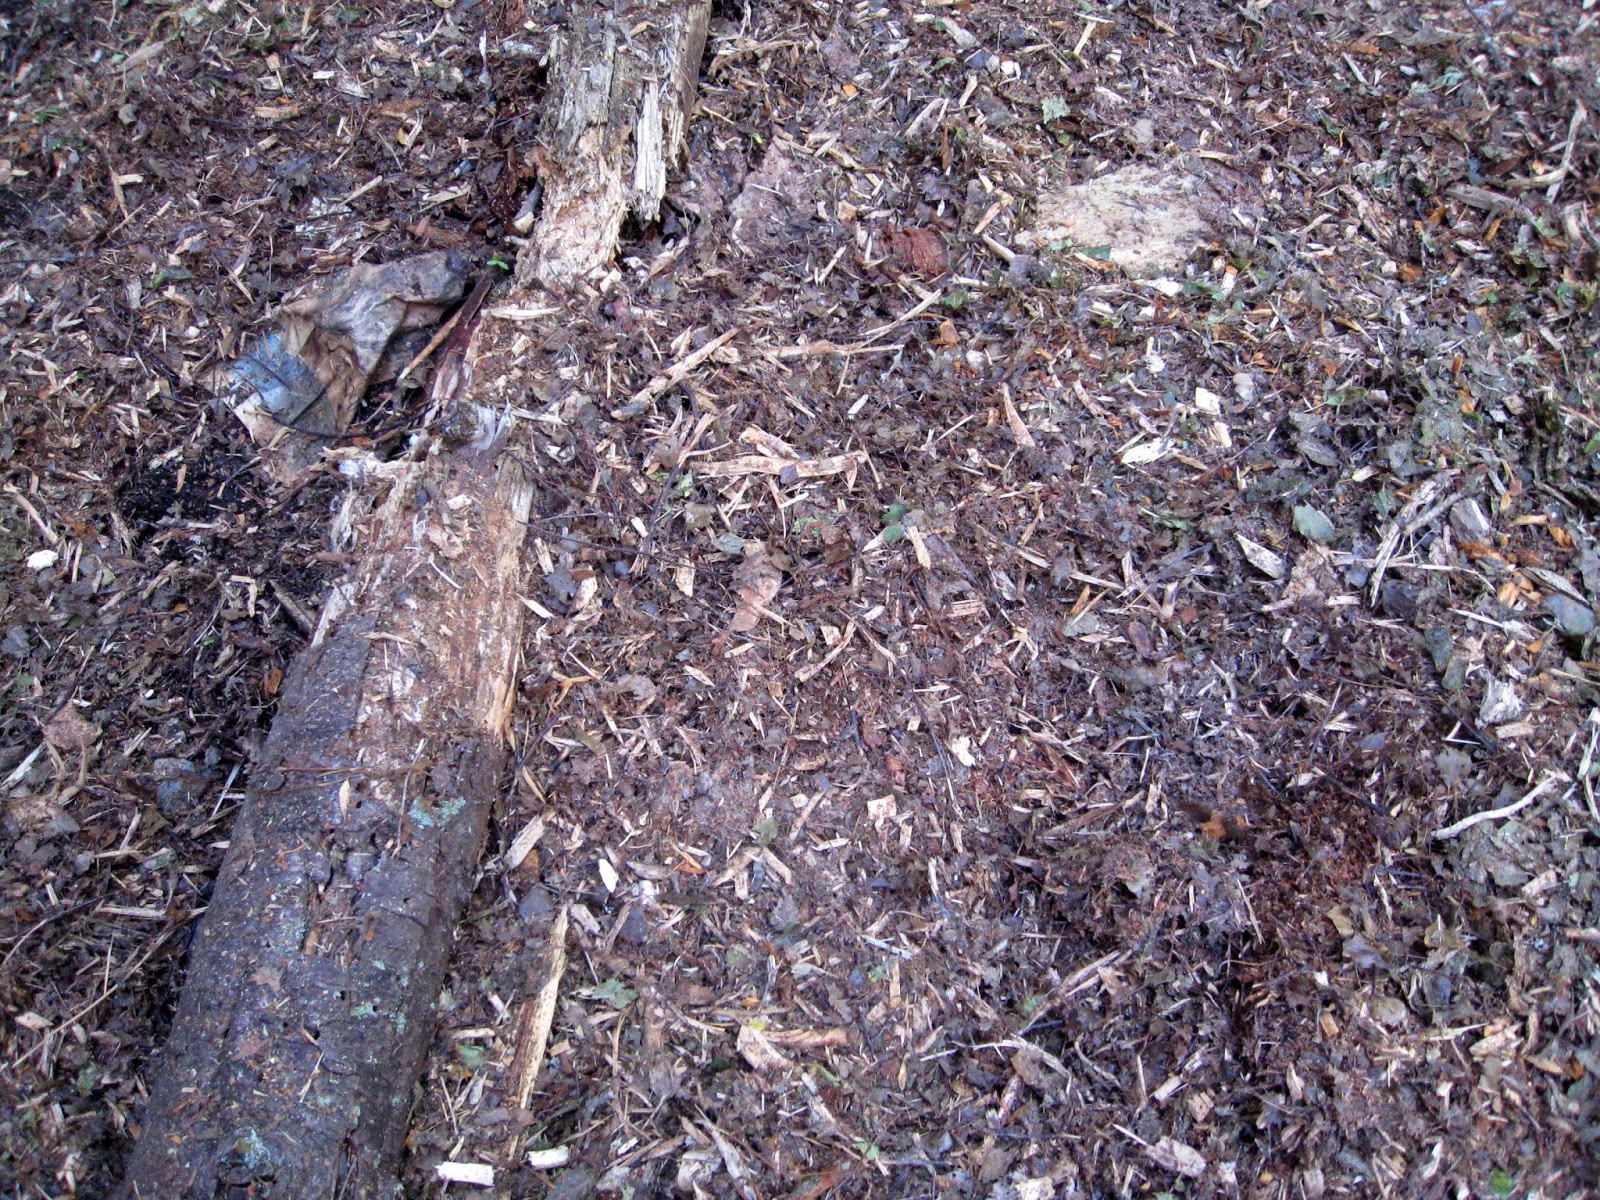
Another lovely friend gave me a bucket of walnuts from her tree.

I got to use the porch for the first time when I went out there to take the husks off the shells.
I found it to be a pleasant space to work in. 


Inside I plugged in the first appliance in the electrical centre - a wide and deep counter/bench with lots of easy to reach power outlets. The hot plate works by induction heating only the bottom surface of the pot to an exact pre-dialed temperature. If the pot is taken off the element it stops heating. Other things can be programmed too, like a timer, a pre-set temperature and more. This reduces the risk of leaving a hot heating element unattended by mistake.
The window opens out towards the prevailing breeze. The breeze enters the room and moves the heated air up across the room and out the upper clerestory-like windows on the east side. It is designed to be a passive ventilation system.
I think I got so excited about simmering the walnut husks I forgot to take a picture of that stage.

It was time for tea. This is my tea centre with different teas and snacks in the little drawers.
Ron gave me the lovely teapot for this spot.

At the water centre, there is an instant boiling water tap. I drink herb teas that are made at temperatures below boiling point so the thermostat is set at below the boiling point.
This instant 'boiling' water was used to fill the pot to simmer the walnut husks in. It is more energy efficient to heat a small amount of already hot water a few degrees more than to take the same amount of water from cold to hot each time.


I had tea in the 'sunny room' for the first time. I will explain the Pattern Language 'sunny room' term in a later post.
My cousin, who does interiors for a living, helped me find the perfect chaise for this spot. Thank you, Karen. 
It is where I will read, rest, contemplate, and drink tea. 
The little wall heater, bottom right, has its own thermostat so I can set the room to be a little warmer than the main room while I sit still.
So that was the first day in my new studio.

Tuesday, October 6, 2015

Studio Design: 38 Steps

After a wonderful open house where many friends came to help me celebrate the completion of my new studio, I wasn't sure I needed to continue writing posts about the place. But one of my sisters said of course I did. She wants to see how the space works, and how it doesn't work, and how I use the different stations I have set up. So here we go...

I am working to establish a routine which is a series of linked good habits.
At 8:30 a.m. I walk 38 steps from my office in the house to my studio.

Once the Back Yard Project is implemented it will be a pleasant walk through the garden to the front door of the Green Shed.

I open the door, turn on whichever bank of lights I need for the area I will be working in and I turn up the thermostat.

I switch from outside shoes to indoor shoes. The third pair belongs to a friend who I am hoping will drop by for tea some mornings.

From the front door I look up at the design wall at the work I put up last thing before I left for the day. I now look at the work with fresh eyes.

I sit at the desk to write in a journal what I plan to work on that day and to record what is on my mind.
I draw for a while (not timed). I am working on one of the books I made during the Dorothy Caldwell workshop. This slows me down so my sense of time is switched off and it makes me focus on one thing.


This is the view out of the window over the desk. It still looks like a construction site but we have great plans for it.


Saturday, October 3, 2015

Backyard Project: Gunilla's Garden

This garden bed was started when the trench from the house to the studio had to be dug.
I don't have a before image but the area to the left was covered with weed cloth and river stones.
We removed all of the river stones and marked out a new track further away from the bases of the trees - orange tape and markers.

The soil underneath the weed cloth was compacted and starved of nutrients/food.

The whole area was first covered with cardboard and paper then many layers of coffee grounds, horse manure, grass clippings, decaying wood, more paper, compost.... were added.
At this stage friend Gunilla was staying. She spent time out in this new bed adding layers. I remember she told me some wonderful stories while we worked. It is now called Gunilla's Garden.

John, an environmental sciences university student, also worked on the garden when he came around over the summer to hand water the gardens. The construction had destroyed the irrigation system so we hand watered to get the essential beds through the dry season.

John added lots more compost, paper, and decaying logs - a juicy combination if you are an organism living in the soil.

I added lots of pruned branches to build a mulch cover to help retain the moisture in the bed. The soil organisms need moisture to be able to work on the layers and make new soil.

We had 2 truck loads of freshly shredded garden 'waste'. I say 'waste', but to permaculturalists it is like 'gold'.

We put a thick layer of this treasure on Gunilla's Garden. As soon as the rains started mushrooms and other fungi popped up all over the bed. They are a good sign that the different materials are beginning to break down. I am looking forward to being able to plant in Gunilla's Garden.


Monday, September 28, 2015

Vancouver Island Circumnavigation

The Captain
Guipse Bay, place of an early 20-century utopian Danish settlement, now abandoned.

The knitting grows.

I am observing, sketching and photographing the boundaries between different elements.

Ocean Beach - Shed 4, Jacobson Point, Brooks Peninsula
One of the best surfing beaches on the West Coast of Canada, so the book says.

Though plastic is the main type of debris on these west coast beaches we also saw this huge vehicle wheel, the wheel of a plane, and rubber boots from Japan.

The day was a little chilly while the sun burnt exposed skin. 
My solution.

Sketching with water-colour pencil crayons and sea water.

Circumnavigation: West Coast Vancouver Island

By the time we were on the west coast my knitting had grown much longer.

And I was working my way through the pile of stowed books. They included a few about and by Emily Carr because this was the country she traveled through and worked in.
Kerry Mason Dodd's book 'Sunlight in the Shadows. The Landscape of Emily Carr' is full of photographs of places Emily visited. It gave us clues as to where Emily visited and we were able to stop at a few of those places.


Emily Carr, Indian Church', 1927, oil on canvas, 108.6 x 68.9cm. Art Gallery fo Ontario.
photographed from Sharyn Rohlfsen Udall's 'Carr, O'Keeffe, Kahlo. Places of their Own.'
Emily Carr did sketches for this painting when she visited Friendly Cove, Nootka Island.

We anchored in Friendly Cove, puttered ashore and went in search of the church. We learnt from the resident warden that particular church burnt down in 1954. The above church was built as a replacement 2 years later on a new site further towards the point. It is now a museum for the local First Nations band's collection of artefacts.

Also in Friendly Cove is the Nootka Light Station.

Emily Carr sketched the light station buildings during a later visit, in 1929. 
I found this image in Doris Shadbolt's 'The Sketchbooks of Emily Carr. Seven Journeys.' 
Reading about Emily Carr, Georgia O'Keeffe and Frida Khalo, 3 artists with intense connections to nature and long attachments to specific places, helped me during the month at sea to look longer and deeper at the water, land and sky that is home and a source of inspiration for my work. As a result, I have a sketchbook of ideas to work with.


Thursday, September 24, 2015

Circumnavigation: Things To Do When Not Actually Sailing

Sketching in Roller Bay, Hope Island

Roller Bay, so named because the round stones roll in and out with the waves making such a distinctive noise.

Picking up debris on what should have been a pristine beach. I collected a bag of stuff to incorporate in a work about the world's plastic garbage issue.

And there was always knitting when not required by the skipper to pull my weight.

Sunday, September 20, 2015

Vancouver Island Circumnavigation - What I did this Summer

This summer Ron and I went on a big expedition. We explored the island we live on.  Travelling on our sailboat we took a month to circumnavigate Vancouver  Island.

We saw many beautiful sights including much wildlife: orcas, dolphins, sea lions, whales, sea otters, seals, bears, and birds - none of which I was able to capture adequately with  my point 'n' shoot camera.

I got lots of knitting time in. I read most of the books I stowed on board.

I did lots of quick sketches to make me really see what I was looking at.
My sketchbook is full of inspiration and ideas for future works which will keep me busy in my studio over winter.


Thursday, September 17, 2015

Kim Eichler-Messmer Dye Workshop

For a couple of years now I had been wanting to attend Kim Eichler-Messmer 's Percentage Dyeing Workshop so I signed up straight away when I saw she was coming to the Pacific Northwest Art School in Coupeville, Washington. (Check out  their just published 2016 calendar)

Kim practices and teaches a percentage system that makes it possible to reproduce colours exactly. 
Day one focused on mastering the basic system of weighing the fabric then adding precise amounts of dye from stock solutions. 

We each made 2 sets of our basic palettes, one in dark values and one in light values. We used these two sets as a starting point for all of the following exercises.

Homework was to find some favourite images and isolate 4 to 7 of the most important colours in each of them. Next day we sifted through a huge pile of Kim's paint chips and the ones we had brought with us to find colour matches with our chosen images.


Then we set about dyeing white fabric to match the colours in our chosen images. 
That was a fun exercise and a most valuable skill to learn.
We also learnt how to made many different types of colour gradations.


Each person cut up their samples and shared them with everyone else. We left the class with a big bundle of samples and instructions on how to reproduce each one.

I rewrote all of the recipes into a new dye notebook, numbering each one to match with the unique number on each sample. What a valuable resource that I can keep adding to. 
I used to dye lots of fabric in  a haphazard, non-repeatable way then pick from the fabric pile the colour I was looking for. Now I know how to dye to replicate any colour, make a value gradation, from the palest to the darkest, produce a 2-colour gradation going from bright to neutral with no change in value and how to scale up to any quantity of fabric with consistent results. No more random dyeing for me.
Thank you, Kim, for  teaching an invaluable technique with infectious enthusiasm, never-ending patience and a great depth of dye knowledge.