Home

Monday, April 13, 2015

Studio Construction: Windows and Doors

Eric the electrician came back to add electrical outlets and wires. I was asked where I wanted power and light. I was able to be decisive with my answers, mostly because early on in the design process I had decided where everything was going to go inside the building.

The wires look to be colour coded.
Electricity is a mystery to me. Our daughter considered becoming and electrician because she sees wiring a building as solving a puzzle.

Big day - the windows are going in. Dave and James had to work together well to get the biggest windows in place.

The front door has a large glass panel to let light into the centre of the building.

Now it looks more like a habitable building.

The North facing side door giving access to the outside and down to the crawlspace.

The North facing crawlspace door.

The West loading doors to the crawlspace. I don't plan to use these doors, but they are there in case I make really big art that needs to be stored in the crawlspace.

View of the SE side with all of its windows and doors.
Now the rain will no longer get inside the building. It is time to start drying out the wood on the inside. Ron and Dave installed dehumidifiers. Ron and I began vacuuming and cleaning all of the mud, sawdust, and sealer blobs off the framing and walls each night after the crews had left. We had only an hour or so before it was too dark inside to see. The electricity is hooked up yet.

Sunday, April 12, 2015

Studio Construction: First Wall Layer Completed

View from the inside looking south towards the sunny room.
The plywood wall layer is nearly finished.


The plywood is finished, including on the sunny room walls.

The first layer of paper/plastic-like materials is put around all openings in the building envelope. These must all be sealed against water and air/heat loss.

I joined the morning meeting so I could see the light coming through the seven clerestory windows now the plywood around them was cut out.
Yes, the effect is perfect. Thanks Jonathan for such a great design.

Ground level view of the east wall with the clerestory windows catching the morning light.

Saturday, April 11, 2015

Studio Construction: Porch, Sunny Room and Electricity

The construction of the sunny room has begun.

It is called the sunny room according to the design book A Pattern Language.

It will be where I will sit and hand stitch, read, have tea and think.

This week the carpenters also built the porch and arcade that run along the west side of the building.
Those 6" x 6" cedar posts smell delicious while still freshly milled. They will be left unsealed to bleach to a soft gray. The oils in cedar will protect them from decay for many years. So no maintenance there.

The porch and arcade are designed to protect the west side of the building from the prevailing winds and rains. When it is raining, I will have a sheltered place to walk from the house along the arcade to the front door.
The architect, Jonathan Aitken, computer modeled the sun on the building over the year to work out how high and wide to make the roof of the porch. I want the low winter sun to warm the west wall and the light to penetrate right into the main room. While the porch will stop the strong summer sun from shining directly into the building. I need lots of natural light but not direct sunlight.
The porch is also wide enough to comfortably sit on.

The electrician made his first visit.


He put in some wires and the electrical box.
So it was a busy few days on the studio construction site.

Wednesday, April 8, 2015

Studio Construction: Digging Trenches

A digger was used to dig a trench in front of the building. Dave and James are in the trench framing up foundations and footings for the porch and arcade.

Concrete was poured into sono-tubes with re-bar sticking out.


Meanwhile, Ron and I are digging trenches for the services to be taken from the house to the studio.

When I say 'we' I mean Ron is doing the hard physical labour of swinging a pick to dig out rocks and shovelling metres of soil.

I am using hand tools to excavate around tree roots and existing irrigation pipes.
We are doing the unskilled manual labour.


Monday, April 6, 2015

Studio Construction: Windows and Doors

I was working away in my current studio when things went dark.
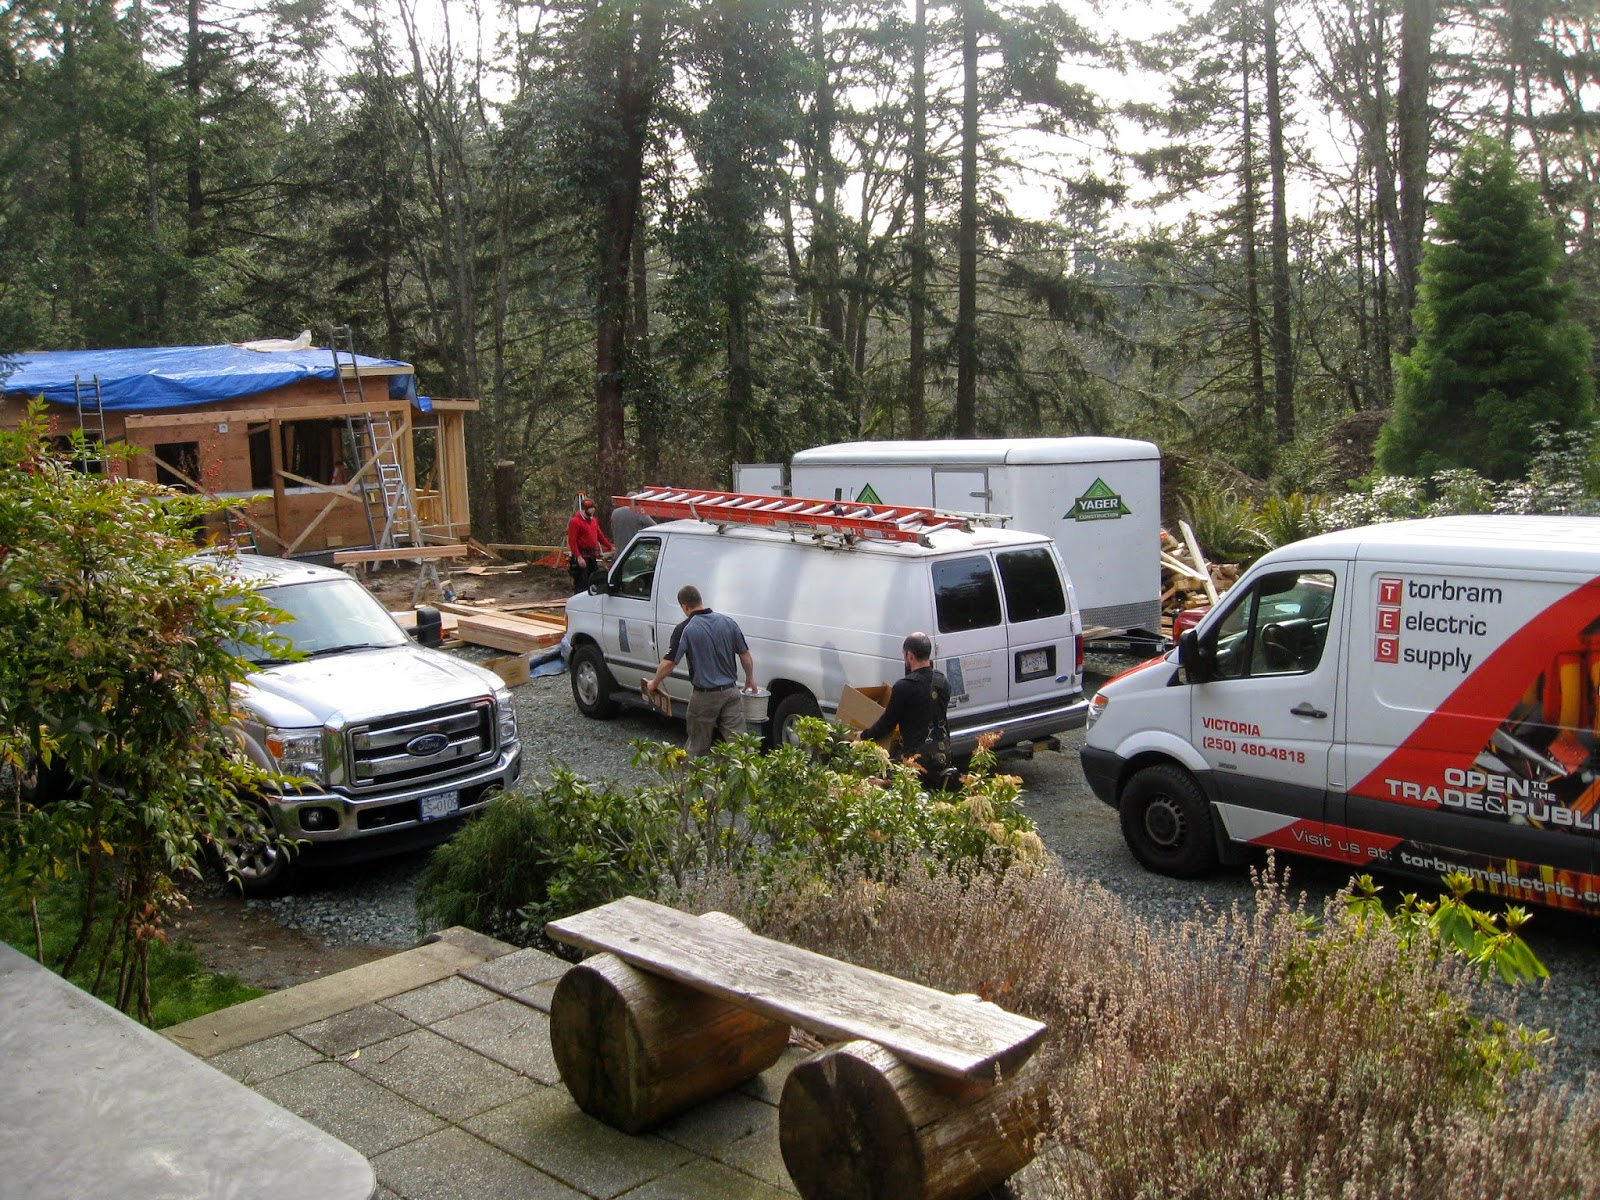
A big delivery truck had arrived outside my window.

The outside doors had arrived.

One for the main level and 2 for the crawl space.


Ooh, another big delivery truck.
Milgard. That means the windows have arrived.
Out of all the different fittings and fixtures we have researched for The Shed, the windows have taken the most hours of research and most showroom visits. Our priorities for the building was no maintenance for 25 to 30 years, high energy efficiency and lots of natural light. These priorities meant we were looking for high-quality windows. The windows are an important part of the design of the building.

The front door has lots of glass to allow lots of light into the centre of the building.
Other window design issues we considered were that smaller, fewer windows are best for improved over-all building thermal performance, comfort, durability and efficient operations. On the other hand, I also require enough windows that are large enough to let in a lot of natural light. 

Some of the decisions that needed to be made about the type and design of the windows: 
  • U. factor/ U. value - Thermal  conductivity i.e. how much warm air leaks out through them - we want to minimise this feature,
  • SHGC - Solar Heat Gain Coefficient - how well the glass blocks the sun's radiant heat - we want to maximise this feature, 
  • VT - Visible Light Transmittance - how much light comes through the glass - we want to maximise this feature,
  • Material - Wood and fibreglass are the best for thermal efficiency but are the most expensive. Fibreglass is long lasting and strong enough for large windows. Vinyl is the most cost effective and has high thermal properties.
  • Type: Casement, hung, double hung, awning, sliding, opening/non-opening, opening which direction.
  • Colour: What colour? The architect and artist had to agree on this one.


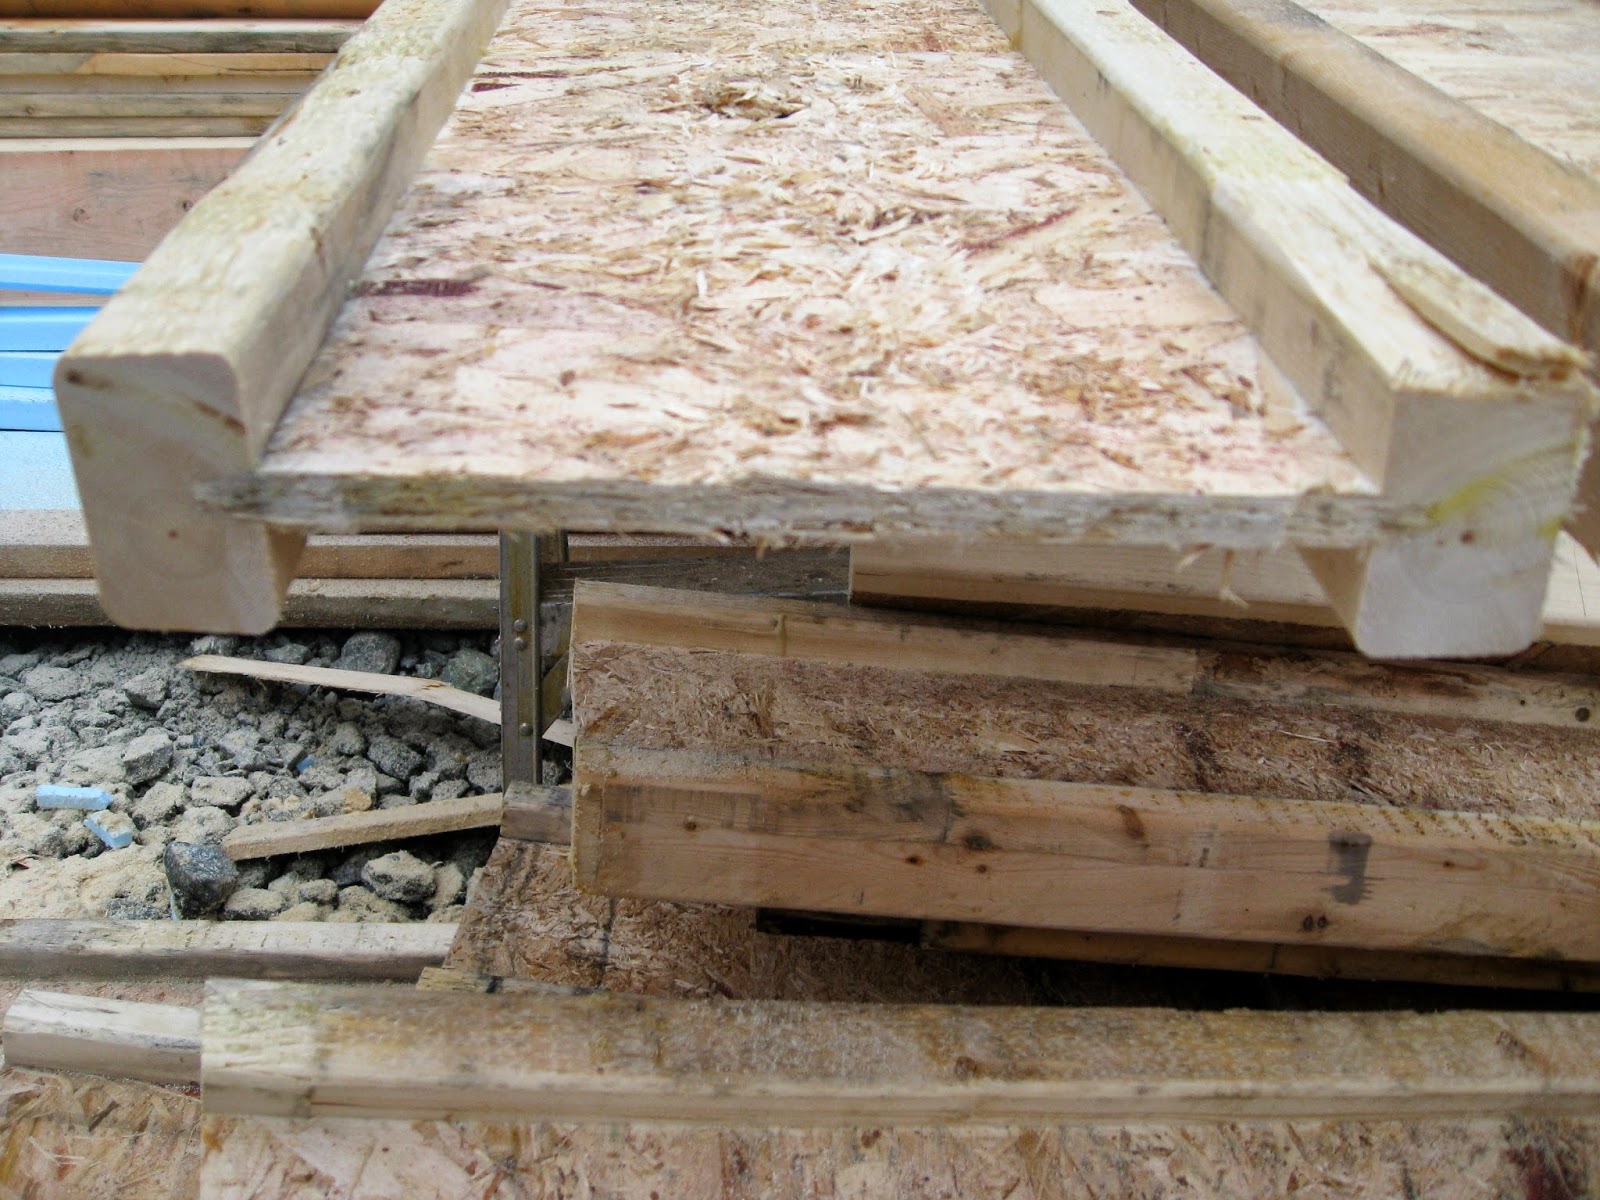
The small windows are stacked inside, in my studio.
Our decisions on the windows:
  • Material: Milgard's vinyl windows are thermally very efficient. We don't have any large windows so the frame doesn't need to be extra strong. The frame is painted in the factory so won't need painting on site or for the life of the window. Vinyl costs less than wood and fibreglass.
  • Technical Specs: We went with double glazed. It doesn't get cold enough on Vancouver Island to justify triple-glazing. Argon gas filling the space between the panes of glass to stop the flow of warm air is pretty standard for windows now. We went with upgraded thermal spacers between the panes of glass, generally a weak area for thermal efficiency.
  • Design; We chose different types of windows for different parts of the building. Some of the small windows on the east side open as part of the heating and cooling system, which I will go into more in a later post. These windows also have only 1 low E plastic film coating to maximise the amount of light coming through. The windows on the sunny side of the building have 2 coatings of low E film to stop some of the interior heating by the summer sun, but at the same time sacrificing some of the natural light - a compromise. These sunny-side windows can also be opened to catch the prevailing summer breezes as part of the building's cooling system. We chose the more expensive insect screen option in Gortex because it lets in twice as much light as the regular screens. The building is tucked in under shady tall trees, as I wanted it, but  we have been careful to design for as much natural light reaching the interior as possible.
  • Colour: Black frames on the outside will help the building visually blend in with the forest. White frames on the inside help with the reflection of light around the room.
Phew! See what I mean about the windows being such a big decision and why it was so exciting to see them arrive on site.


Friday, April 3, 2015

Studio Construction: Another Roof Layer

Jeff  is getting up on the roof after a pellet of plywood was placed up there by a delivery truck with a large arm. 

A sunny day and the race to get the plywood layer on before the next lot of rain.


Next operation - digging trenches and holes for more foundations - this time for the porch and arcade that runs along the side of the building.
The resident 'retired, always-an-engineer' consulting with the digger operator, Aaron Yager, the owner of the construction company.
James is the 'look out' person or maybe 'spotter' is the correct term.

Dave, the lead carpenter, keeps an eye on operations as well.
There is a lot of cell phone consulting of different weather forecast apps to see when the next lot of rain is coming. These forecasts influence what can be done next.
The next lot of rain came. Now the building is covered with the ubiquitous 'blue tarp.' This distinctive blue colour is a common sight on the island. It indicates an issue with water whether it is keeping a pile of winter wood dry enough to burn or trying to keep an unfinished roof dry during construction or covering a roof damaged during a storm. 
Keeping water out of the materials and outside the building envelope is a major influence on building design in this rain forest environment. 
The Pacific North West rain forest ecosystem with its high rainfall and relatively mild climate produces the largest biomass in the world. The combination of conditions is perfect for growing huge trees then rotting and breaking them down in a self-supporting cycle of growth and decay. We are building a wooden structure within this ecosystem where the same processes will be active. All of the building's wood will naturally breakdown unless the water can be kept outside the building envelope.

Wednesday, April 1, 2015

'Canadiana', May 1-8, 2015 Textile Art Show


‘Canadiana’   May 1 - 8, 2015  Textile Art Show
Community Arts Centre, 9565 Fifth Street
at Tulista Park in Sidney  Open daily 10 am - 4 pm


A travelling exhibition of 30 works exploring a sense of place in Canada by members of the Fibre Art Network.  FAN is a co-operative of Fibre Artists in Western Canada.  This exhibit made it’s debut in Palmerston North, New Zealand in January 2015.  It is scheduled to travel for two years in Canada with the first showing in Canada at Tulista Gallery in Sidney.


Yukon Gold - Katie Stein Sather, Maple Ridge, BC


Pine Beetle Blues - Marcy Horswill, Cumberland, BC

Studio Construction: Roof Beams

This is an exciting delivery - roof beams.
They were designed by the engineer, Ritchie Smith of  Hoel Engineering and Contracting and constructed in a nearby factory. Another engineered product as the 'greener' option.

Dave guides a bundle of beams as they are taken off the truck bed.
Engineered roof beams have lots of advantages over lengths of timber. They are designed in an 'I' shape for strength and are reliably straighter than natural wood. There are fewer defects while a piece of timber will have weakening knots and grain abnormalities, structural and cosmetic problems that over time can take more resources to repair. The extra initial cost of the manufactured beam is more than made up with less wastage on site, fewer materials to get the equivalent required strength and quicker installation.

It looks like the load arrived with graffiti.

The name is not graffiti. It is the owner of the construction company's name, Aaron Yager.

Here is Jeff measuring twice and cutting once.
I think Dave and Jeff appreciated another advantage of engineered roof beams - they are lighter. But they still must have taken a lot of effort to hoist them up onto the roof.

Here is a cross section of the 'I' beam - a naturally strong shape.

Nearly all of the beams are in place.
Next a roooooof!

Monday, March 30, 2015

Studio Construction: Walls

The walls are going up quickly.

The carpenters frame up a section add plywood then raise it up.
The plywood gives the wall rigidity and strength while reducing the amount of lumber needed in the frame.

Framing up in the crawl space.
It rained a lot before the floor above went down and the crawlspace is still very wet.
I had a couple of sessions sweeping water out.

The yellow header board above every window and door frame is an engineered product called Glue-Lam. Blue sheet foam insulation is placed on both sides of the header because wood transmits heat more than air so the headers are places that need to be well insulated.

The header boards are made from many layers of slices of wood glued together. They are stronger than solid wood so less framing is needed over the windows and doors. These Glue-Lam boards use smaller trees so, in theory, the biggest trees are left standing. They don't twist like timber tends to so there is very little waste on site when it is used.