Home

Thursday, May 21, 2015

Studio Construction: Taping and Moisture

The tapers, Cameron and Jordon, have arrived. They finish the rough edges of the drywall with plastic strips...


...tape and wet plaster.

The first stage is to tape and mud all of the drywall edges and rough spots. 


Ron uses a moisture probe to test the moisture content of the materials. The building's floor, concrete and wood frame were open to the winter rains during construction and absorbed a lot of moisture. The wet plaster has added to the interior moisture level because it gives off a lot of moisture as it cures and dries. The overall moisture level of the building interior needs to be reduced before the next stages can begin. Ron has installed a dehumidifier that runs day and night until he gets acceptable moisture readings.

Dave continues to make progress lining the crawlspace with plywood.

Ron checks the dehumidifying progress in the crawl space after running the dehumidifier down there for several days.

Tuesday, May 19, 2015

Studio Construction: Many Trades Make a Building

Drywallers clad the inside of the building with fireproof sheets of  plaster.

All of the east wall windows have drywall right to the window frame to give a simple clean look. I am going for an industrial/farm style for the building.

All of the west and south facing windows will have painted wood sills which are now waiting for the finishing carpenter.

Drywall mud and tape waiting for the drywall taper team.

The metal soffit is being installed by the roofers who also make and install the gutters and downspouts.

The electrician comes and goes doing his job in synch with the work of the other trades.

The sheet metal team continue to work around the building cladding it in corrugated steel.
All of these different teams of skilled workers are co-ordinated by the general contractor and the lead carpenter.

Sunday, May 17, 2015

New Work - 'Forest Flowers'

I am working on a new work for a Surface Design Association exhibition. It involves a number of different steps and techniques.
Random dyeing the ground cloth.

All of the fabric is worn bed sheets.
Dyeing for an all-over mottled colour.

Another sheet dyed to get a more randomly patterned effect.

Sampling different fabric paints to screen print motifs onto the dyed ground.

Resist dyeing. I tied different sized seeds in the centre of torn squares of cloth. 

The tied thread acted as a resist when dyed.

Hand stitching the resist dyed squares.
I keep track of time spent making the work.

Thursday, May 14, 2015

Studio Construction: Porch Floor

I was quietly working away at my desk when I heard a large truck arrive.

It delivered a load of concrete onto the porch area.

Citywide Concrete Company got the job to make the porch floor.

Lines were cut in the smooth, wet concrete to absorb the stress that otherwise would cause cracks.

The Finish: After waiting until the applied retardant had set to just the right amount the surface of the concrete was gently washed...


...to expose the top layer of aggregate.


Once the concrete has dried and cured over a few days Ron will brush off the white residue then apply a sealer to stop it absorbing whatever I might spill on it.
And there it is - the porch floor. It won't require any maintenance other than sweeping and a spring wash. It won't rot or decay as a wooden deck would. It is sloped a few degrees away from the wall so spilt water and driving winter rains will drain away to the garden bed that will be built in front of it. 

Sunday, May 10, 2015

Studio Construction: Porch Floor Preparation

Remember I posted about finding these bent rebar rods Dave had made. 
Now I know what they are for.

He drilled holes in the foundation wall then inserted the rods where the porch floor will be.

 
A rental delivery dropped of a gas powered hand operated compactor.

Dave compacted the backfill where the porch floor will be constructed.

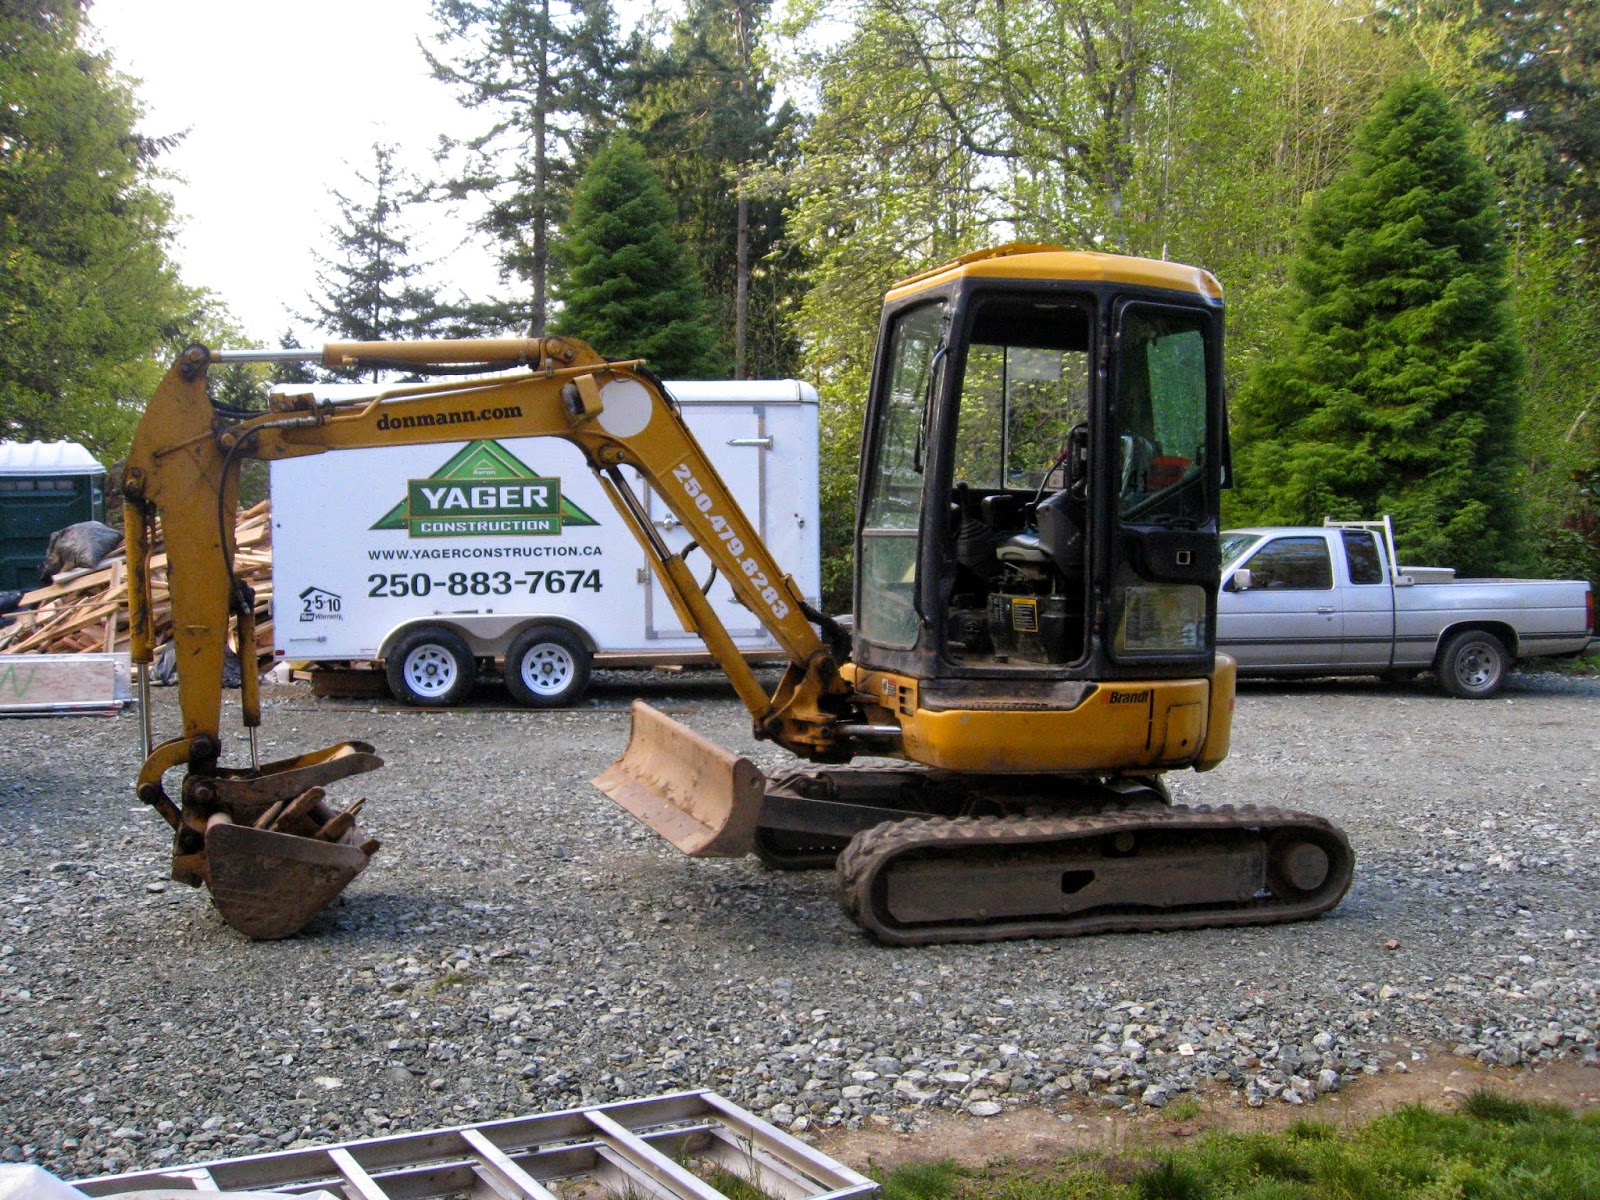
Next a small, rubber-tracked digger was dropped off.

It built up the soil for the porch floor and did a bit of landscape earth shaping on the south side of the studio area.

Friday, May 8, 2015

Studio Construction: Services and Backfilling

Oohh! A new van. The plumber.

The house water main now has a new line going off it - to the studio.

The white line takes water to the studio.
The electrician has laid the first of the power and services conduit coming out of the studio crawl space. He puts zip lock bags over the ends to keep the soil out.

This is the water pipe coming out of the building from the wash tubs and feeds into the nearby septic tank.

Once all of the crews had gone for the day, Ron and I backfilled the trenches near the studio building. We wanted to cover the exposed tree roots as soon as possible before they dried out.

Thursday, May 7, 2015

Studio Construction: Work Continues Inside and Outside

After the first day of securing the drywall panels in place. The ceiling is done.

Ron and Dave check the work.

Dave has been lining the crawlspace with plywood. His assistant, Paul, sweeps up after a day's work.

We are really pleased with the way this area is looking.

Dave has also put in place the formwork for the porch floor.

A small load of gravel was dropped off and leveled out. Dave attached rebar rods to the wall and extended them out into the floor area. He added a wire mesh and a rebar grid - all so the concrete would be well supported.
The taped brown paper is to protect the wall from splashes when the concrete is poured.

Tuesday, May 5, 2015

Studio Construction: Work Inside and Outside

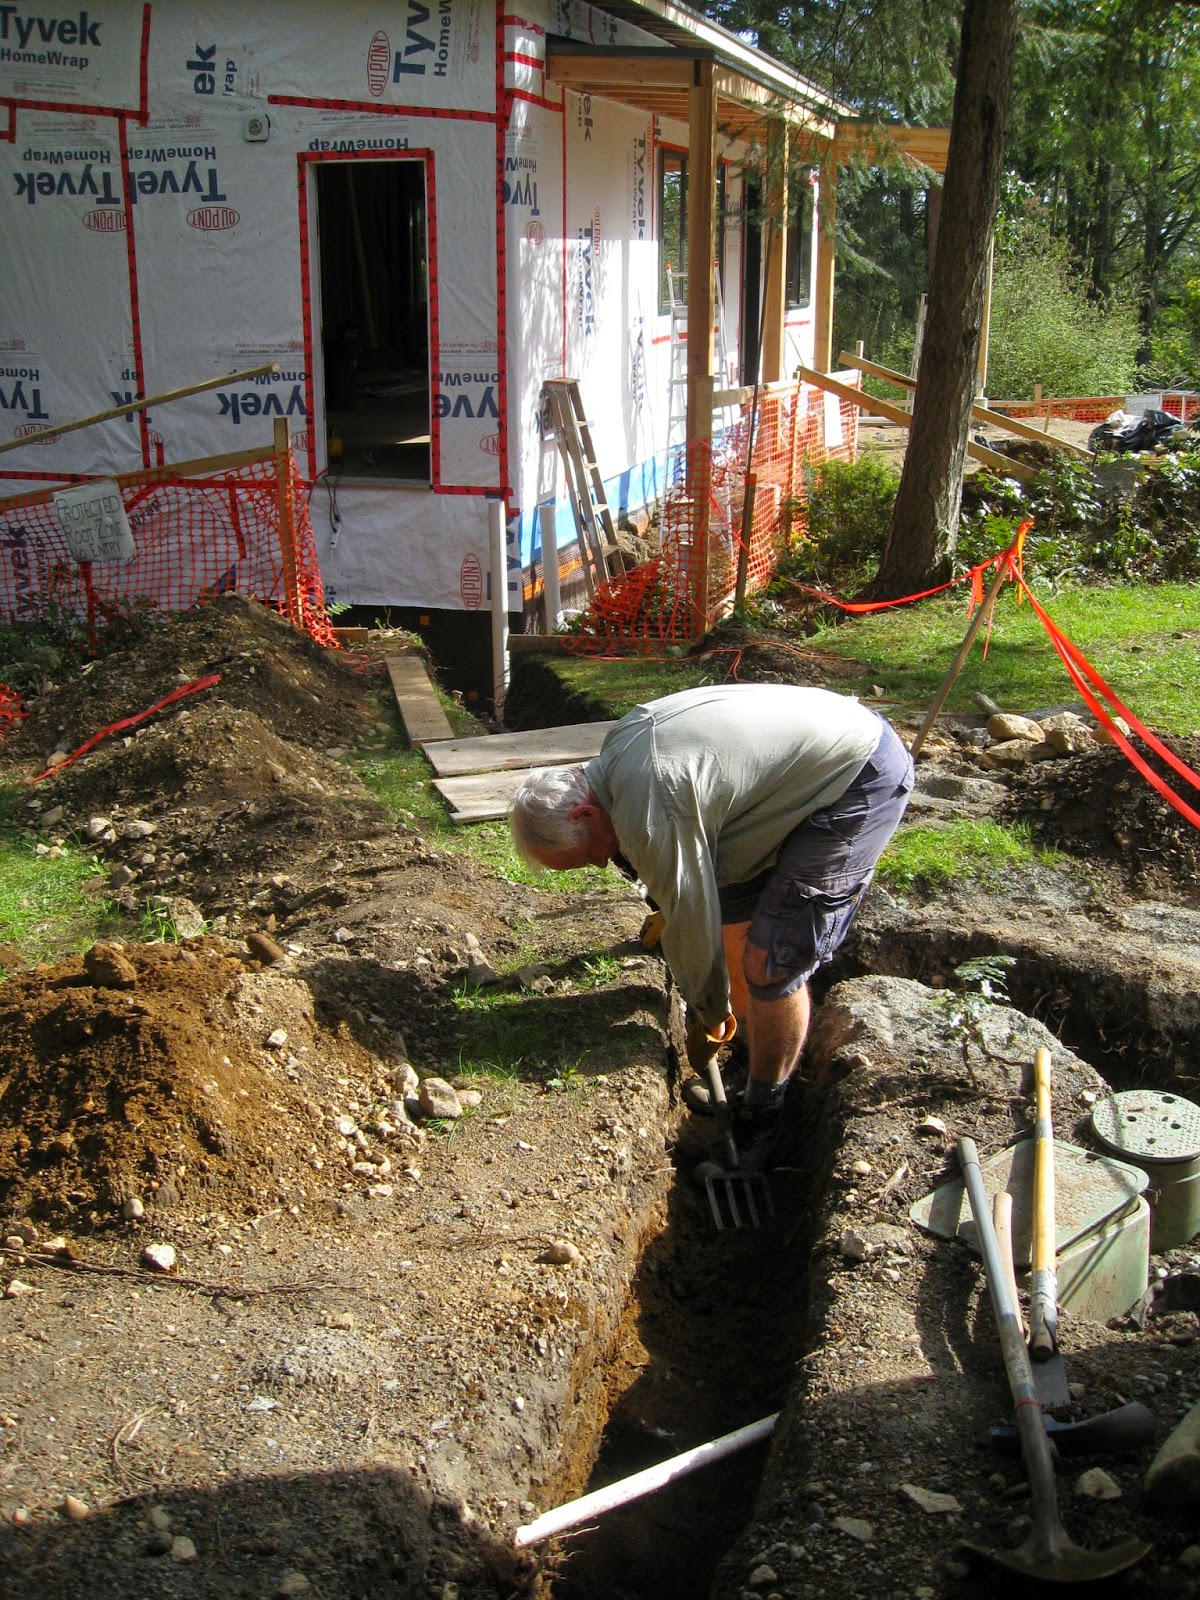
Ron and I have the job of digging the trench to hold conduit for services from the house to the studio.


Unfortunately, the trench passes between a large Douglas-fir tree and the house. It is my job to dig around the trees roots while making the trench. The roots I come across are the uphill ones which are the most important for holding the tree upright on the slope. I take care not to damage them while using small tools and my hands to clear away the soil.

Meanwhile, Ron uses big tools to dig out the bulk of the trench.

The work on cladding the building continues and we watch as it seems to be visually disappearing into the forest.
The building code requires the 2 walls near the house to be fireproof, which was one of the reasons we went with metal cladding.

The inside is ready for the next stage. A delivery truck dropped off sheets of drywall....

...tape and mud.
We had considered lining the inside with other materials but decided the fireproof feature of drywall made it the lining of choice.