Home

Saturday, August 29, 2015

Studio: Loading Up

The studio is ready to be 'loaded up.'

The first step is to assemble the shelving, but I need to also have the stuff to go on each shelf ready to show where to place each shelf, working from the bottom up. This procedure makes the most of the shelving space.

We took the furniture from the old studio that I wanted to continue using out to the new studio.

Good friends JP and Caroline McCartin came to stay for the week and we put them to work. They willingly made all of the trips between the old and the new to move all of the containers and furniture.

Ron and JP leveled off table tops...

...and assembled shelving while I loaded them up.

Caroline got into the cleaning...

... getting into spots I couldn't reach.

Caroline pulling herself out of the fabric-roll storage.

Caroline cleaning my bead storage unit.

Caroline and I spent the afternoon making a print table board - a two person job for one this size. First we joined two pieces of closed cell insulation board with duct tape then trimmed the board to 8' x 4', the size of the table. We taped on a sheet of cardboard from the steel shelving packaging to give the insulation some strength. This was wrapped in a king-sized wool blanket trimmed and sewn to make a snug fit. The final layer was a wrap of heavy plastic. I am very excited about being able to print to this size.
Big thanks to Caroline and JP for working so hard at transforming an empty space into something looking more like a studio.

Wednesday, August 26, 2015

Studio Construction: Complete - Moving Sale


The Green Shed passed its final inspection. We have the building permit.

Ron and I celebrated with a soft (bubbly) opening.

Inside the little box is the front door key.

The fire chief dropped by and gave his final approval.
I have been told I can now "load it up."

So I am having a 'Moving Sale' in my Etsy shop Ravenmade Works
I want to sell some of my stock to save on the 20-step walk between my old studio and the new one. Isn't that what shops do when they change location? 


I am offering a 40% coupon discount for the next couple of weeks.
The Moving Sale coupon code is MOVING40

Now to get to the task in hand - loading up.

Monday, August 24, 2015

Studio Construction: Design-Inspiration-Photography Walls

With just a few more things to do in the studio I started the serious cleaning up of construction dust.

Mike is preparing the base for the design wall - fibre board and cork...

...with a layer of blackout curtain material added on top. The rubberised coating does an excellent job holding the pins.
I steamed out the wrinkles before it was attached to the wall.


The sliding door is put on a barn door railing.

I
In this position, it will be used as an inspiration board. It is next to the sewing station where I can pin up samples to see what they look like when placed vertically and from a distance.

When the door is in this position it becomes my photography wall where I can document works in progress. I can step way back between the furniture to check on the work from different distances.

Here is the design wall before the blackout cloth is attached. The wooden frame is screwed in place so it can be taken off easily when I need to replace the worn out blackout cloth. I have had my current design wall in use for 6 years and it is not showing any signs of failure. But I am designing for 25 to 30 years of use before anything inside or outside the studio needs to be replaced. Fittings, fixtures and materials have been placed so they can be easily replaced without having to a major reno of anything else.

Saturday, August 22, 2015

Studio Construction: Plumber's Last Visit

This little beauty is an instant boiling water tank - big enough to fill a dye pot or a teapot. For my purposes it is an energy efficient way to get small amounts of water at the right temperature rather than running the faucet, boiling a jug of cold water or heating a pot of water on an element. It is cheaper and takes less energy to maintain a small amount of hot water than it does to heat it up from cold each time. I can turn the unit off when I know I will not be using it for a while.

The plumber installed several outside faucets near the planned garden beds.

Ron adjusted the motion sensor for the outside light. The way it was set our bedroom filled with light whenever a raccoon or cougar walked by at night. I need the light to come on only when going down to the crawlspace at night. 

Ron has painted the surround for the porch light.

The porch 'dark-sky-safe' light is in action. The Dark Sky organisation's Fixture Seal of Approval program certifies outdoor lighting fixtures as being Dark Sky Friendly, meaning that they minimize glare while reducing light trespass and skyglow. All products approved in the program are required to be fully shielded and to minimize the amount of blue light in the nighttime environment. It is an important issue for my studio in the forest.

Wednesday, August 19, 2015

Studio Construction: Furniture and Fittings

This is the project station, with its wheels attached. The open space is for long things, like bolts of fabric and long rulers.

Mick is asking us where we would like to have the drawer handles placed. It is hard to make an on the spot decision about something one hasn't considered before.

Ron is assembling the faucet. He spent a lot of time in front of the computer trying to find the faucet I had described to him after working with different types in different studios. He was successful with his search and I am pleased.
Now to put it together.

Looking good.

After everyone had left I had a play moving the furniture into its correct place. The nearest unit, on the left, is the print station. The smaller one, on the right, is the dye station.

View from the other end of the room. This unit is the project station.
It is getting so close now I barely sleep at night.

Monday, August 17, 2015

Studio Construction: Fixtures and Fittings

The hot water tank is installed in the crawlspace below the tub. This energy efficient placement means little heat is lost between the hot water tank and where I need the hot water.

South Shore Cabinetry made and installed the cabinets and some of the furniture.
Here are my drawing and design desk areas...

...backed by a bookcase.

The print table gets its wheels.

These drawers...

...go into both sides of the dye station.

A shelf is made to support the double tub.

The tub is braced while the sealer cures.
The room is finally coming together and beginning to look like a studio. I am enjoying visualising how I will work at each of the stations.

Thursday, August 13, 2015

Studio Construction: Painting and Plumbing

Marshall Travis, Artisan Painting Plus, brought his daughter, Madeline, along to help him with the painting.

Ron unpacked the new sink faucet that arrived in the mail.

The plumber delivered the hot water tank.

Ron helped carry it around the back to the crawlspace.

This is a plumber's bag.

There were lots of different vehicles in the back yard this day.

Friday, August 7, 2015

Studio Construction: Lighting

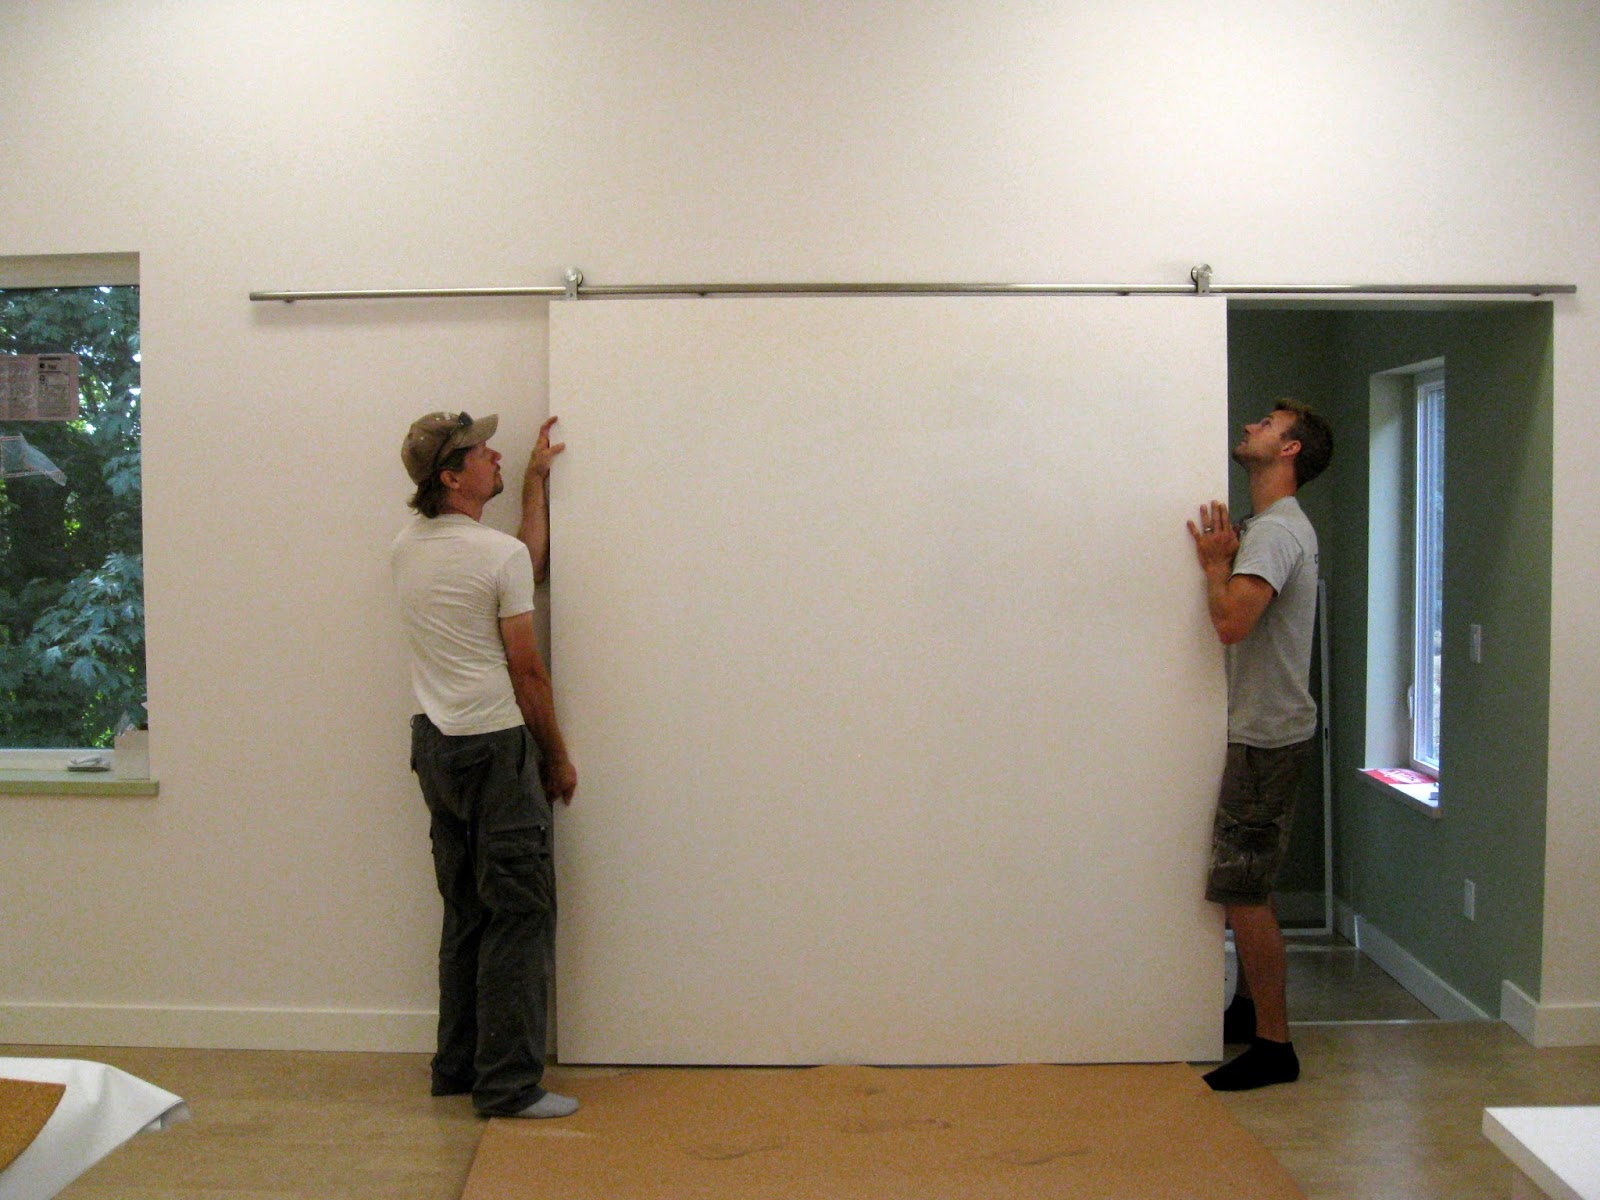
Installing the lighting.
Note the orange spot on the ceiling - Paul Dancy of Prices Alarms has installed the alarm system. The orange cover will be taken off once the system is activated.

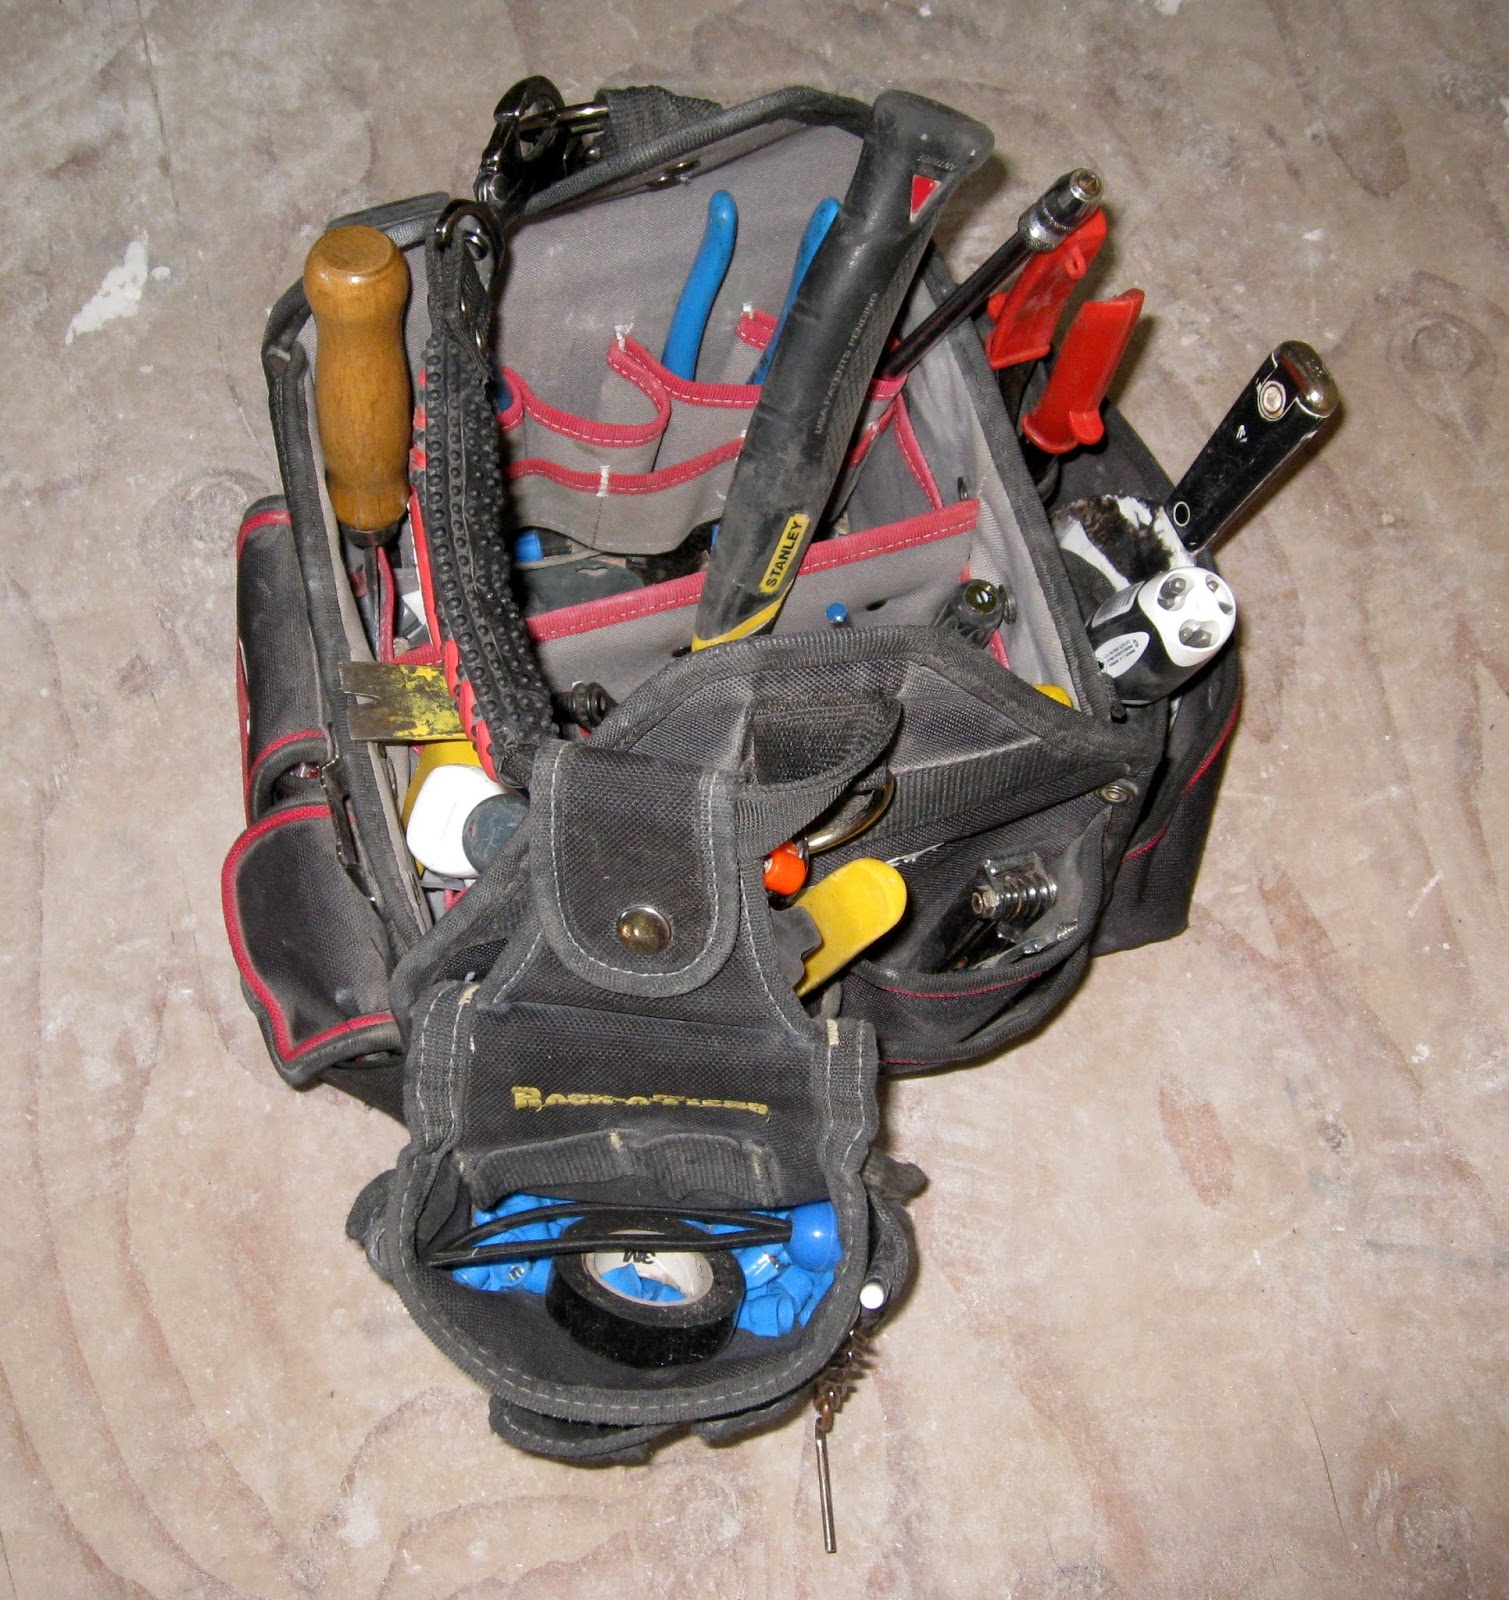
An electrician's belt/bag has lots of different wire cutters.


Lighting was another big issue that we were most particular about. We got 2 different companies to model the lighting and give us a quote according to our specifications. When we started doing the research last year dimmable LED lighting wasn't available but once we started looking at specific lights last month dimmable LED lights were being made.
We began designing on the premise that light was needed over the different work areas and not necessarily over every area all of the time. We needed controls to manage the amount and location of the light. The amount of light is measured by lumens per square foot. Transition areas require only 7.5 lumens/ft while work surfaces require 75.0 or more lumens/ft.
Another consideration which was more difficult to assess was my patterns of use. Once I am working in my new space, I am not sure what my work habits will be. I don't want to limit myself at this stage, but we needed something to work with so we assumed  I would work mainly in the mornings because I know that is when I work best.
Jonathan, the architect, designed the windows to get maximum light right into the centre of the room without too much direct sunlight on the work surfaces. He designed for the soft morning light to come in through the east high windows. We have long summer days and short winter days so the lights would be needed mostly over the winter months. I will count on daylight as the primary light source for general illumination during the summer and turn on task lighting only when needed.
The result of the modelling was 3 banks of lights in the main room, each with their own control, and all dimmable.

The next consideration was the type of light.
I need the light to show true colours which translated to a high CRI (Color Rendition Index) bulb rating.
The light itself needs to be a neutral colour, not too warm and yellow like in a cafe and not too blue and cool looking like in a laboratory. These colours relate to the temperature of the light or the Kelvin Index. We went with a medium high Kelvin temperature of 4100.


The Green Shed lit up at night. 
A first.

Meanwhile, the dehumidifier continues to take moisture out of the building materials and the moisture level is slowly dropping.
If the humidity level inside a building during the heating season (winter) is at 30% the risk of condensation on cold surfaces such as windows increases greatly which can result in materials damage over time.
If mold grows inside the building during the warmer summer months when warm air hits a cold surface humidity levels are at 60%. 
Humidity levels at 50% and more are when dust mites flourish.
If you smell a musty odor inside there is mold present. Reducing the indoor humidity level is the first defense against indoor contaminants such as mold, mildew and dust mites. Keeping the humidity low makes for a healthy living environment and a longer life for the building's materials.
So we keep at emptying the dehumidifier bucket every day.