Home

Friday, January 30, 2015

Studio - Construction - Foundation Wall Pour


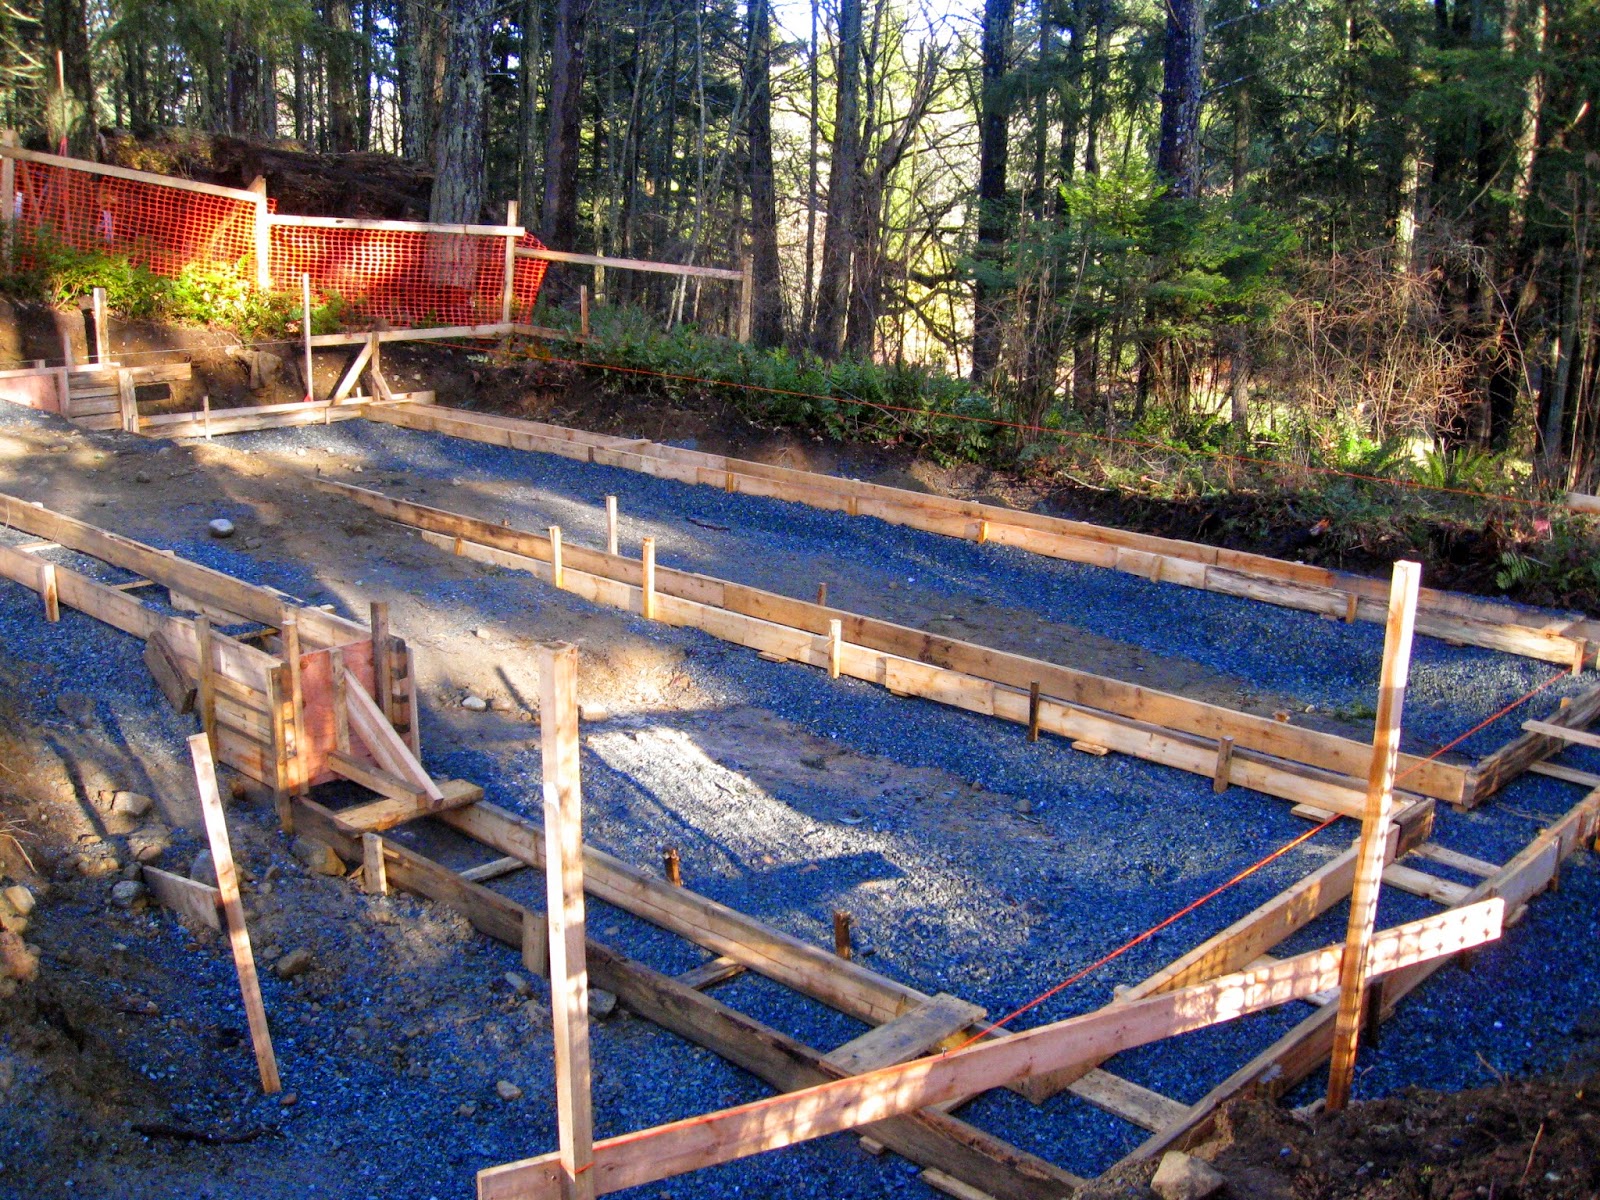
A big day on the construction site.
 First the slinger arrived.

Then the concrete truck.

They connected... 

...and wet cement was pumped between the foam blocks in one long continuous pour. Well, a 2nd concrete truck arrived halfway through.
The guy in the orange has a remote controller to control the amount of concrete being pumped. The other guy, in black, directs the tube pouring concrete into the gap between the foam walls.

These 2 guys, Dave and Jeff, are operating a compactor/vibrator type machine to get rid of air bubbles in the concrete.

Jeff levels of the top of the wall.

And voila - basement foundation walls.

With its 8" thick walls, this is the 1st stage of our well-designed building. We are not calling it a 'green building' because it is a term that is often not fully understood and has become a misleading label. We are calling it a 'high performance, healthy building'. More about the building's design as construction progresses.


Here am I in my studio, on a cold winter's afternoon, very pleased with the progress.

Tuesday, January 27, 2015

Studio - Construction - Foundation Wall

Well you might ask - 'What has this to do with the construction of a shed? 
Is it big Lego?
Kinda. 
It is 2 corner units of rigid foam insulation, wrapped together.

The studio's foundation is made from these rigid foam blocks filled with concrete to make an 8 inch thick wall with a high insulation value.

The blocks act as formwork for the concrete so there is very little construction timber needed to make the foundation. 
We had a big storm and some of the blocks that were loose got blown around. But they didn't go far and weren't damaged. 

Saturday, January 24, 2015

Studio - Construction - Footings

An important delivery to the construction site.

Framing for the footings is progressing well.

I think it looks ready for the pour.

Yes, the footings are complete. 
With the footings framework up it was the first time I got an idea of the size of the studio. I could visualise where my sewing machine is going to go.

I have to get used to all sorts of activity going on outside my present studio window and not be too distracted by it all, though at times it does feel as though there is a busy road running alongside the back of the house. This evening a strange car drove up the temporary construction track from the road and did a U-turn outside our back door. I guess they were playing 'Let's Explore Unmarked Country Roads.'


Wednesday, January 21, 2015

Studio - Construction - Leveling the Ground

One morning, not long after it was light, a large truck arrived and backed up to the studio excavation site.


There were consultations and discussions and lots of looking at the plans.


The truck unfolded a conveyor belt from it's back and dumped a wet, gravelly mix in a pile.


Then the carpenters got to work using the gravel to level the ground so they could build the form work for the footings. This stage seemed to take a long time but I understand how it is important to get it exactly right at this early stage.
I am posting about each stage of construction I observe, though my commentary will not be very enlightening because I have no knowledge of construction. However, I do find it all most interesting.
I have been inspired to document the construction of my studio after reading Wayne's The Searsville Project,click here, blog. He has posted for 2 years showing how he and his wife, ReBecca have restored their over 100 year old farm house. I have so enjoyed reading about the process and looking at the many images Wayne has posted. Thanks for sharing, Wayne.

Tuesday, December 23, 2014

Etsy Ravenmade Works: Hill Tribe Embroidered Pillows

SE Asian Hill Tribe embroidered pillows are the latest addition to my Etsy Shop Ravenmade Works 
I bought a worn western-styled jacket from a thrift store - that I forgot to take a picture of before I started unpicking it.
 It was made from a collection of worn Hill Tribe embroideries pieced together to make the jacket for the tourist market.

I serged all of the raw edges to stabilise them.

Then gave them all a good soak in Oxyclean. No dye came out, I was relieved to see. 
Next they were washed.


Then 'polished' to a damp-dry stage with a heavy, super-steam generating iron.

Then the pieces were put in the boiler room to dry quickly.
A short drying time prevents any would-be fugitive dyes from causing any trouble.


The ground fabric, with it's appliqued strips, originally had a stitched resist before being dipped repeatedly into an indigo vat to achieve the deep blue colour.


Before I ironed the pieces it was easy to see how the fabric had been folded and stitched.
The top part of the image shows how a solidly cross-stitched band has been attached to the appliqued indigo fabric.
These pieces of fabric were from different traditional garments made and worn by possibly the Akha Hill Tribe. 

Vintage Thailand Akha Hill Tribe Folk Costume Outfit Hat Jacket Skirt Apron. This fabulous four piece womens tribal folk costume includes  a black cotton short cropped jacket with a colorful striped handstitched applique trim edging and silver bell trim, toggle button closures along the side. The jacket measures 12 inches long, with a 28 inch  waist and 30 inch bust.


I have reworked this beautiful hand embroidery yet again.
The one jacket is now 7 pillows of various sizes.
All are listed in my Etsy Shop Ravenmade Works . Click here to drop by and see them.

Monday, December 22, 2014

Etsy Shop Ravenmade Works: Pillow Covers

I have a delicious collection of ethnic and traditional textiles all washed, steamed and waiting to be made into pillow covers.

I must admit one of the most fun parts of the process is working out how to turn the textile into a pillow cover to take advantage of its special qualities.

If there are any identifying marks they get included in the cover. Google searches find information about the textile that I add to the description of the pillow cover.

I pass on as much of the provenance and techniques as I know, detailing it in the description of the item in my Etsy shop. Knowing the stories contained in a textile make it more interesting, more authentic and brings one closer to the maker. I like knowing this sort of info and hope there are others out there who do also.

Friday, December 19, 2014

Etsy Shop - Ravenmade Works: My Process


I go to thrift stores, garage sales and estate auctions in search of embroideries, hand made works that have essentially been discarded. Each one has a story about its maker, its owner and its history but for most of them this provenance has been lost.

Sometimes, when I take a work out of it's dusty framing, I'll find a name and maybe a year. Sometimes the stitching has been completed but the work is not framed or finished.
Sometimes the work is unfinished, then I wonder what stopped the stitcher working on it.

Each work is soaked then washed according to the materials it is made from. It is dried quickly in a drying room so the colours don't get a chance to run. Once it is damp-dry, it is pressed and blocked with a steam-generating iron, until it is dry.


Works made from wool are fulled lightly during the washing process so they won't unravel during the cutting up stage.


Individual elements are cut out and grouped according to a colour scheme. 
Crewel embroideries work particularly well.

I go into my stash of vintage textiles to find a background that will work with the collected elements.


Elements are selected, auditioned and composed before I hand and machine stitch them in place.

With needlepoint works, I find 2 that work together then cut them into strips. The 2 different lots of strips are woven together to make a new image but the physiology of the female eye enables her to still see the 2 different embroidered images.
These small works are then mounted in black, shadow-box frames so they can be hung together in groupings or singly.

Tuesday, December 16, 2014

Etsy Shop - Ravenmade Works

I have an Etsy shop, Ravenmade Works
Here is how I describe my shop.

Refreshed Artworks for the Home

The items in my shop are for people who want their home to be a living expression of themselves and a place where they are surrounded by things they love. 
Used domestic linens, discarded embroideries, worn garments and vintage fabric hold a past history. I recycle, rework and refresh these textiles adding another story or layer of meaning, while honouring the original makers whose handwork is often still evident. 
Customers who listen to their hearts when choosing home decor items create uniquely personal living spaces. As an artist producing small home decor items, I feel it is a privilege to play such an important role in my customers' lives.
I make collections of pillow covers, often using vintage ethnic and traditional textiles.
I collect wool embroideries, cut them apart then applique a variety of them together.

I take 2 different embroideries and weave them together.
These small works are framed and intended for the wall.

I add to my shop some of my smaller works that have been in exhibitions and have returned home.
This is the Micmac one from the 'Postcards From Fundy' series.
Please visit my Etsy Shop to see more works and to find out their background stories.

Friday, December 12, 2014

Zipper Reorganisation


The other day I looked at my tangled collection of zippers. Vintage zippers in old packaging. Zippers reclaimed from garments. Discarded zippers from other's stashes. I was planning to do some work that involved using a number of zippers but wasn't looking forward to sorting through the pile each time I needed one. Did I even have one the right length, the right colour, the right type? I couldn't go out and buy the right one when I have so many in my collection but a time consuming and possibly futile search each time I needed one was going to slow me down. I needed to reduce the frustration level if I was ever going to use them.
My zipper collection needed organising. 

I took time out to get my zipper collection under control. First I gave them all a good soak and a wash to freshen them all up. Once they were dry I needed to decide on the most useful way to organise them. By colour, by type, or by length? I decided the most important thing about selecting a zipper is its length. I sorted the pile by length.


Then tied bundles of same size together.

Later in the week I tested the system. It worked. Not only was there no frustration finding the needed zipper I easily found whether I had it or not.

While on the topic of organising systems. A few months ago I bought a myPad. I know, me a committed  android user. But this is a special myPad and way less expensive. It organises machine needles. With the sort of machine work I do, I change needles often and use a wide range of them. But I like to keep the lightly used ones separate from the new ones. I won't go into the details of the system I had set up to keep on top of my machine needles 'cause it was complicated but it worked. Then I found  this myPad. 
I don't know if you can see how it works in the above image. A piece of neoprene is printed with sections for different types of needles and has spaces within each section for different sizes. When I have a lightly used needle I park it in its matching area. The white headed pin is a marker telling me what sort of needle is currently in the machine. Like most systems, simple works best.
I bought the pad at a trade show but of course Amazon sells it, though a Google search comes up with places selling it for less than the big A is asking for it.
With a peaceful vibe restored in my studio, I can now get back to work.